Guide · Summary videos
How to add an AI presenter to a summary video
Step by step, add a realistic AI presenter to a summary video in the Studio or Quick Render — pick a presenter, a layout and a placement, check the cost and render.
2 min read · Updated
Feature used in this guide: AI presenter — what it does, its limits and how credits work.
This guide adds an AI presenter — a realistic person who speaks your narration on camera — to a summary video. It takes a few clicks on top of making the video as usual. New to Vidonto? Start with make your first video.
Step 1: Get the words right first
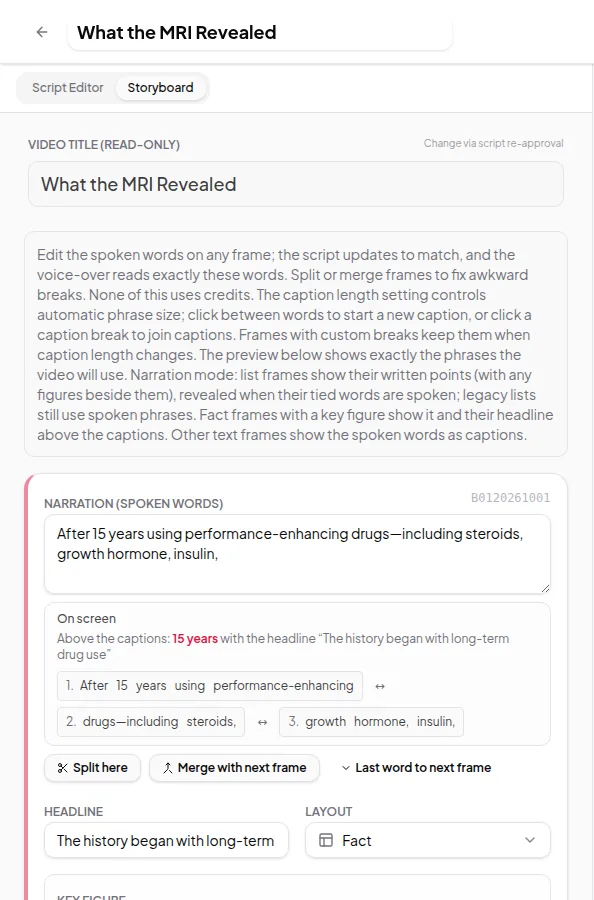
The presenter speaks exactly what the voice-over says. In the Studio, review the script and storyboard before you render, because changing the words later means making a new presenter. With Quick Render, the script is written and approved for you.
Keep the narration to 10 minutes or less. That’s the longest the AI presenter works for.
Step 2: Switch on AI presenter
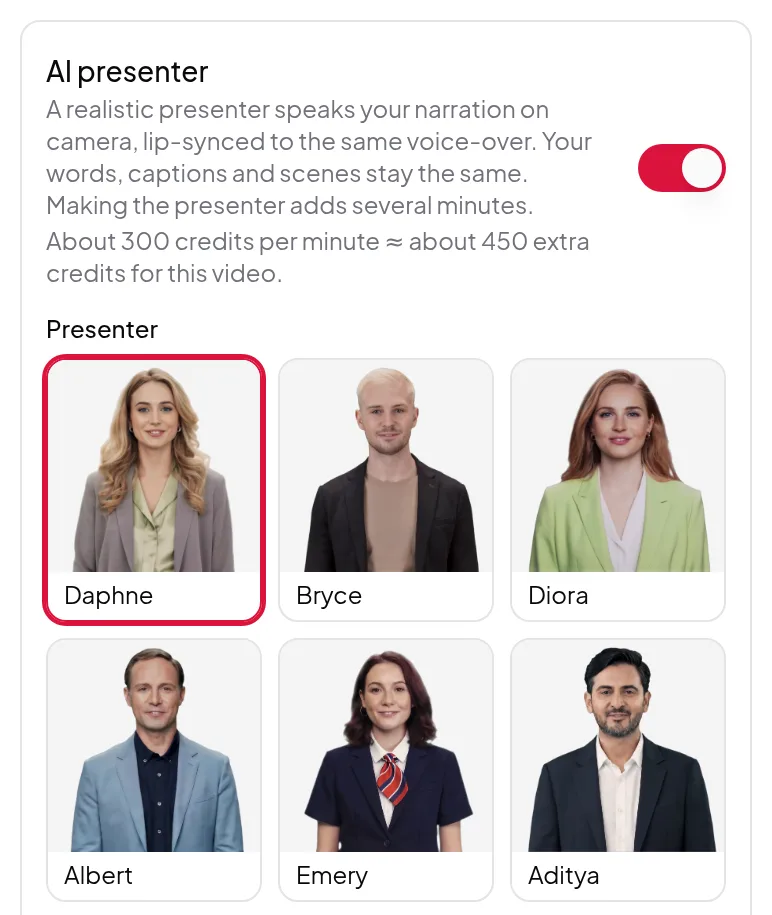
In the Studio’s render step, or in the Quick Render settings, find AI presenter and switch it on. The option shows the credits per minute and an estimate for this video.
Step 3: Pick a presenter and a layout
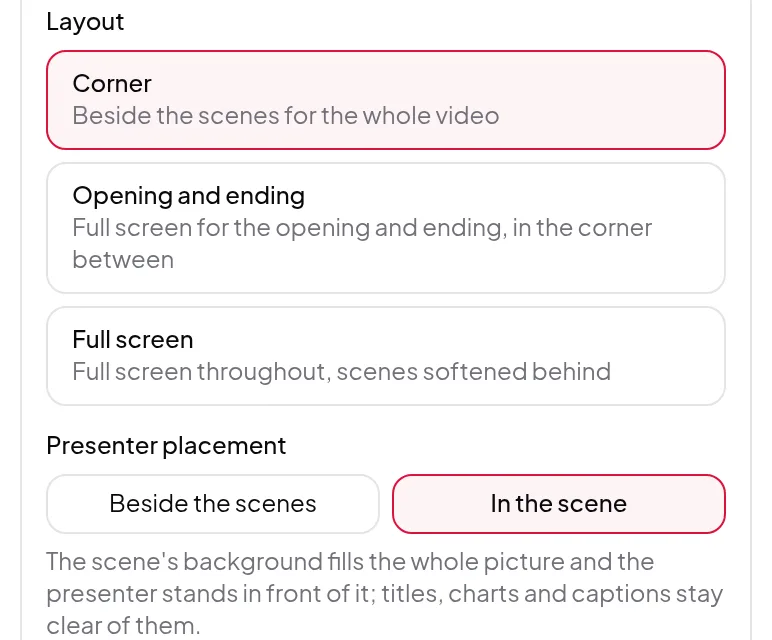
Choose one of the six presenters. Then choose a Layout:
- Corner — the presenter stays beside the scenes for the whole video. A good default for explainers with charts and lists.
- Opening and ending — full screen for the opening and ending, in the corner in between. Good when you want a personal welcome and sign-off.
- Full screen — the presenter is full screen throughout, with the scenes softened behind. Good for short, talking-head style videos.
Step 4: Choose the placement, side and size
With Corner or Opening and ending, choose the Presenter placement:
- Beside the scenes puts the scenes in their own box beside the presenter.
- In the scene lets the scene’s background fill the whole picture, with the presenter standing in front of it. Titles, charts and captions are kept clear of the presenter.
Then pick Presenter side (Left or Right) and Presenter size (Small, Standard or Large).
Step 5: Render and check
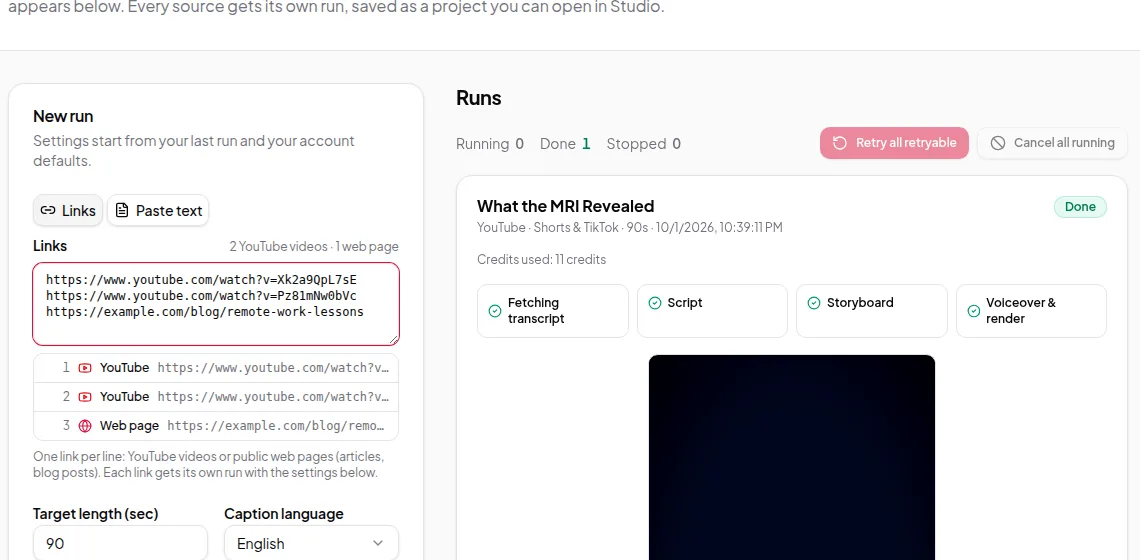
Start the render (click Run in Quick Render). Making the presenter adds several minutes. When the video is ready, watch it through once. If you want a different presenter or layout, change it and render again: the voice-over from your last render of the same words is reused, so only the new presenter video is paid for.
Tips
- Short videos suit Full screen. For a 30–60 second vertical video, a full-screen presenter reads well on a phone.
- Busy scenes suit Corner. If your storyboard has charts and lists, keep the presenter in the corner and Small or Standard.
- Try In the scene for a polished look. It makes the video feel like one shot rather than two boxes side by side.
More detail is on the AI presenter page.