Guide · Your recordings
How to keep a recording in the cloud and edit it on another device
Step by step, keep a recording in the cloud while you record or afterwards, open and edit it on another computer, download the original, and stop storing it.
3 min read · Updated
Feature used in this guide: Keep recordings in the cloud — what it does, its limits and how credits work.
Recorded on your desktop, want to finish the edit on your laptop? This guide keeps a recording in the cloud so it opens on any device where you’re signed in, then shows how to download the original and stop storing it when you’re done.
You’ll need: a Vidonto account with enough credits for the storage price, which is shown before you choose. Storage is opt-in for each video; nothing is stored unless you say so.
Step 1: Choose where the take goes
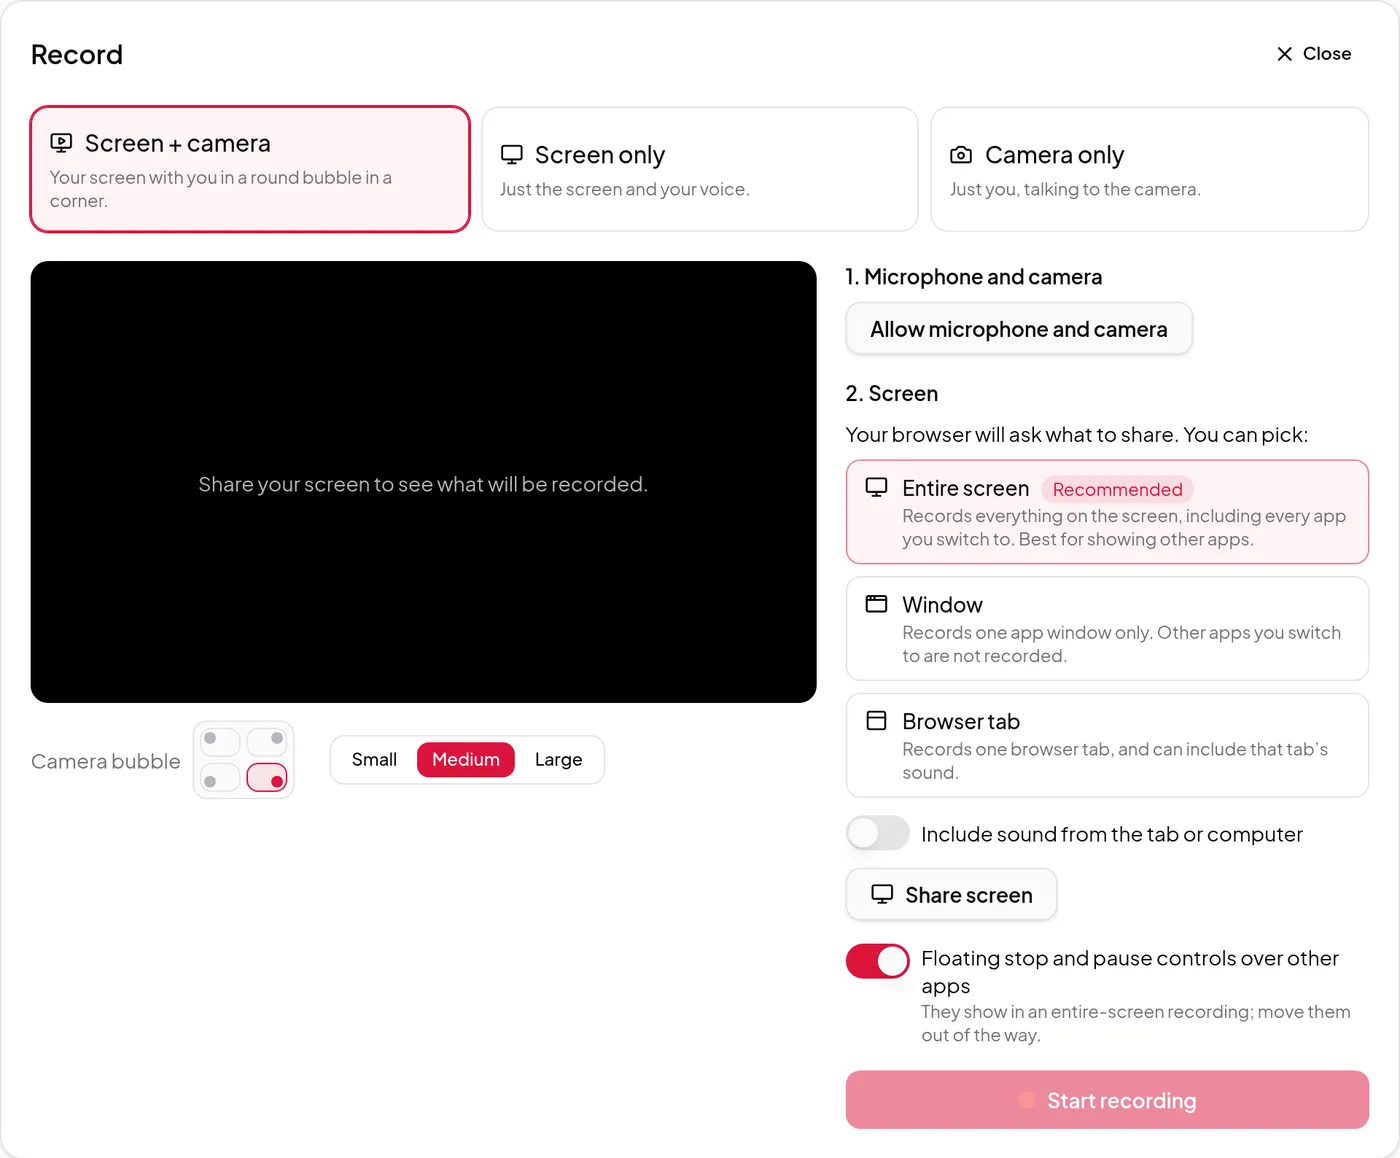
Recording in Vidonto? In the recorder, set Save to to Cloud before you start. The take is sent while you record, so it’s ready soon after you stop. You’re only charged if you keep it.
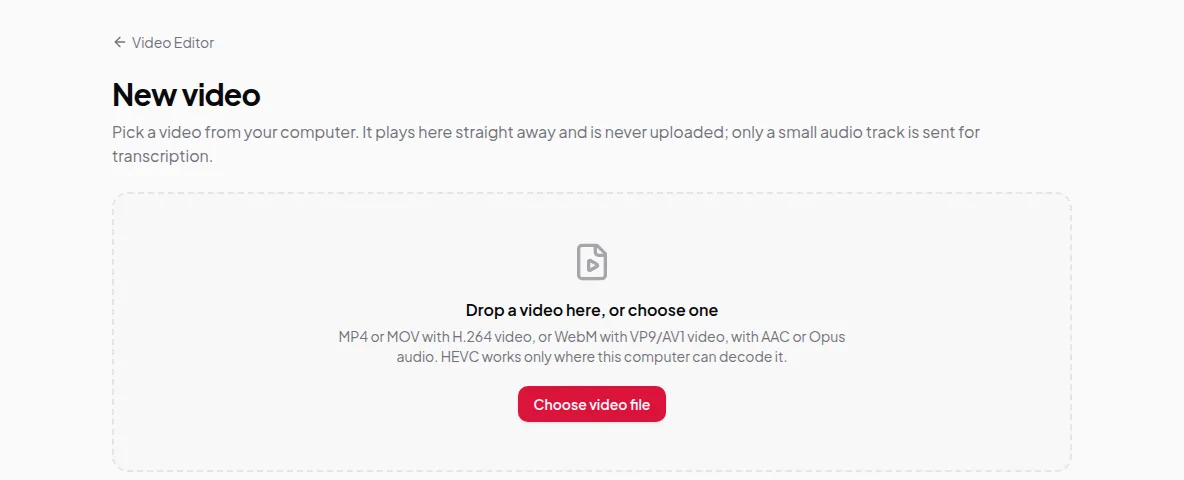
Already have a video file? Open it in the Video Editor as usual and go to Step 3.
Step 2: Keep the take
When you click Stop, watch the take back and choose Keep in the cloud. The button shows the price, and what it costs each month after that. If sending while you recorded couldn’t keep up, the rest uploads now; keep the tab open until it finishes.
The Video Editor then opens the take. Skip to Step 4.
Step 3: Keep an existing video in the cloud
In the Video Editor, open the Keep in the cloud card and click Keep in the cloud…. The dialog shows about what the upload costs, which covers the first period, and about what each month costs after that. Open Details to see the size it’s based on: the video, the camera file if there is one, and a small editing copy.
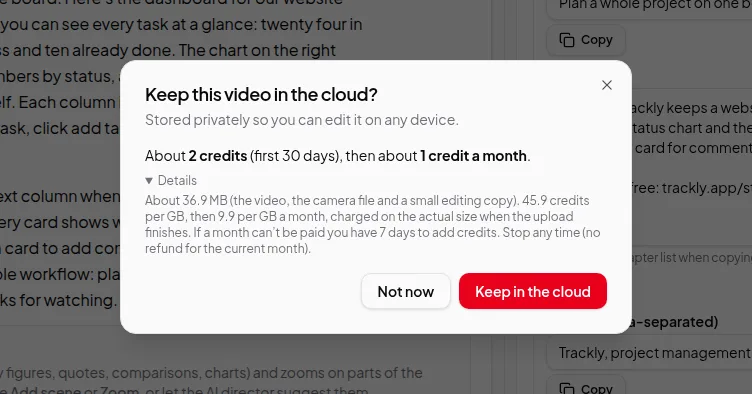
Click Keep in the cloud. Keep the tab open while it uploads; you can Pause and later Continue uploading with the same file. When it finishes, the card says the video is kept and can be opened on any device.
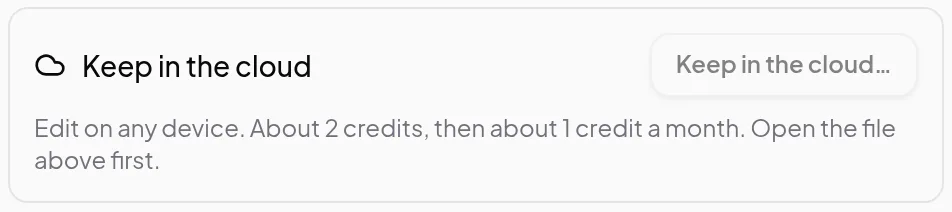
Step 4: Open it on another device
On your other computer, sign in and open Video Editor. The recording is in your list. Open it and the editor plays a small editing copy from the cloud — no file to find.
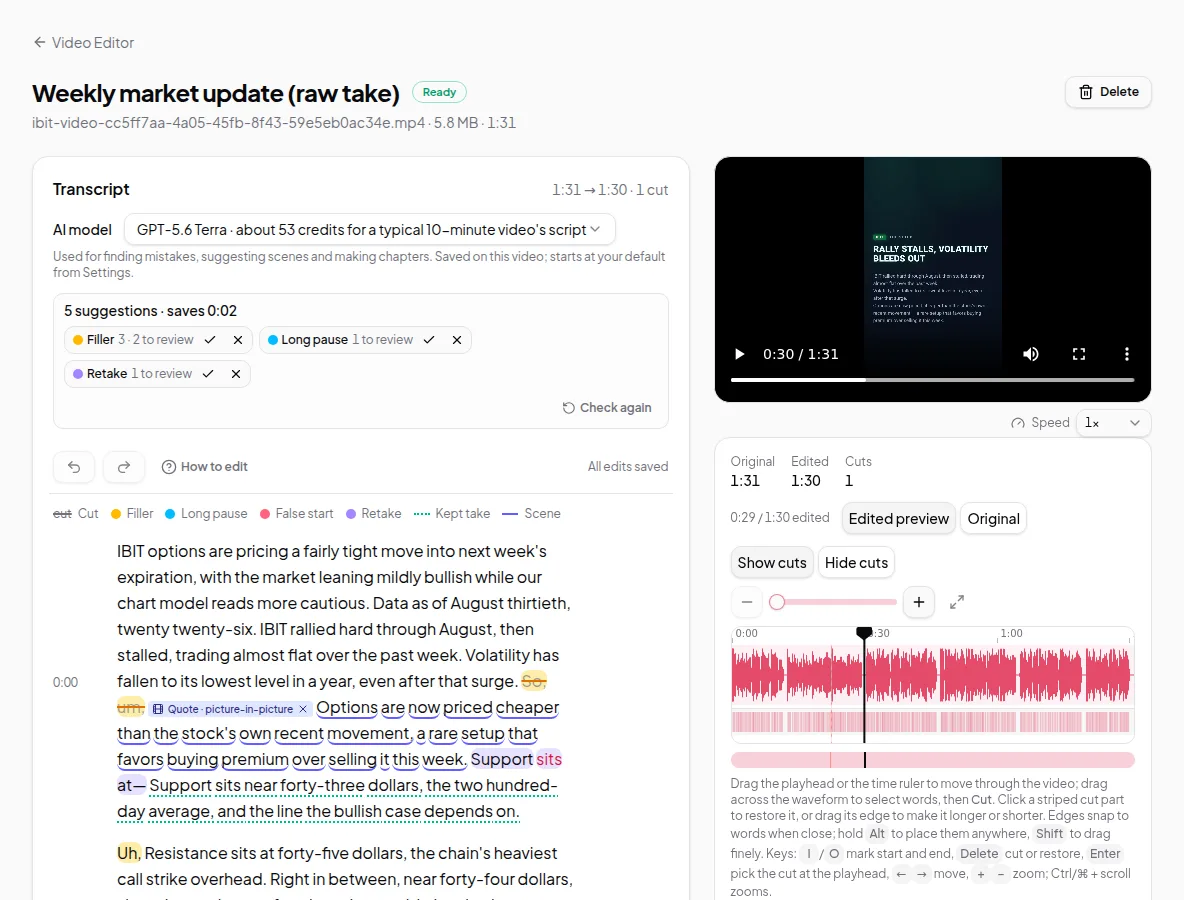
Edit as usual: delete words, add views and zooms, set up a polished video. Your edits are saved to your account, so they’re there on every device.
Step 5: Export from anywhere
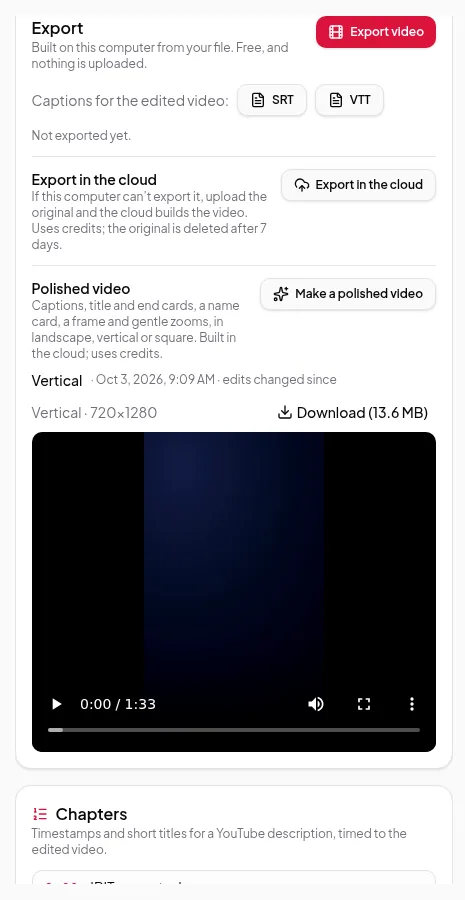
Render in cloud and Polished video use the stored original, so nothing uploads again. Exporting on your computer, cleaning up the sound and dubbing still need the original file, so do those on the computer that has it, or download it first (Step 6). See export your finished video.
Step 6: Download the original
On the Keep in the cloud card, click Download original to get the file exactly as it was uploaded. A download uses a small amount of credits for the data sent, shown before you confirm. If the download drops, starting it again shortly after is free.
Step 7: Stop storing when you’re done
Click Stop storing on the card. The stored files are deleted, with no refund for the current month. Your transcript, edits and finished videos stay. If the stored copy is the only one you have, the editor reminds you to download it first.
To manage every kept video at once, open Settings → Videos kept in the cloud. It shows what you store and what it costs a month. Select videos and Remove from cloud, or switch on Automatically remove stored videos after 30, 60 or 90 days, with Don’t remove this video automatically for the ones to keep.
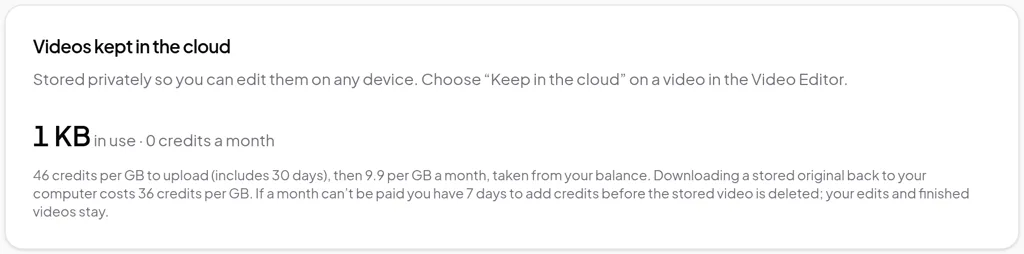
Tips
- Keep only what you’re still working on. Turn on automatic removal so finished projects don’t keep costing credits.
- Keep enough credits for the month. If a month can’t be paid, you get an email and a few days to add credits before the stored video is deleted.
- Your finished videos don’t depend on storage. Stopping storage never deletes edits or exports.