Guide · Your recordings
How to export your edited video — in the browser or in the cloud
Export your edited recording for free in the browser, in the cloud when your computer can't, or as a polished video with captions in vertical or square shapes.
4 min read · Updated
Feature used in this guide: Edit a recording by deleting words — what it does, its limits and how credits work.
You’ve cut the ums, tightened the pauses and the edited preview sounds right. Now you need a video file. Vidonto’s Video Editor gives you three ways to export, and this guide explains when to use each one and how.
| Option | Where it’s made | Cost | Best for |
|---|---|---|---|
| Export video | On your computer | Free | Most exports |
| Export in the cloud | In the cloud | Credits | Files your computer can’t process |
| Polished video | In the cloud | Credits | Social posts with captions, cards and new shapes |
All three use the same list of cuts as the edited preview, so the export matches what you heard.
Before you export
- Wait for “All edits saved” at the top of the transcript.
- Keep the original file open. Exports are made from your original file. If the editor asks you to open it again, choose the same file.
- Play the edited preview once more. The preview skips over cuts, so you may hear a small hitch at each cut. The export itself is exact.
Option 1: Export in the browser (free)
This is the default and the right choice for most videos. The edited video is built on your own computer from your file. Nothing is uploaded and no credits are used.
- Open the Export panel on the right of the recording page.
- Click Export video.
- Choose where to save the file when your browser asks. In some browsers, the file goes to your downloads folder when it’s done instead.
- Keep the tab open while the video is built. A progress bar shows how far it is. Longer and higher-resolution videos take longer, and a fast computer helps.
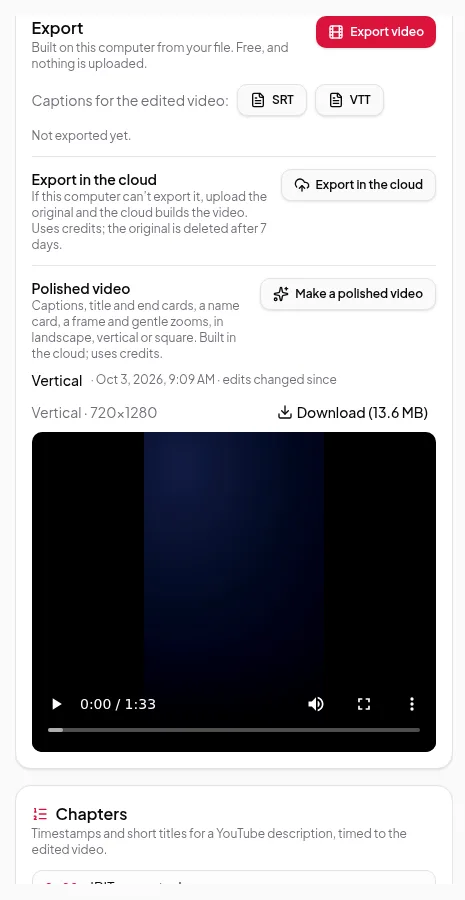
Captions: next to Captions for the edited video, click SRT or VTT to download a caption file that matches the edited timing. Upload it to YouTube, Vimeo or your course platform as a subtitle track.
If you cancel, nothing is saved. You can start again any time; the edit doesn’t change.
When the browser export isn’t available
Browsers can only build videos they can decode. If your file uses a format your computer can’t process — some HEVC or ProRes files, for example — or the file is very large, the browser export may not be offered or may stop with an explanation. Use the cloud instead.
Option 2: Export in the cloud
The cloud builds the same edited MP4 for you.
- In the Export panel, click Export in the cloud.
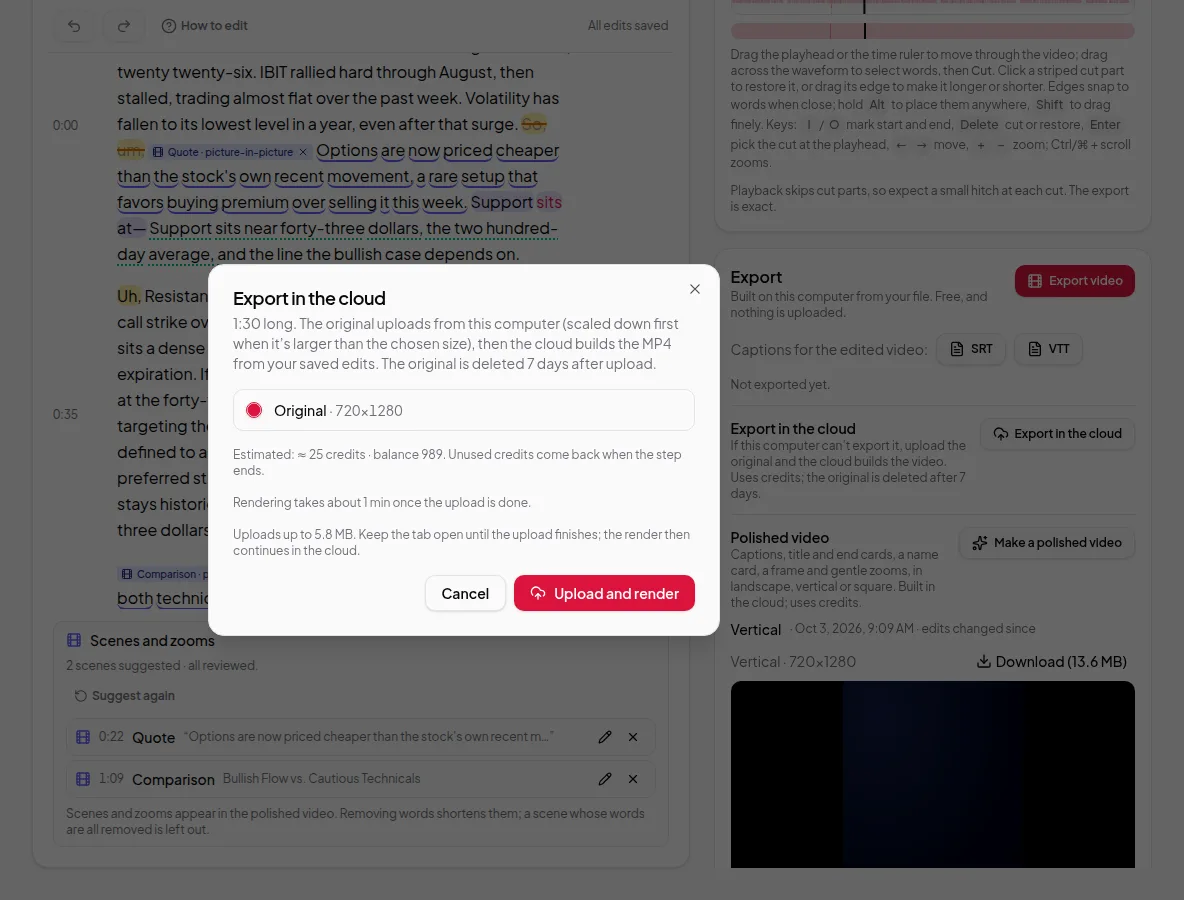
- The dialog shows the edited length, the output size and an estimate in credits. If your original is larger than the chosen size, it’s scaled down on your computer first, so the upload is smaller.
- Click Upload and render. Keep the tab open until the upload finishes — after that, the render continues in the cloud and you can close the page.
- When it’s done, the video appears in the Export panel with a Download button.
Good to know:
- Credits are held when you start and only charged if the render succeeds. Unused credits come back.
- The uploaded original is deleted 7 days after upload. Finished videos stay on the recording.
- If you export again within those 7 days, the uploaded original is reused, so nothing needs to upload.
Option 3: Make a polished video
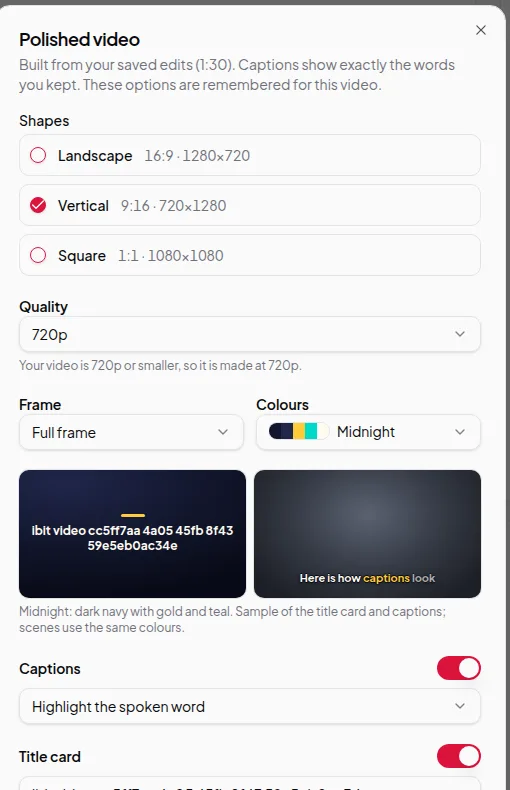
A polished video is a cloud export that also adds:
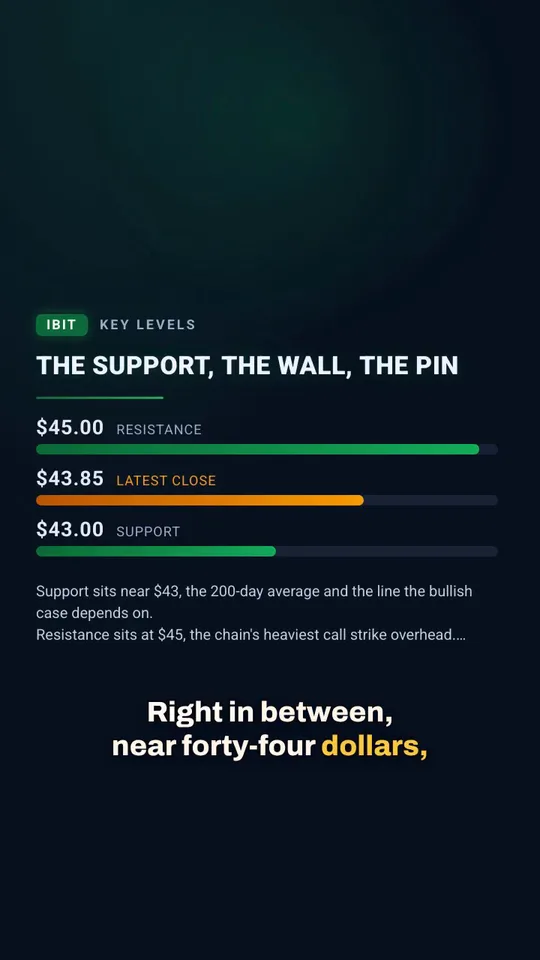
- Captions burned into the picture, with the spoken word highlighted, boxed or underlined
- A title card, an end card and a name card
- A frame style and colours
- Scenes and zooms you added in the editor
- Shapes: landscape (16:9), vertical (9:16) and square (1:1), one or several at once
- Quality from 720p up to your original’s resolution
- Click Make a polished video in the Export panel.
- Choose your shapes, quality, frame, colours and captions, and fill in the title card.
- Check the full cost in credits and confirm. Each shape is charged separately, and a failed render costs nothing.
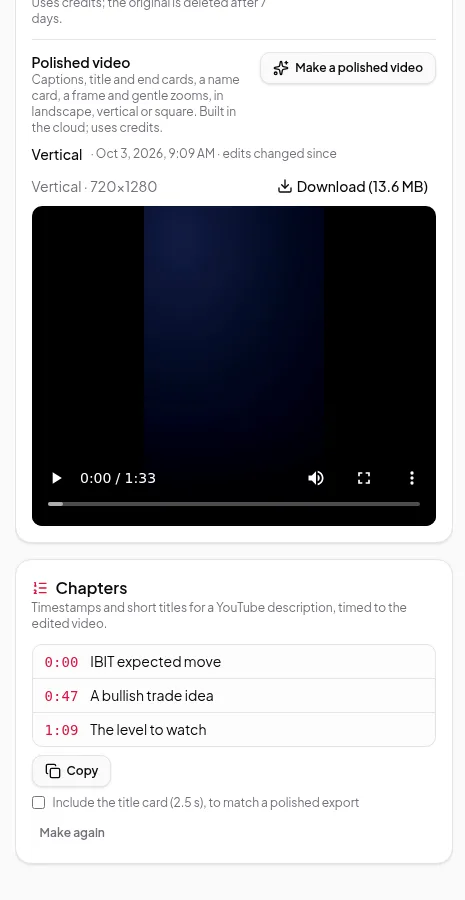
- Download each shape from the Export panel when it’s ready.
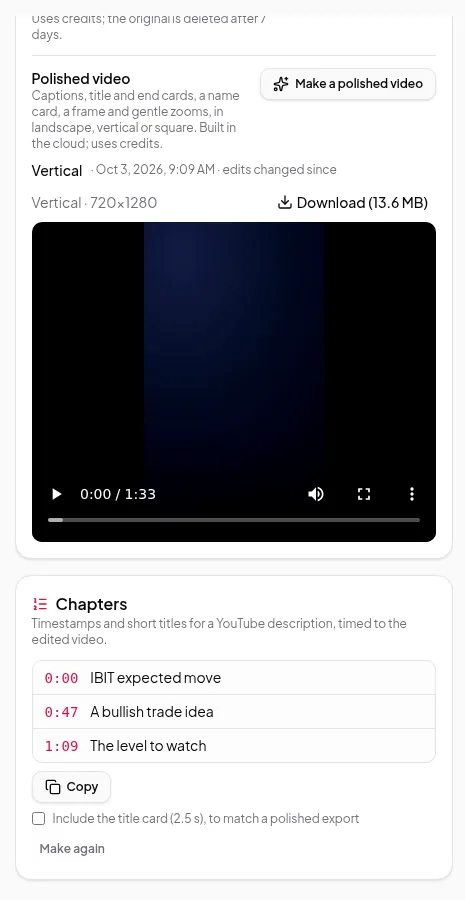
Your polished settings are remembered for the recording, so the next version only needs your changes. If you edit the recording afterwards, the panel notes that edits have changed since that export. Make a new one to include them.
More on what’s possible: polished videos.
Which should you choose?
- Uploading to YouTube as a normal video? Export in the browser, and upload the SRT captions alongside.
- Posting to Shorts, Reels or TikTok? Make a polished video in the vertical shape, with captions burned in.
- Browser export not available or too slow? Export in the cloud.
After exporting
- Add chapters to your YouTube description.
- Keep your original file. Vidonto doesn’t store your video, so the original is what you’ll need for future exports.