Guide · Your recordings
How to record your screen and camera, then edit the take by text
Step by step, record a tutorial or demo with your screen and a camera bubble in the Video Editor, keep the take on your computer, then cut mistakes by deleting words.
2 min read · Updated
Feature used in this guide: Record screen and camera — what it does, its limits and how credits work.
This guide records a screen-and-camera video — a tutorial, a product demo or a walkthrough — right in the Video Editor, then edits it by text. You need a computer with a recent Chrome, Edge, Firefox or Safari, a microphone, and a camera if you want to appear in the video.
Step 1: Open the recorder
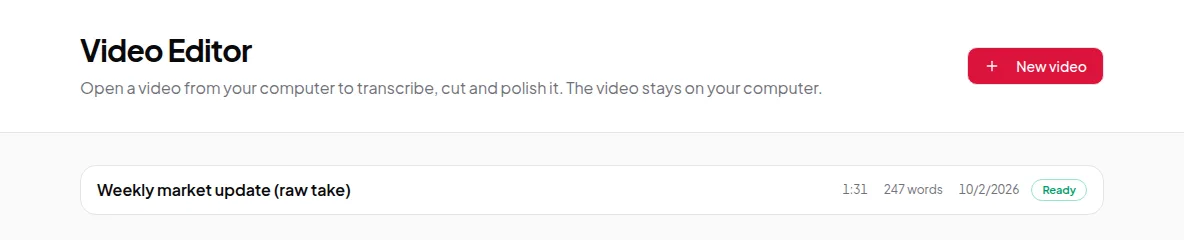
Open Video Editor → New video and click Record screen or camera.
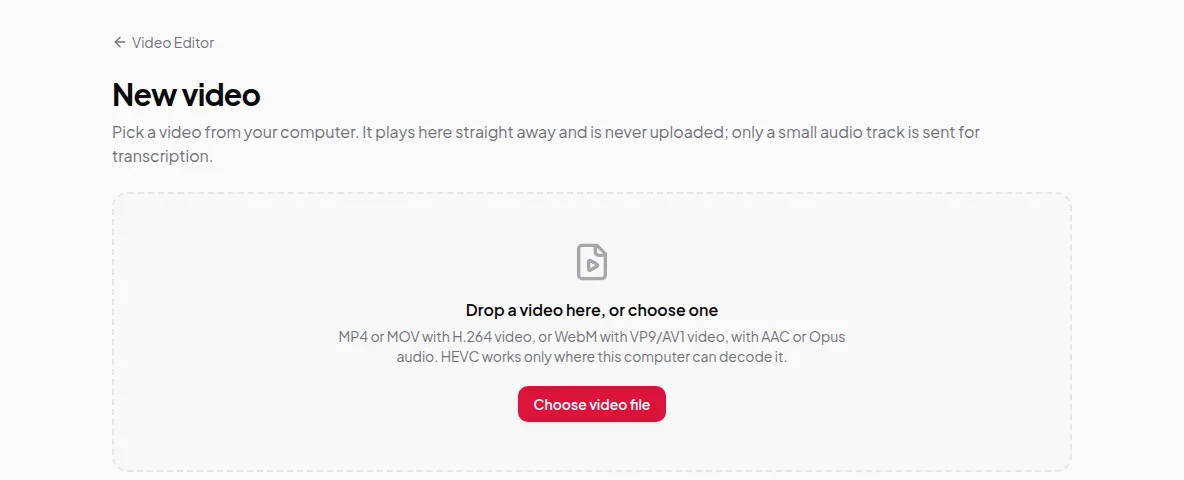
Step 2: Choose what to record
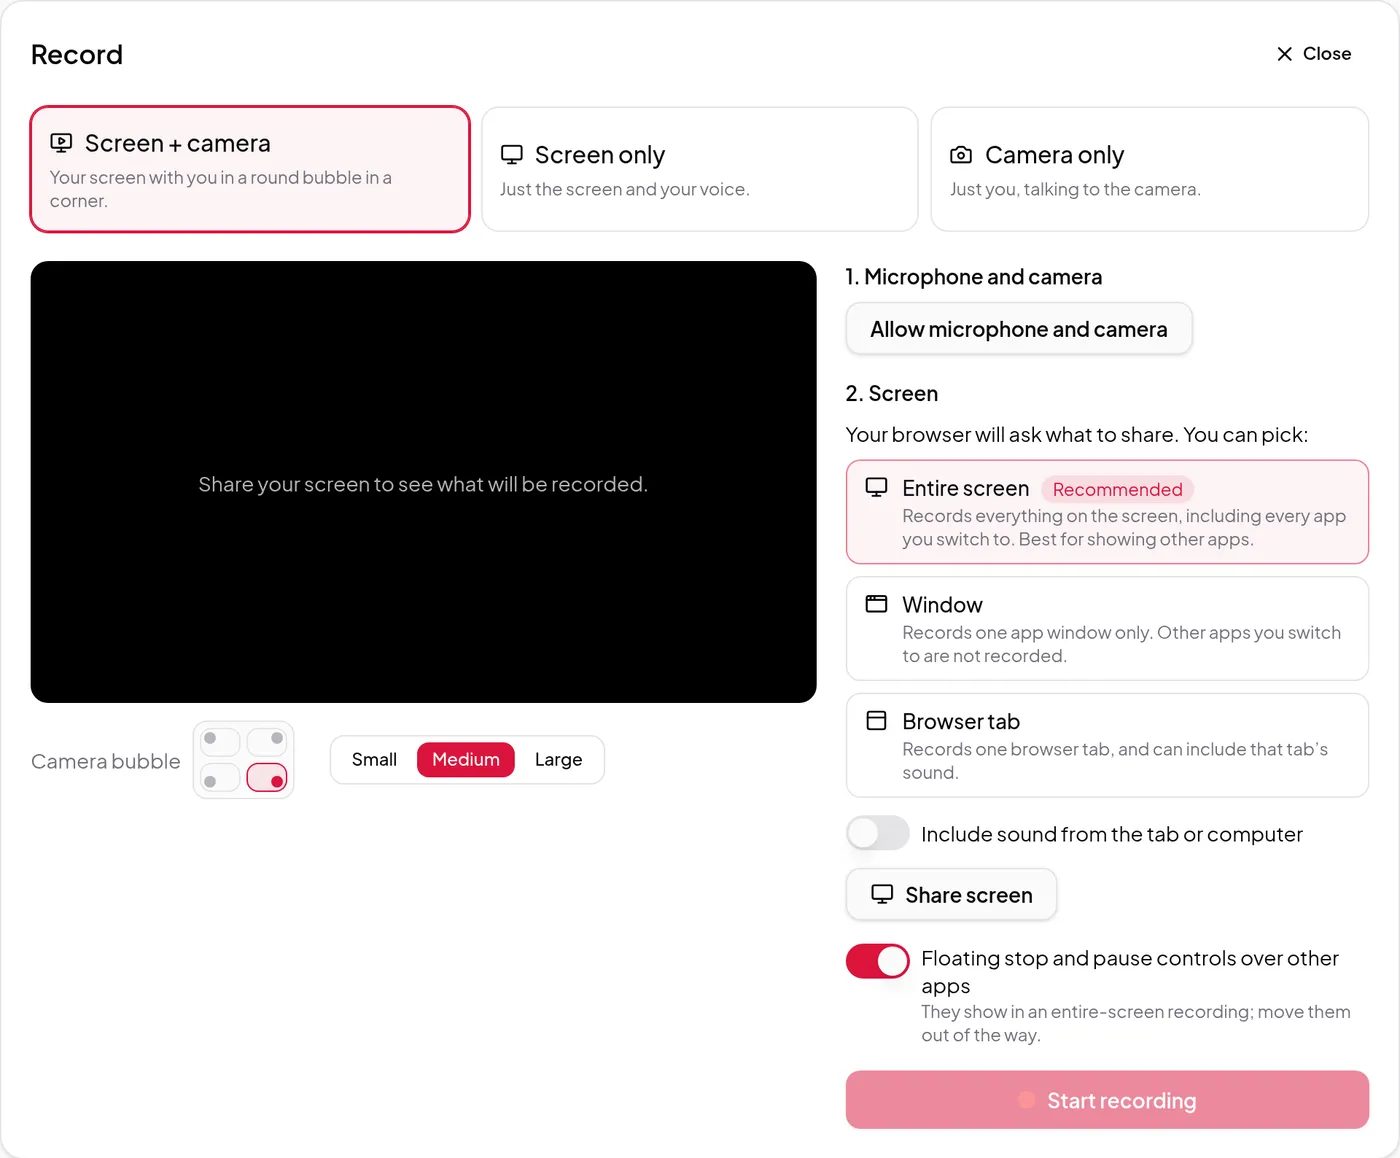
Pick Screen + camera to appear in a round bubble in a corner, Screen only for just the screen and your voice, or Camera only for a talking-head video.
Click Allow microphone and camera and accept your browser’s prompt. Then set up the Camera bubble: click a corner and choose Small, Medium or Large.
Step 3: Share your screen
Click Share screen. Your browser asks what to share:
- Entire screen (recommended) records everything, including every app you switch to. Best for showing other apps.
- Window records one app window. Other apps you switch to are not recorded.
- Browser tab records one tab, and can include that tab’s sound.
To record sound from your computer or the tab — a video you’re demonstrating, for example — switch on Include sound from the tab or computer first.
Step 4: Record
If your browser offers it, switch on Floating stop and pause controls over other apps, so you can stop or pause without coming back to the Vidonto tab. Click Start recording. After a three-second countdown you’re live.
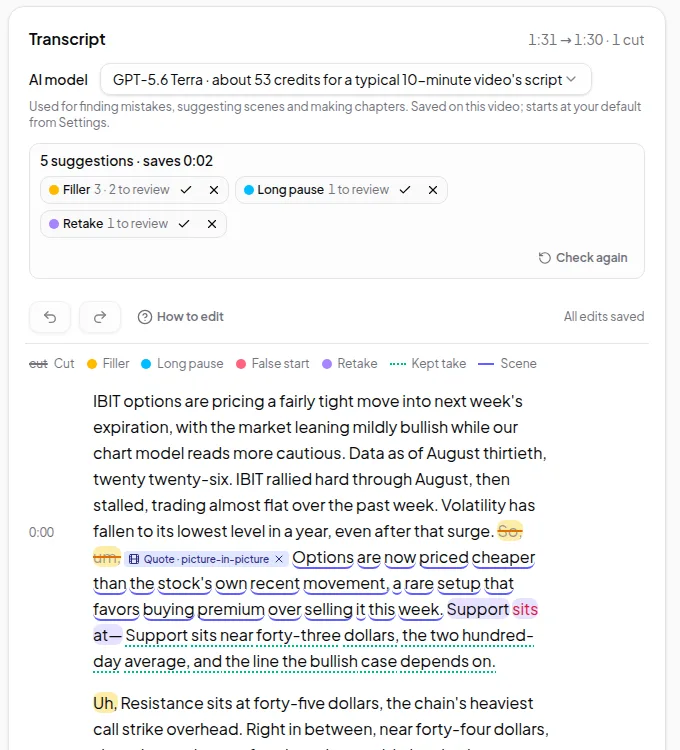
Pause whenever you need to think, then resume. Made a mistake? Don’t stop — pause for a second, say the sentence again and carry on. You’ll cut the mistake out by text in a moment, and the editor can flag retakes for you.
Step 5: Keep the take
Click Stop and watch the take back. Click Use this recording to keep it — you choose where to save the video on your computer, or it goes to your Downloads folder — or Record again. The video isn’t uploaded.
Step 6: Edit it by deleting words
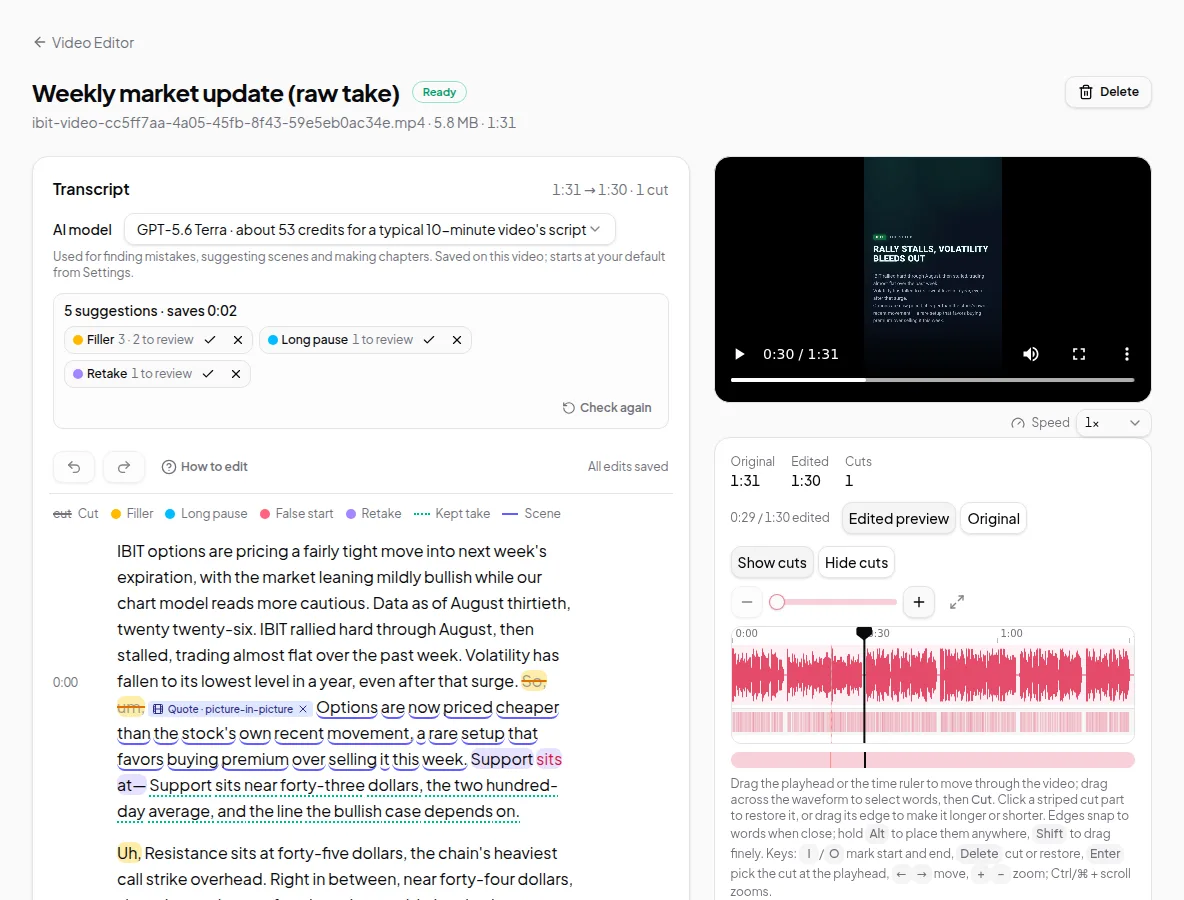
The Video Editor opens the recording and makes the transcript from a small audio track. Select the words you don’t want and remove them, and let the editor suggest ums, long pauses and retakes. Edit a recording by deleting words and remove ums and retakes cover this in detail.
Step 7: Export
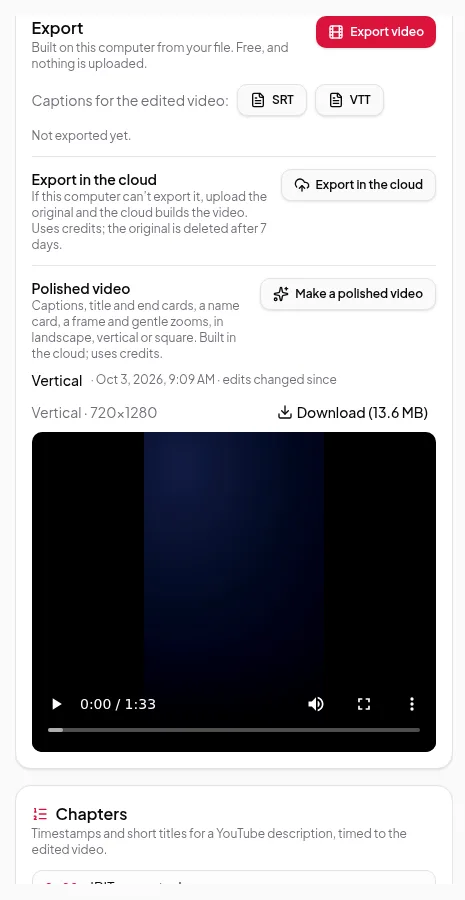
Export for free on your computer, or make a cloud export or a polished video with captions. See export your finished video.
Tips
- Close what you don’t want seen. With Entire screen, notifications and other windows are recorded too.
- Keep takes short. Some browsers keep the recording in memory while you record; the recorder tells you if yours does, and then takes under about 20 minutes are safest.
- Look at the camera for the opening line. It makes the bubble feel personal.