Guide · Summary videos
How to change the caption style of your videos
Choose what text a summary video shows and how long each caption is, fix single breaks, and pick how polished videos of your recordings mark the spoken word.
3 min read · Updated
Feature used in this guide: Captions — what it does, its limits and how credits work.
Captions decide how your video reads with the sound off. Vidonto sets them up for you, but you choose what text appears, how much at a time, where it breaks and, for polished videos, how the spoken word is marked. This guide covers summary videos first, then your own recordings.
You’ll need: a Vidonto account. For summary videos, a Studio project or Quick Render; for recordings, a recording in the Video Editor.
Summary videos
Step 1: Choose what text appears on screen
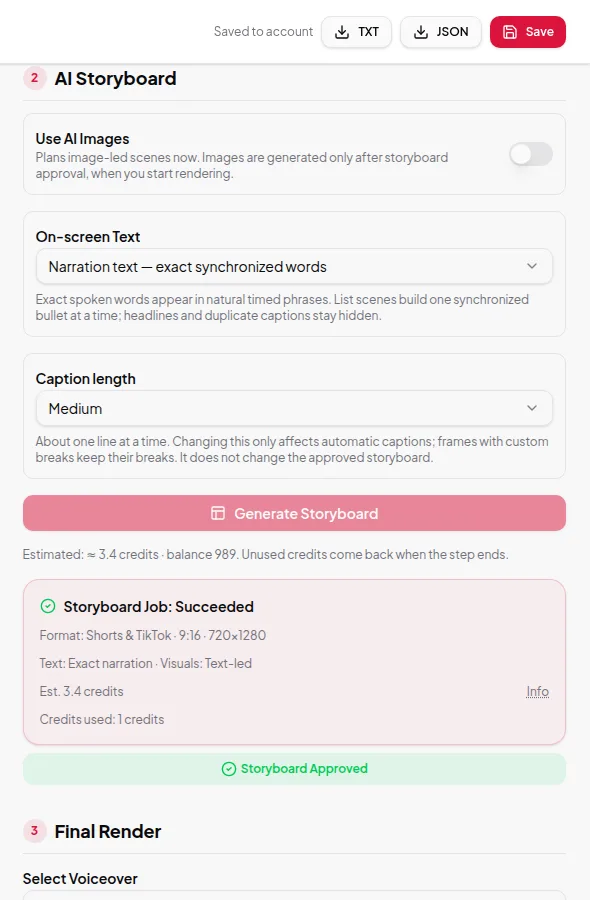
Before you generate the storyboard, choose On-screen Text in the AI Storyboard step of the Studio (On-screen text in Quick Render):
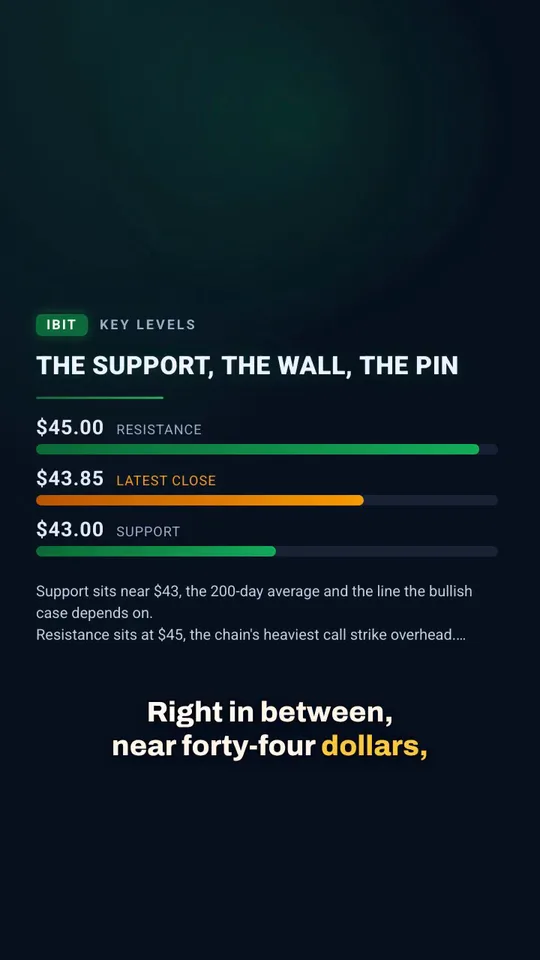
- Narration text — exact synchronized words (Narration captions in Quick Render) shows the words being spoken, in short timed phrases.
- Key points — editorial headlines shows short headlines and points on screen while the narration plays, with plain subtitles underneath.
Choose this first: if you change it after the storyboard is made, the render waits with “The on-screen text setting changed. Make and approve a new storyboard.”
Step 2: Choose the caption length
Under Caption length, pick how much text shows at once:
- Short — a few words at a time. Punchy, good for vertical videos.
- Medium — about one line at a time.
- Full sentence — a whole sentence at a time when it fits.
You can change the length later. Only automatic captions change; frames where you placed breaks by hand keep them.
Quick Render starts each run from the choices of your last run, so set them once and they stay until you change them.
Step 3: Fix single caption breaks (Studio)
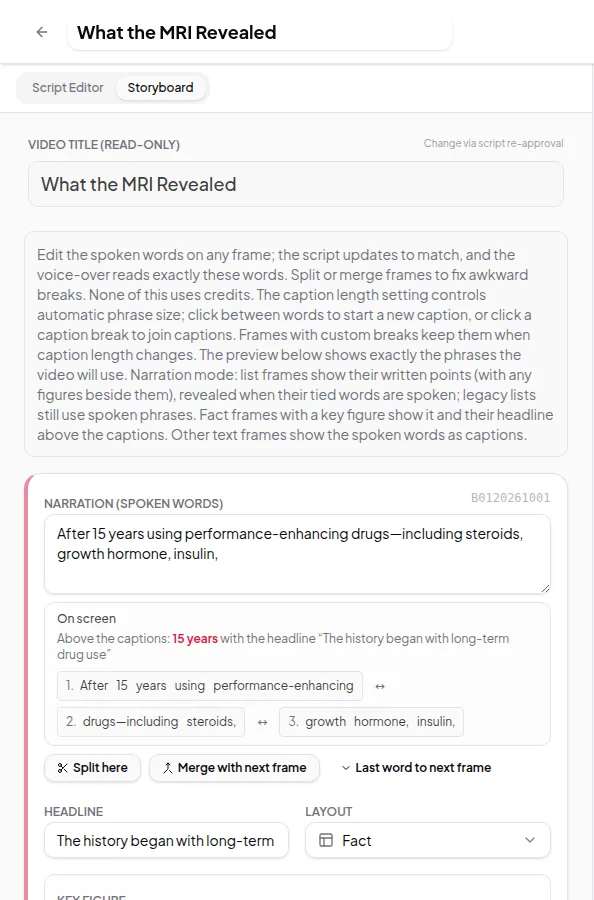
In the Storyboard tab, each frame shows the caption lines it will display. Click between two words to start a new caption there, or click a break to join two captions. Reset to automatic undoes your breaks for that frame. The preview uses the same rules as the render. The full storyboard walkthrough is in edit a summary video’s storyboard.
Step 4: Use your brand’s font (optional)
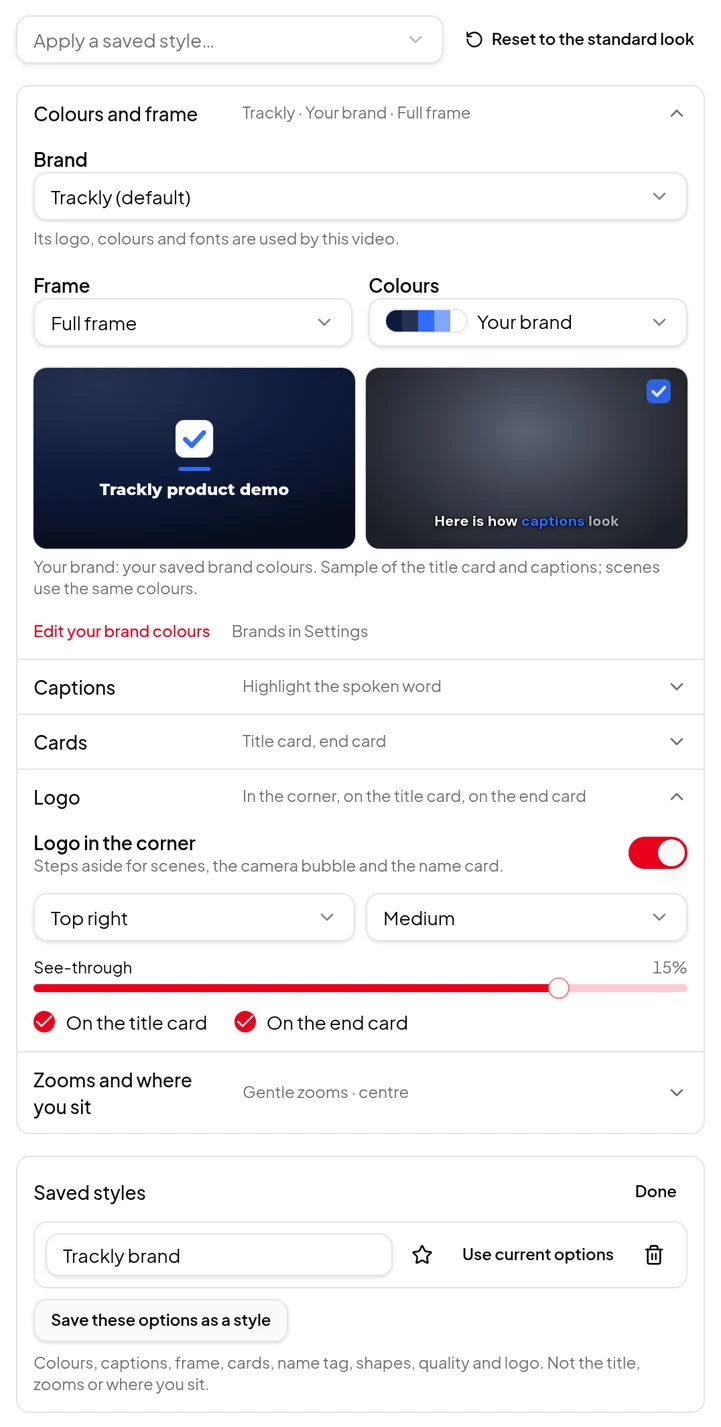
Caption text follows the look you render with. With the My brand look, captions use the font your brand sets for Captions and other words in Settings, together with the brand’s colours. Brand fonts are picked from a fixed list; see brand kit and saved styles.
Your own recordings
Step 5: Pick a caption style for polished videos
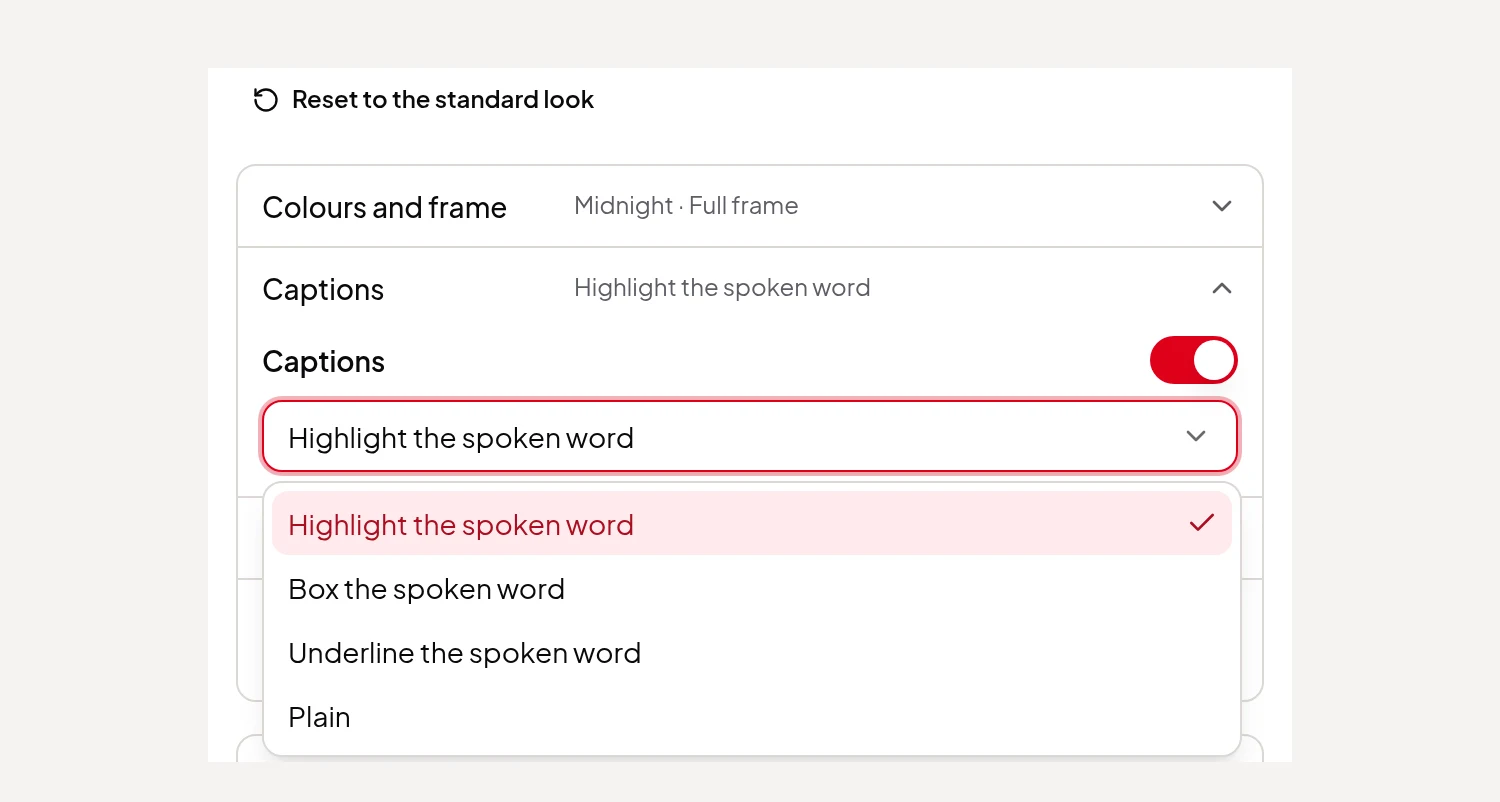
In the Video Editor, open Polished video settings, then the Captions group. Leave Captions switched on and choose a style:
- Highlight the spoken word — the word being said lights up.
- Box the spoken word — the word being said sits in a box.
- Underline the spoken word — the word being said is underlined.
- Plain — simple subtitles with no marking.
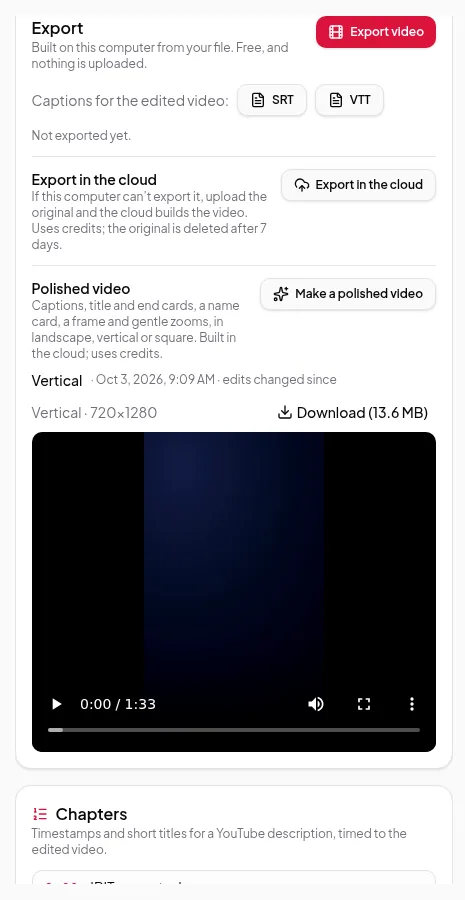
Under the player, switch to Polished video to see the captions on your video. With Your brand colours, captions use your brand’s caption font too. Click Save these options as a style to reuse the same captions, colours and cards on other recordings in one click.
Step 6: Or download a caption file
Polished captions are burned into the picture, so viewers can’t switch them off. If you’d rather upload captions as a separate track, the Export section’s On this computer row has SRT and VTT downloads for the edited video. Summary videos offer an SRT next to the MP4 when the render is done.
Good to know
- Captions follow your edits: words you cut never appear.
- Captions are in the language of the narration or the recording. A polished video of a dubbed recording has captions in the dubbed language.
- Very long words or numbers can wrap onto two lines in vertical videos. Check the preview.
Credits
Captions and all of these choices cost nothing extra. Caption files are free to download. See credits explained.