Guide · Summary videos
How to edit a summary video's storyboard — words, visuals and presenter
Step by step, change the spoken words of any frame, split and merge frames, fix caption breaks, and pick each frame's visual and presenter spot before you render.
4 min read · Updated
Feature used in this guide: The storyboard editor — what it does, its limits and how credits work.
In the Studio, every summary video passes through a storyboard before anything is voiced or rendered. Each frame has its spoken words, what appears on screen and how it’s shown. This guide shows how to change all of it, frame by frame, before you approve.
You’ll need: a Studio project with an approved script and a generated storyboard. If you haven’t got that far, follow summarize a YouTube video up to the storyboard step. Quick Render skips this review; use the Studio when you want to edit frames.
Step 1: Open the Storyboard tab
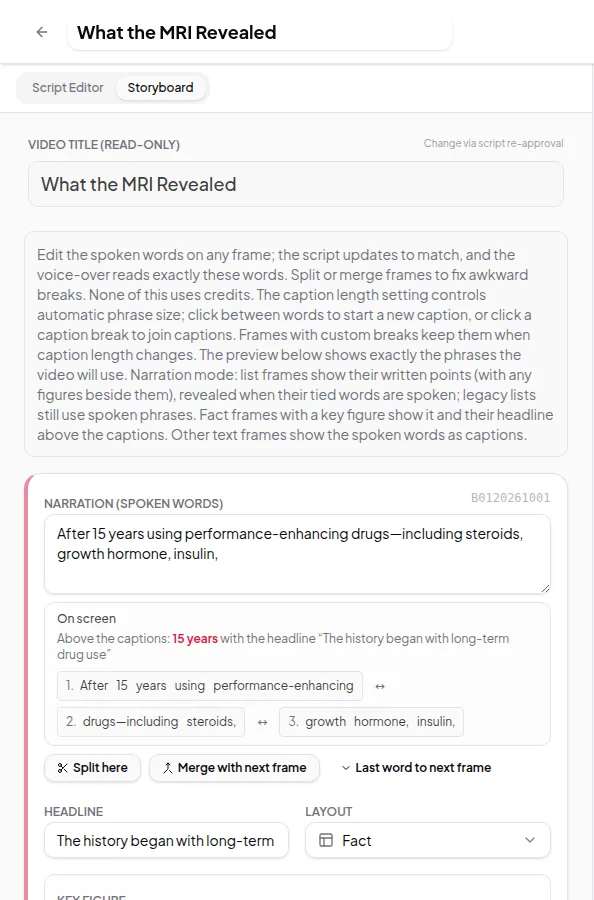
After Generate Storyboard finishes, click the Storyboard tab above the editor (next to Script Editor). Each frame is a card, from the opening to the closing. At the top, the Director’s plan sums up the visual choices: “Change any frame’s choice below before approving; the approved choices are what renders.”
Step 2: Change the spoken words
Edit the Narration (spoken words) box of any frame. The script updates to match, and the voice-over reads exactly these words. Use it to shorten a long sentence, fix a name or reword a line that sounds stiff when read aloud.
To change the video’s title, edit the script and approve it again; the title is read-only here.
Step 3: Split, merge and move words between frames
Below the narration:
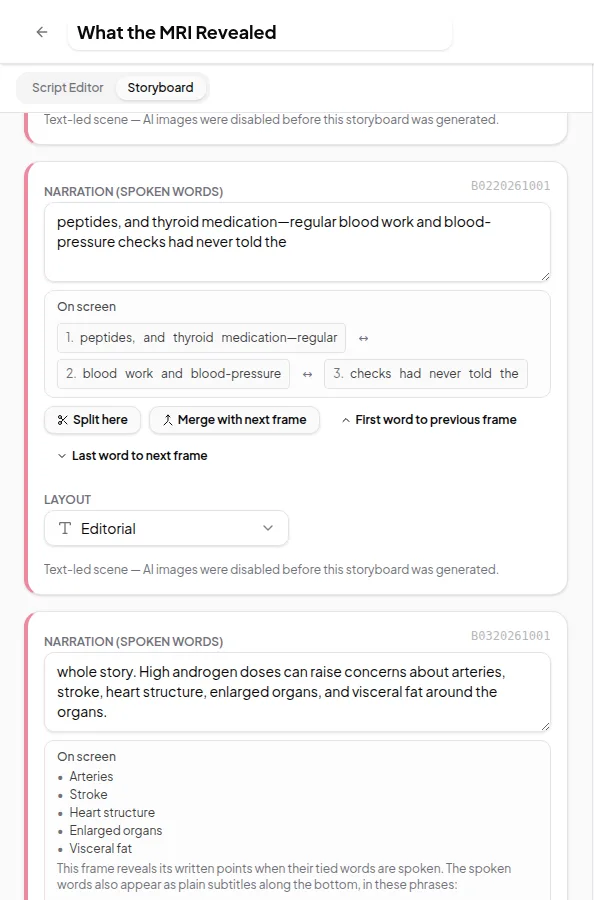
- Split here — put the cursor between two words in the narration first, then click it to cut the frame in two. Good for giving an important line its own moment.
- Merge with next frame — joins this frame with the one after it.
- First word to previous frame and Last word to next frame — move a single word across the boundary, for when a frame starts or ends one word too early.
Step 4: Fix where captions break
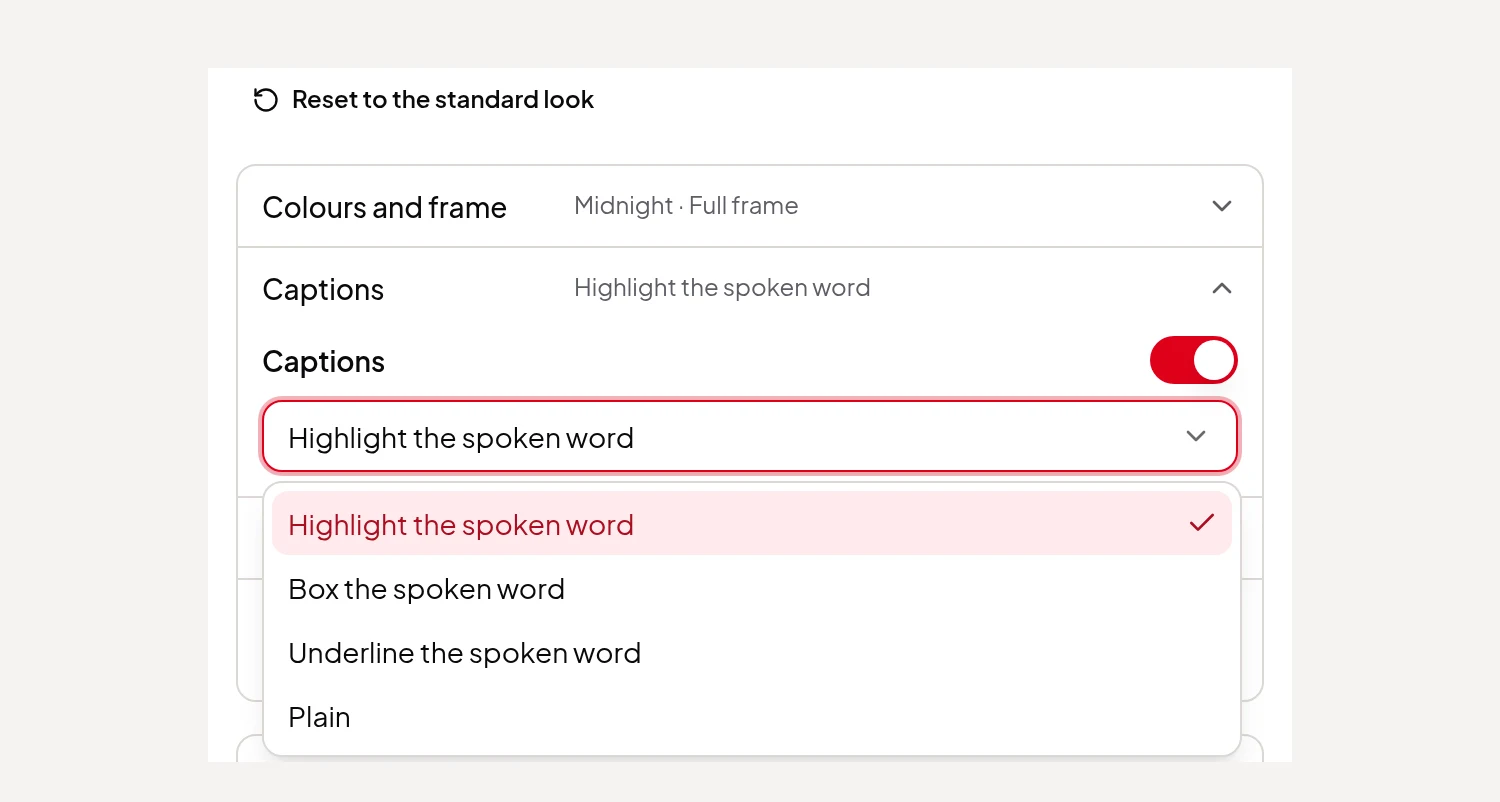
Under the narration, the frame shows the caption lines it will display. Click between two words to start a new caption there, or click a break to join two captions. A frame with breaks set by hand shows Custom breaks; click Reset to automatic to go back. More on caption choices in change the caption style.
Step 5: Adjust the headline, layout and points
- Headline — a short title on screen, shown for key-points videos, fact frames with a figure and visual scenes.
- Layout — how the frame looks: Editorial, Quote, Fact, Comparison, List, Chart / data, Icon, Process, Kinetic text, Map, Stat grid, and Image when AI images are on. The opening and closing can’t be charts or visual scenes.
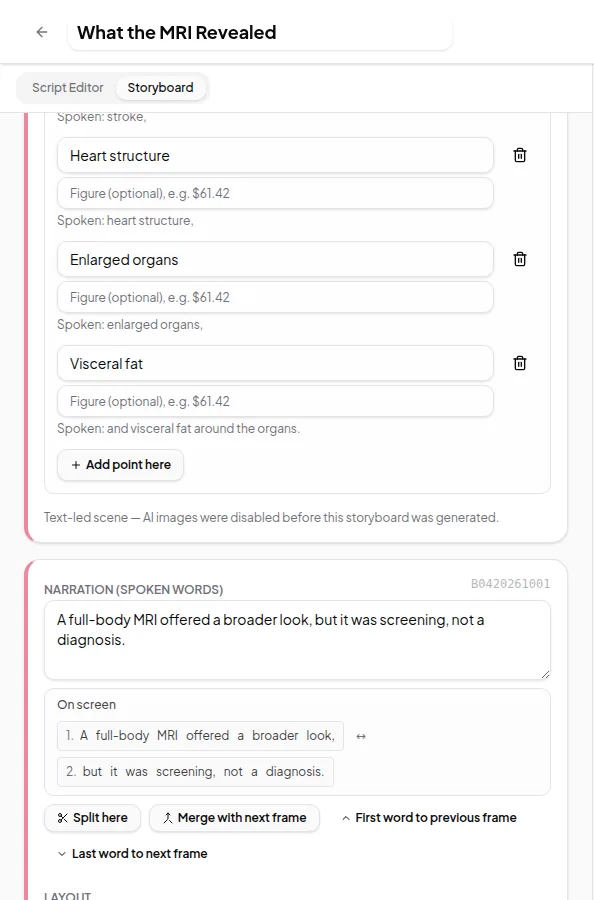
- Points and figures — list frames show written points as the narration reaches them. To add a point, place the cursor at its first word in the narration and click Add point here. Fact frames can show a Key figure, but only a number the narration actually says.
Step 6: Pick each frame’s visual
Each frame has a Director box with a short reason and its Visual:
- Layout — the frame’s own layout, with no paid picture.
- AI image — a picture made from the frame’s image prompt. Available when AI images were on for the storyboard; write an image prompt first if the frame has none.
- Custom animation — an animation written for this frame, used when Custom animated scenes is switched on for the render. It suits plain concept, process, trade-off or metaphor frames, including single-icon frames, not charts, lists, quotes, images, the opening or the closing. There’s a limit of about one for every 20 seconds of narration (at least 4).
If a choice is greyed out, its reason is shown next to it.
Step 7: Pick where the presenter stands (optional)
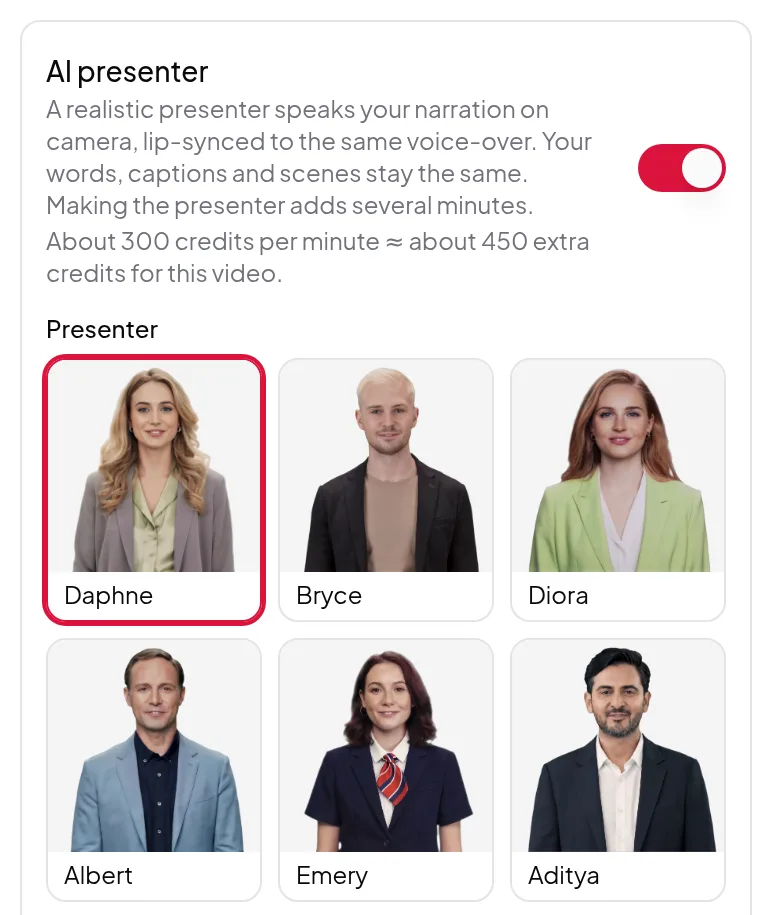
With an AI presenter on and Let the director decide chosen in Final Render, the Director box also has AI presenter: Presenter full screen, Presenter beside the visual or Presenter in the scene. Change it frame by frame, for example full screen for the opening and beside the visual for a chart. Setting up the presenter is covered in add an AI presenter.
Step 8: Approve and render
When every frame reads and looks right, click Approve Storyboard in the AI Storyboard step. The approved frames and choices are exactly what’s voiced and rendered, and the Final Render estimate follows them. If you edit a frame after approving, the render waits with “You edited the storyboard after approving it. Approve it again.”
Tips
- Read the narration out loud. If you stumble, the AI voice will sound rushed too.
- One idea per frame. Split long frames; viewers need time to read what’s on screen.
- Keep paid visuals for the frames that matter. Layouts and visual scenes cost nothing extra.
Credits
Generating the storyboard uses a small number of credits. Editing it — words, frames, captions, layouts, points and director choices — is free, as many times as you like. AI images, custom animations and the presenter are priced in the Final Render estimate, so you see what they add before you start. See credits explained.