Feature
Brand kit and saved styles for your videos
Save one or more brands — logos, colours and fonts — pick one for each polished or summary video, add text on the timeline, and reuse a look as a saved style.
Updated
Videos from the same brand should look like they belong together. Save a brand’s logo, colours and fonts once in Settings, and every polished video of your recordings can use them: on the title and end cards, in the captions and scenes, and in the corner of the picture. Summary videos can use them too, with the My brand look. Working for more than one company or product? Save a brand for each and pick one per video. Save the whole look as a style and the next video takes one click.
Your brands in Settings
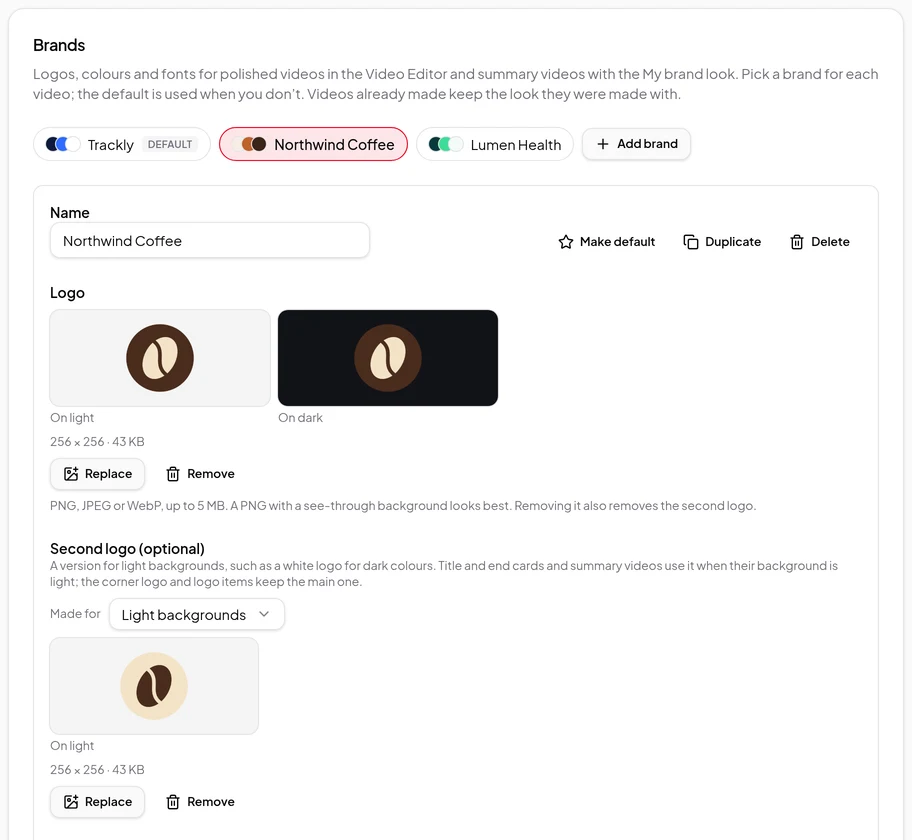
Open Settings → Brands. Click Create a brand (or Add brand for another one), give it a name, and set it up:
- Logo. Click Upload logo and choose a PNG, JPEG or WebP file up to 5 MB. A PNG with a see-through background looks best. The card previews it On light and On dark backgrounds, so you can see how it reads on both.
- Second logo (optional). Upload a version made for dark backgrounds or light backgrounds — for example a white logo for dark colours — and set Made for. Title and end cards and summary videos use it when their background matches; the corner logo and logo items keep the main logo.
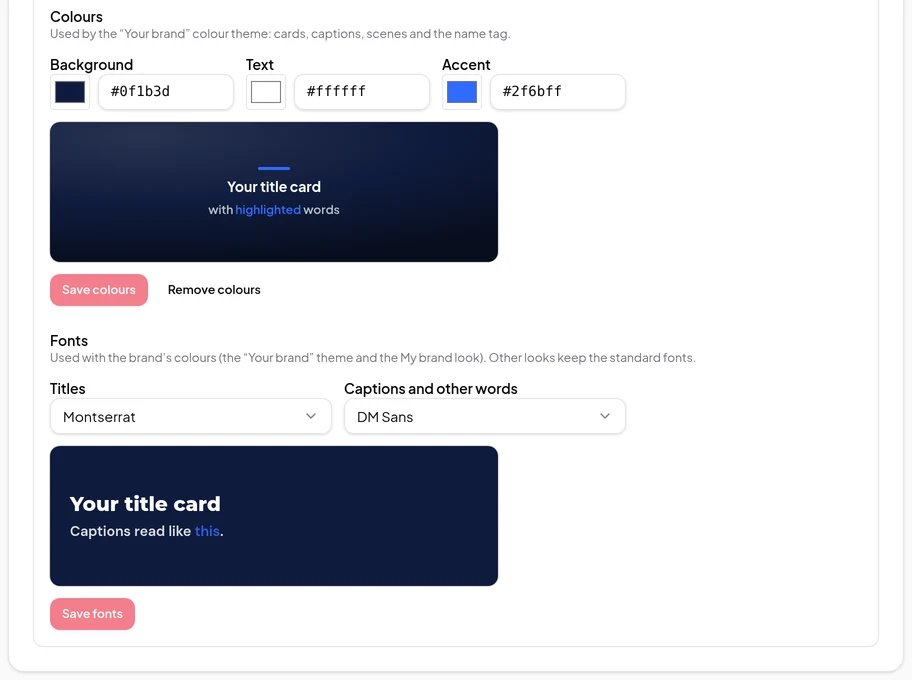
- Colours. Pick a background, text and accent colour, or type them like #1f6feb. A sample title card and caption show the result. Click Save colours.
- Fonts. Pick one font for Titles and one for Captions and other words from Vidonto’s set of clean, narrow and classic (serif) fonts. A sample shows them together. Click Save fonts. The fonts are used together with the brand’s colours.
Each brand has its own buttons to Make default, Duplicate (a copy to start a new brand from) and Delete. The default brand is used whenever a video doesn’t pick one. You can keep up to 20 brands.
The colours and fonts are used by the Your brand colour theme: cards, captions, scenes and the name tag. Videos you already made keep the look they were made with when you change or delete a brand later.
Use it in a polished video
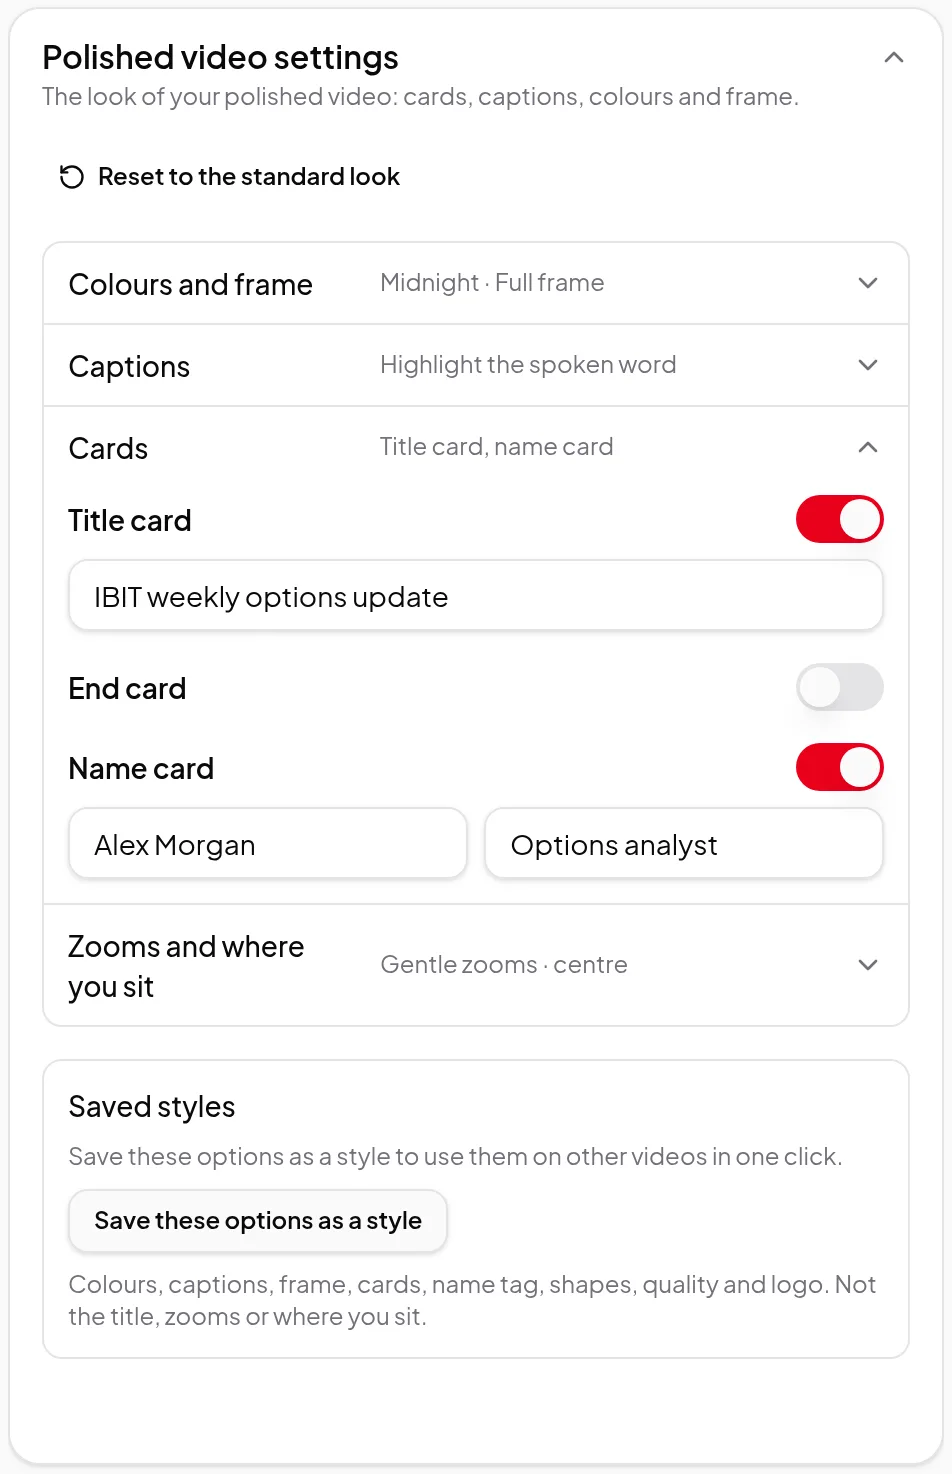
In a recording’s Polished video settings:
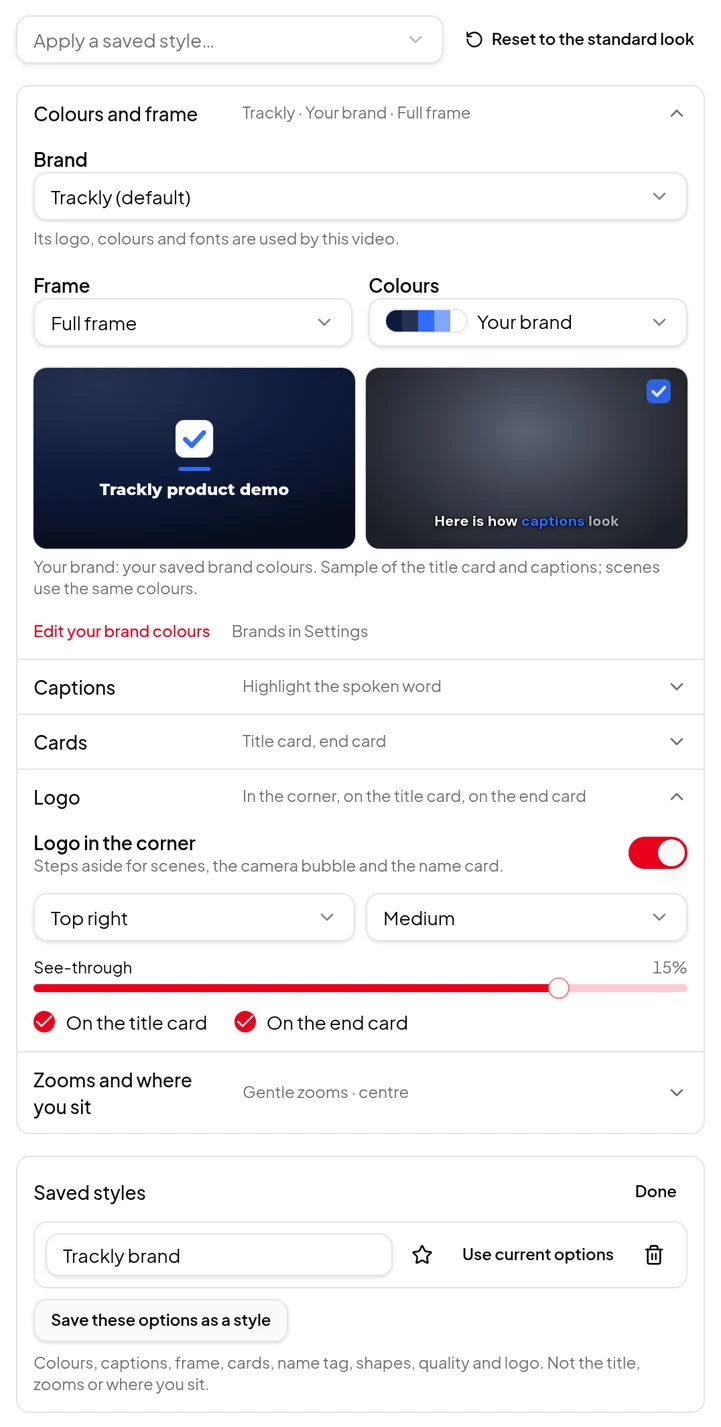
- Colours and frame → Brand. With more than one brand, pick the one this video uses. Its logo, colours and fonts follow.
- Colours and frame → Colours → Your brand. The cards, captions, scenes and name tag switch to the brand’s colours and fonts. Edit your brand colours changes them without leaving the editor.
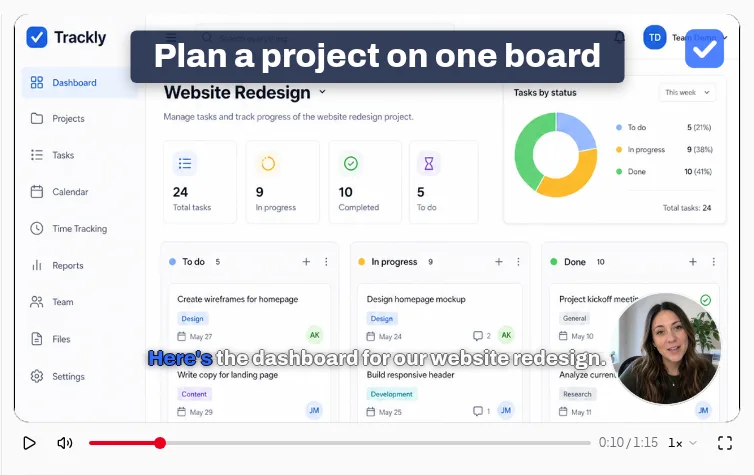
- Logo → Logo in the corner. Choose the corner (top left, top right, bottom left or bottom right), the size (Small, Medium or Large) and how see-through it is. The logo steps aside for scenes, the camera bubble and the name card.
- On the title card and On the end card put your logo on those cards too.
- Cards. Switch on a Title card at the start and an End card at the finish, each with its own text, and a Name card with your name and, if you like, your role.
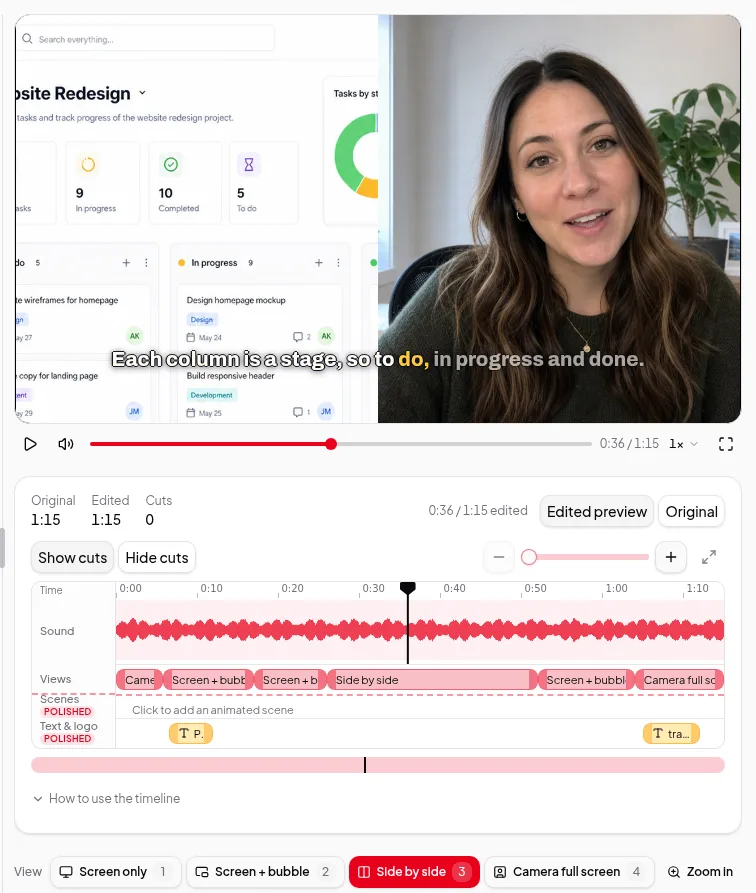
The polished preview under the player shows the colours, logo, captions and text as they’ll appear.
Use it in a summary video
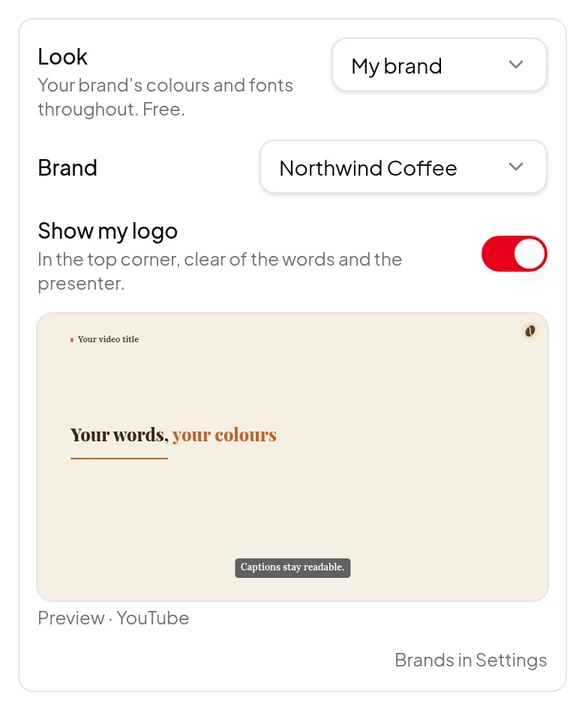
Summary videos made from a link, pasted text or your own script can use your brand too. When you render in Studio, or set up a Quick Render, choose Look → My brand:
- With more than one brand, a Brand menu picks which one; the default brand is picked to start with.
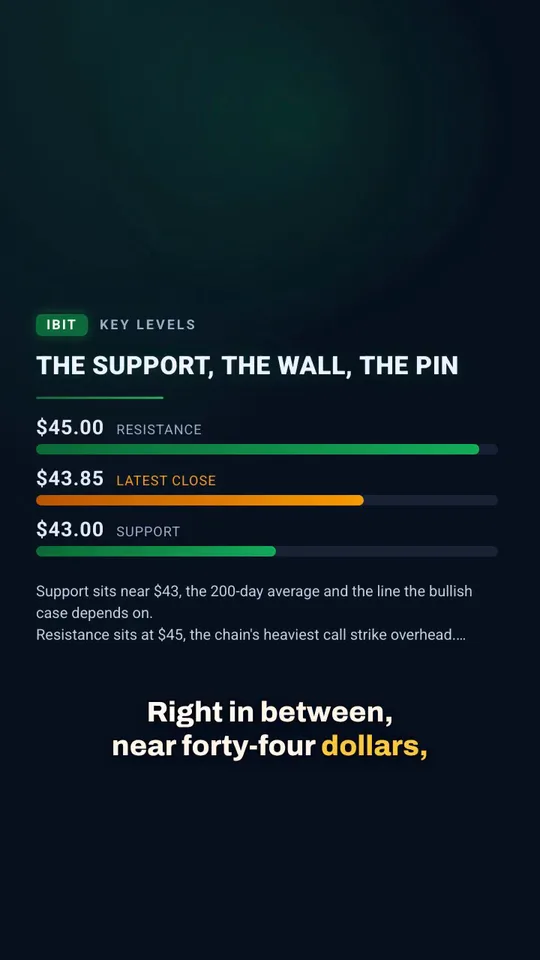
- The brand’s background, text and accent colours and its fonts replace the built-in look for the whole video: backgrounds, headlines, points, charts and highlights. This works in every format: landscape, vertical, square and portrait.
- Show my logo puts your logo in the top-right corner (the second logo, if it’s made for the brand’s background colour), above the headlines and points and away from the captions. With an AI presenter in the corner, the logo sits on the other side of the frame from them. When the presenter fills a square video, the logo is hidden for those moments so it never covers them.
- A preview in the chosen format shows the colours, fonts, title, a caption and the logo where the video will put them.
Don’t need your own colours, just the same look every time? The Look menu also lists the six built-in looks with their colours. Pick one and the video uses it instead of the look the AI picks for each video, and a Summary video look saved in Settings starts Quick Render (and API runs) on it.
My brand can only be picked once a brand has colours saved. Until then, it links to Settings → Brands. The logo and fonts are optional. Each video keeps the brand as it was when it started — a Quick Render from when the run started, a Studio render from when the render started — so changing a brand’s colours, fonts or logo later doesn’t change videos already made or on their way. If the brand is deleted, or its colours or logo are removed, before a render starts, it stops with a clear message instead of using a different look.
Runs started from the developer API or a connected AI assistant can use your brands too: send look: "brand", and showLogo: true for the logo. They use your default brand unless the run names another one with brandId (an assistant picks it when you name the brand). Brands, logos, saved intros and saved styles can also be added, changed and deleted from the API or by an assistant, with the same rules and limits as Settings.
Text and logo items on the timeline
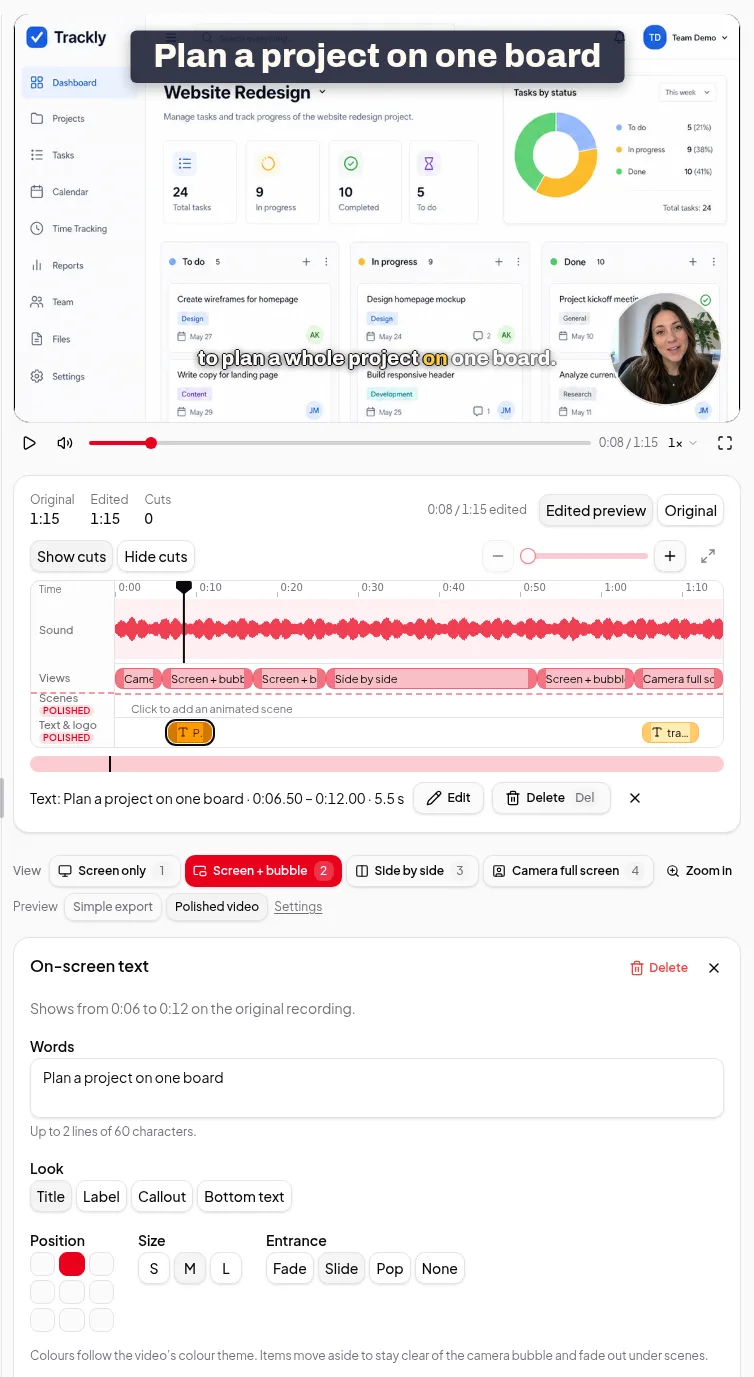
For a word on screen at the right moment, use the Text & logo row of the timeline. Click Add text or Add logo and an item is placed at the playhead. Drag it to move it, or drag its edges to change how long it shows. Click it to change:
- Words — up to 2 lines of 60 characters.
- Look — Title, Label, Callout or Bottom text.
- Position, Size (S, M or L) and Entrance (Fade, Slide, Pop or None).
Colours follow the video’s colour theme, so with Your brand they use the brand’s colours and fonts. Logo items use the brand picked for the video. Items move aside to stay clear of the camera bubble and fade out under scenes. They show in polished videos, short clips and cloud renders, but not in the free export made on your computer. The AI director can suggest text items for you to accept too.
Saved styles
Under Saved styles, click Save these options as a style and give it a name. A style keeps the brand, colours, captions, frame, cards, name tag, shapes, quality and logo — not the video’s title, zooms or where you sit, which belong to each video.
On another recording, choose it from Apply a saved style…. Anything a style can’t use there, such as a quality higher than the recording, is named in a short “Left out” note. Click Manage to rename a style, update it with the current options, delete it, or star it as the default for new recordings.
Limits worth knowing
- For recordings, the brand colours, cards and the logo in the corner are for polished videos. Text and logo items from the timeline also show in cloud renders. The free export on your computer includes none of them.
- In summary videos, My brand sets the colours, fonts and the corner logo only. Cards, text items, saved styles and intros or outros aren’t part of it.
- Fonts are picked from Vidonto’s set; your own font files can’t be uploaded.
- Add logo appears once the video’s brand has a logo saved in Settings → Brands.
Credits
Saving brands, adding cards, text and logo items and saving styles are free, and so is the My brand look on a summary video. A polished video uses credits for its length, shapes and quality, shown on the Start button before it begins. See credits explained.
Step by step: add your logo and brand colours to every video.