
Guide · Your recordings
How to clean up the sound of a recording
Step by step, remove background noise and room echo from your voice, choose how strong the cleanup is, and use the cleaned sound in the preview and every export.
3 min read · Updated
Feature used in this guide: Clean up sound — what it does, its limits and how credits work.
A fan, traffic outside or an echoey room can make a good recording tiring to listen to. Clean up sound in the Video Editor removes background noise and echo from your voice. This guide shows how to run it, tune the strength and export the result.
You’ll need: a Vidonto account with credits, and a recording in the Video Editor with its original file open on this computer. The panel says “Open the original file to clean up its sound.” until it is.
Step 1: Listen first
Play a few parts of the recording with headphones and note what bothers you: a steady hum, background voices, the echo of a bare room. Cleanup is made for these. It works on your voice, so music or sounds you want to keep may be reduced along with the noise.
Step 2: Start the cleanup
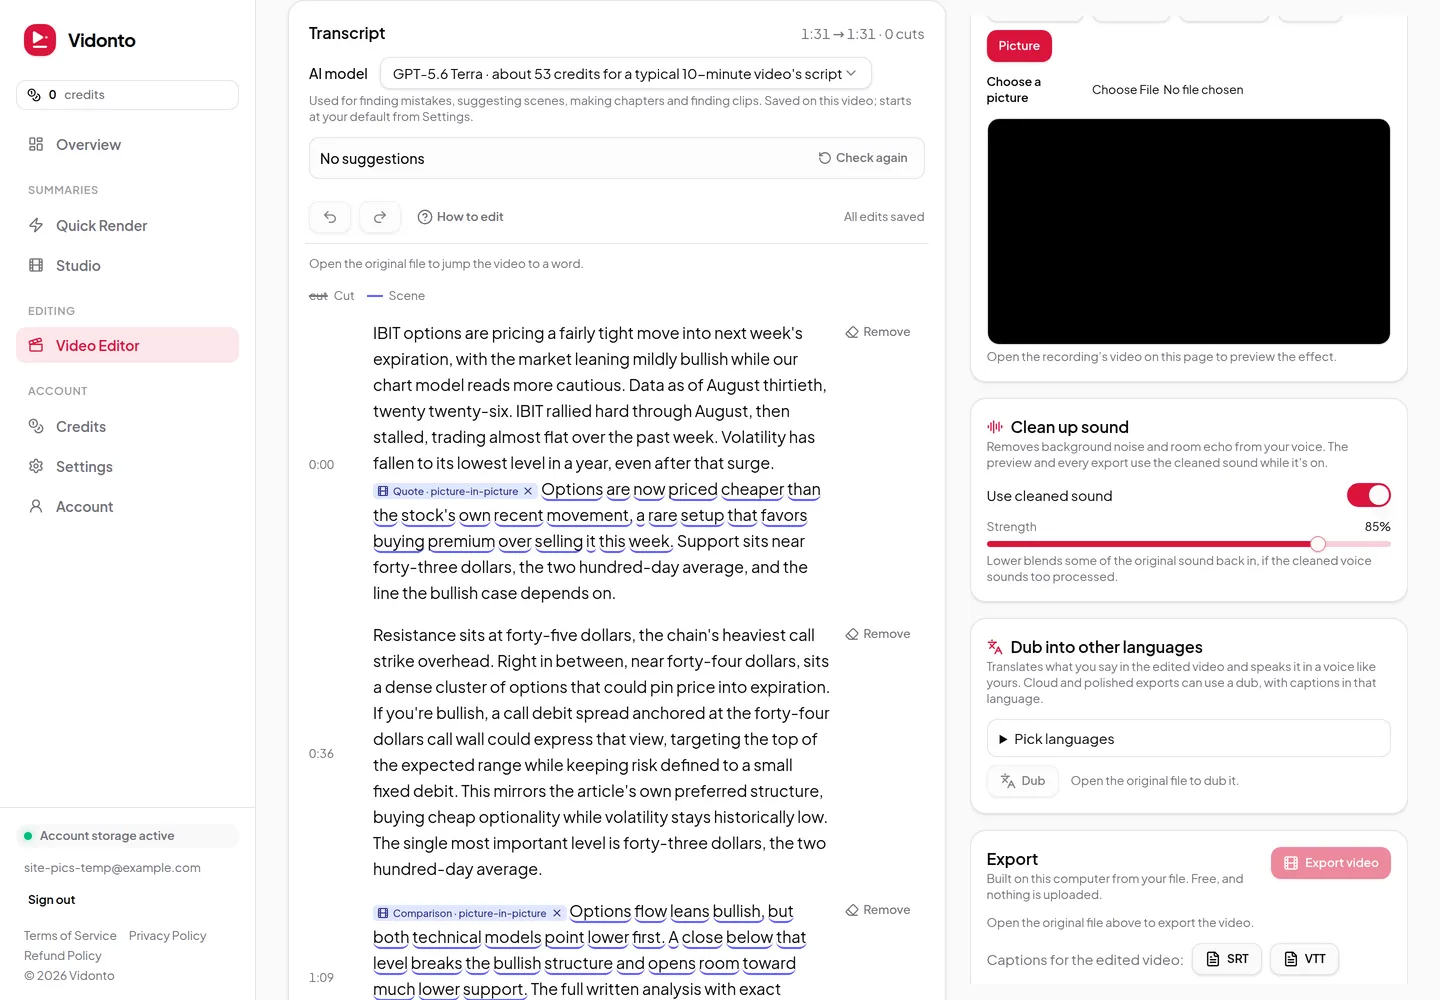
Open the Sound section. Under Clean up sound (“Removes background noise and echo from your voice.”), check the estimate next to the button, then click Clean up sound.
You don’t need to finish editing first: the cleanup covers the whole recording, and your cuts apply to the cleaned sound the same way they apply to the original.
Step 3: Keep the tab open during the upload
Vidonto prepares the sound on your computer (“Preparing the sound on this computer…”) and uploads it (“Uploading the sound…”). Only the sound is uploaded; the video stays on your computer. Keep this tab open until the upload is done.
Then the panel shows “Cleaning up the sound…”. From here it keeps going if you close the tab, and the result is waiting when you come back.
Step 4: Listen to the cleaned sound
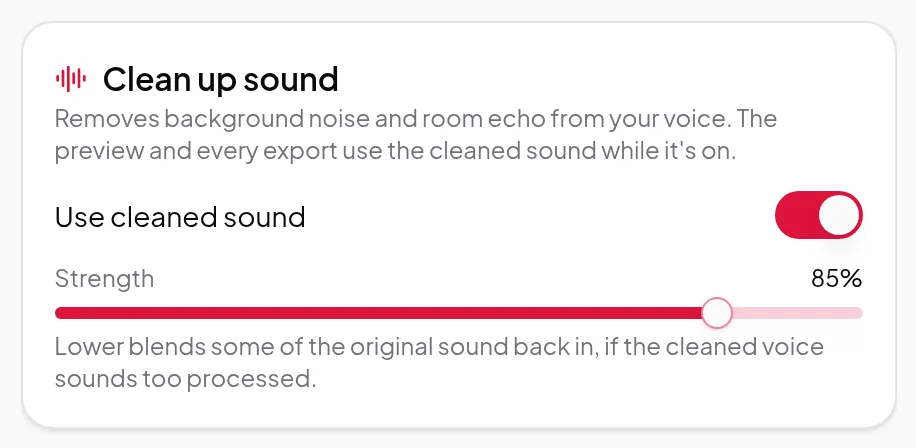
When the cleanup is ready, Use cleaned sound is switched on and the Strength slider is at 100%. Play the preview: the player now uses the cleaned sound. Switch Use cleaned sound off and on to compare it with the original.
Step 5: Choose the strength
If your voice sounds too processed, thin or “underwater”, lower the Strength. “Lower mixes some original sound back in.” Try a few settings and trust your ears. You can change the strength or switch the cleaned sound off at any time, for free; it doesn’t run the cleanup again.
Step 6: Export
While Use cleaned sound is on, every export uses it at the strength you chose: the free export On this computer, Render in cloud, polished videos and short clips. Nothing else needs setting. See export your finished video.
If something goes wrong
- “Cleaning up the sound failed. Nothing was charged.” Click Try again.
- The original file isn’t open. Open it in the editor, then start again.
- It still sounds rough. Cleanup can’t repair sound that was distorted or clipped by recording too loud. For your next recording, lower the input level and get closer to the microphone.
Tips
- Clean up before you dub. A clearer voice helps when you dub a recording into another language.
- Run it once. Changing cuts later doesn’t need a new cleanup; the cleaned sound follows your edits.
Credits
Cleaning up the sound uses credits based on the length of the recording; the estimate is shown before you start. If it fails, nothing is charged. Changing the strength or switching the cleaned sound off is free. See credits explained.