Guide · Your recordings
How to edit a talking-head video by deleting words
Open your recording in the Vidonto Video Editor, read the transcript, delete the words you don't want, fine-tune on the waveform and export the edited video.
4 min read · Updated
Feature used in this guide: Edit a recording by deleting words — what it does, its limits and how credits work.
Editing a talking-head video — a course lesson, a vlog, a product demo, a podcast with video — usually means hunting through a timeline for every false start. In Vidonto’s Video Editor you edit the transcript instead. Delete a sentence in the text and it’s gone from the video. This guide walks through a full edit, from opening the file to exporting the result.
You’ll need: a Vidonto account with credits for the transcript, and a video file on your computer — MP4 or MOV with H.264 video, or WebM with VP9 or AV1, with AAC or Opus audio. HEVC files (common from iPhones) work only if your computer can decode them.
Step 1: Open the Video Editor and add your video
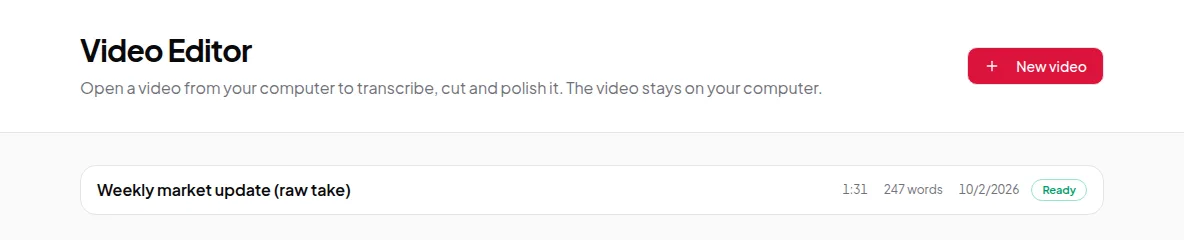
Click Video Editor in the sidebar. Your previous recordings are listed here. Click New video.
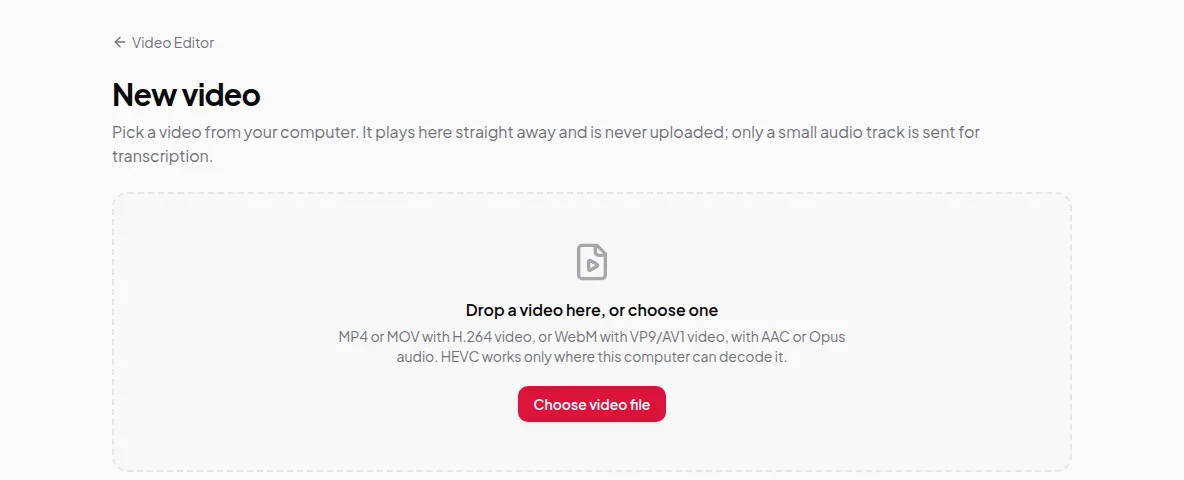
Drop the file onto the page or click Choose video file. The video plays straight away from your computer. It is never uploaded — only a small audio track is sent to make the transcript.
Step 2: Wait for the transcript
Transcription takes a short while, depending on the length. The transcript appears on the left with every word timed to the video. The credits for the transcript are based on the length of the audio, and the estimate is held when it starts.
Keep the original file where it is. If you move or rename it, Vidonto will ask you to choose it again next time you open the recording.
Step 3: Read through and remove what you don’t want
Play the video or just read the text. To cut:
- Select words by dragging across them, like selecting text in a document.
- Choose Remove, or press Delete.
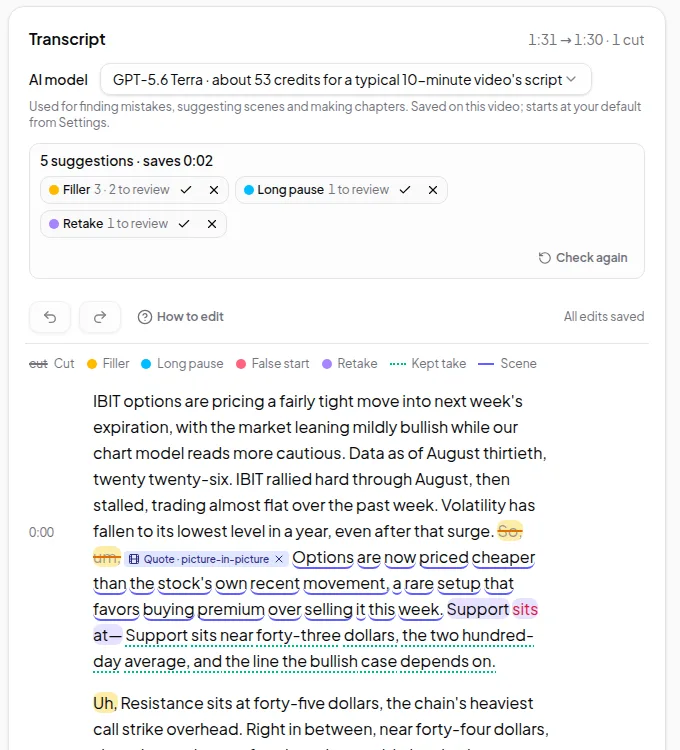
Removed words stay in the transcript, struck through, so you can see what you cut. Click a struck-through word to bring it back. Each paragraph also has its own Remove / Restore, handy for dropping a whole section.
Typical things to remove:
- Warm-up chatter at the start and “OK, I think that’s it” at the end
- Sentences you restarted — keep the clean version
- Tangents that don’t serve the video
- Long pauses between thoughts
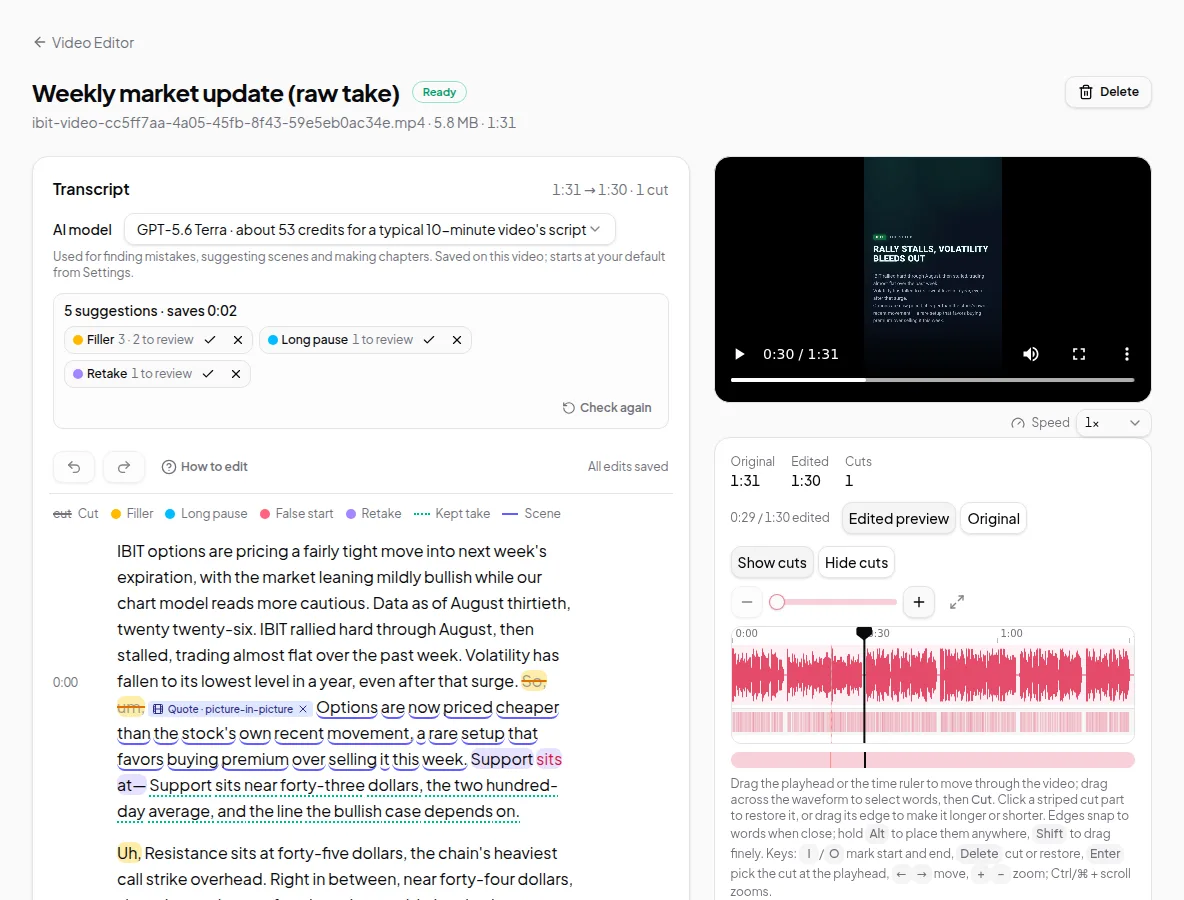
Edits save automatically. Undo with Ctrl/⌘ + Z and redo with Ctrl/⌘ + Shift + Z.
Step 4: Let Vidonto find the mistakes (optional)
Instead of finding every “um” yourself, ask Vidonto to suggest cuts for filler words, long pauses and retakes. You review each one and accept or reject it. That’s covered in its own guide: remove ums and retakes automatically.
Step 5: Fine-tune on the waveform
Some things aren’t words: a cough, a sip of water, a click. Use the timeline below the player:
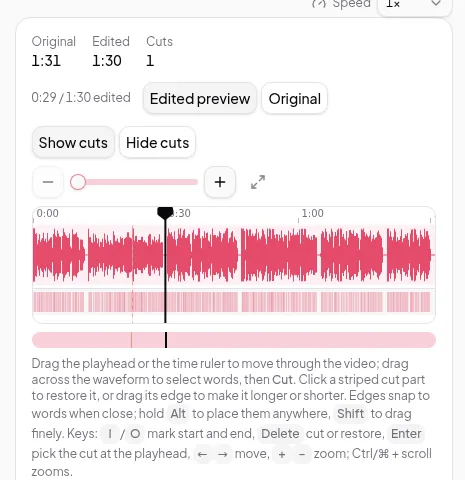
- Drag the playhead, or the time ruler at the top, to move through the video. Left and right arrows move the playhead.
- Press I and O to mark the start and end of a selection at the playhead, then Delete to cut it — or to restore it if it was already cut.
- Drag across the waveform to select a range.
Switch between Edited preview and Original to compare. Hide cuts shows the timeline as the viewer will see it; Show cuts shows the removed parts. At the top, the timeline shows the original length, the edited length and the number of cuts.
Step 6: Watch the edited preview
Play the whole thing in Edited preview before you export. Listen for:
- Clipped words. If a cut lands too close to a word, restore a word on either side and cut again more carefully.
- Jumps that feel abrupt. A brief pause left in place often sounds more natural than a hard cut.
- Too fast a pace. Removing every breath can make speech feel rushed.
Step 7: Export
Open the Export panel. You have three choices:
- Export video — builds the edited video on your computer. It’s free and nothing is uploaded. Also download captions as SRT or VTT.
- Export in the cloud — if your computer can’t handle the file. The original is uploaded and the video is built in the cloud. It uses credits, and the uploaded original is deleted after 7 days.
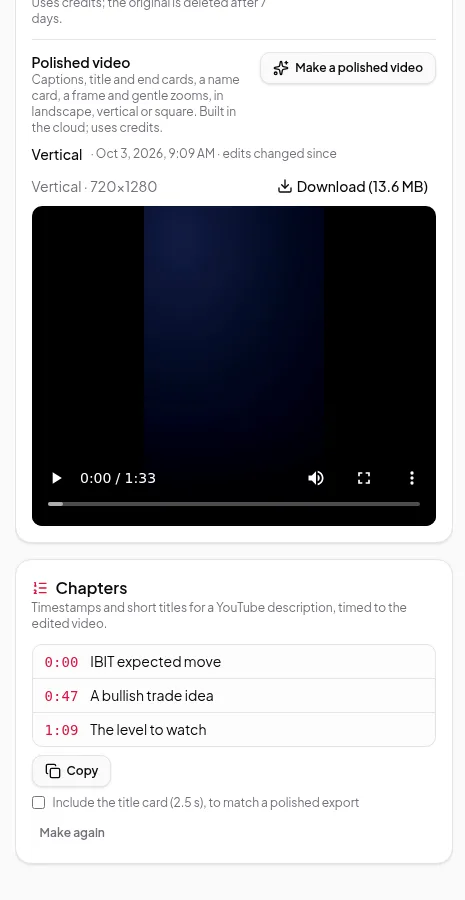
- Make a polished video — adds captions, title and end cards, a frame and zooms, in landscape, vertical or square.
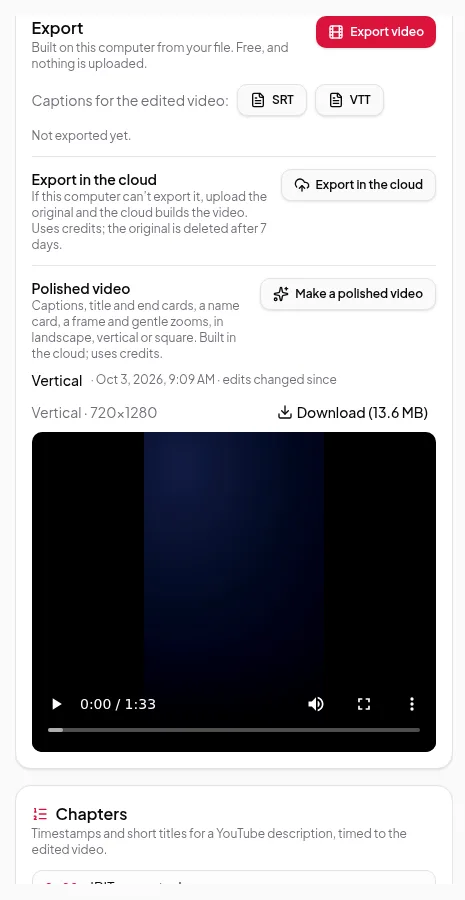
The export guide explains each option step by step.
Tips for faster editing
- Edit top to bottom in one pass. Reading is faster than scrubbing; save fine-tuning for the end.
- Cut whole sentences where you can. Cuts at sentence boundaries sound cleanest.
- Record with pauses. If you pause before retrying a line, the retake is easy to find and cut.
- Add chapters afterwards. Once the edit is final, add chapters for your YouTube description.