Guide · Your recordings
How to dub a recording into another language
Step by step, dub your edited recording into up to five languages at a time, listen to each dub with your video, then export it with captions in that language.
3 min read · Updated
Feature used in this guide: Dub into other languages — what it does, its limits and how credits work.
A dub lets people hear your video in their own language, in a voice like yours. This guide walks through dubbing a recording in the Video Editor: picking languages, listening to the result and exporting a video that uses it.
You’ll need: a Vidonto account with credits, and a recording in the Video Editor with its original file open on this computer. If you haven’t edited a recording yet, start with edit a talking-head video by deleting words.
Step 1: Finish your edit first
The dub is made from the edited video: only the words you kept are translated and spoken. Make your cuts, remove ums and retakes and fix misheard words before you dub. If you change the cuts later, you’ll need to dub again (see Step 6).
Step 2: Pick your languages
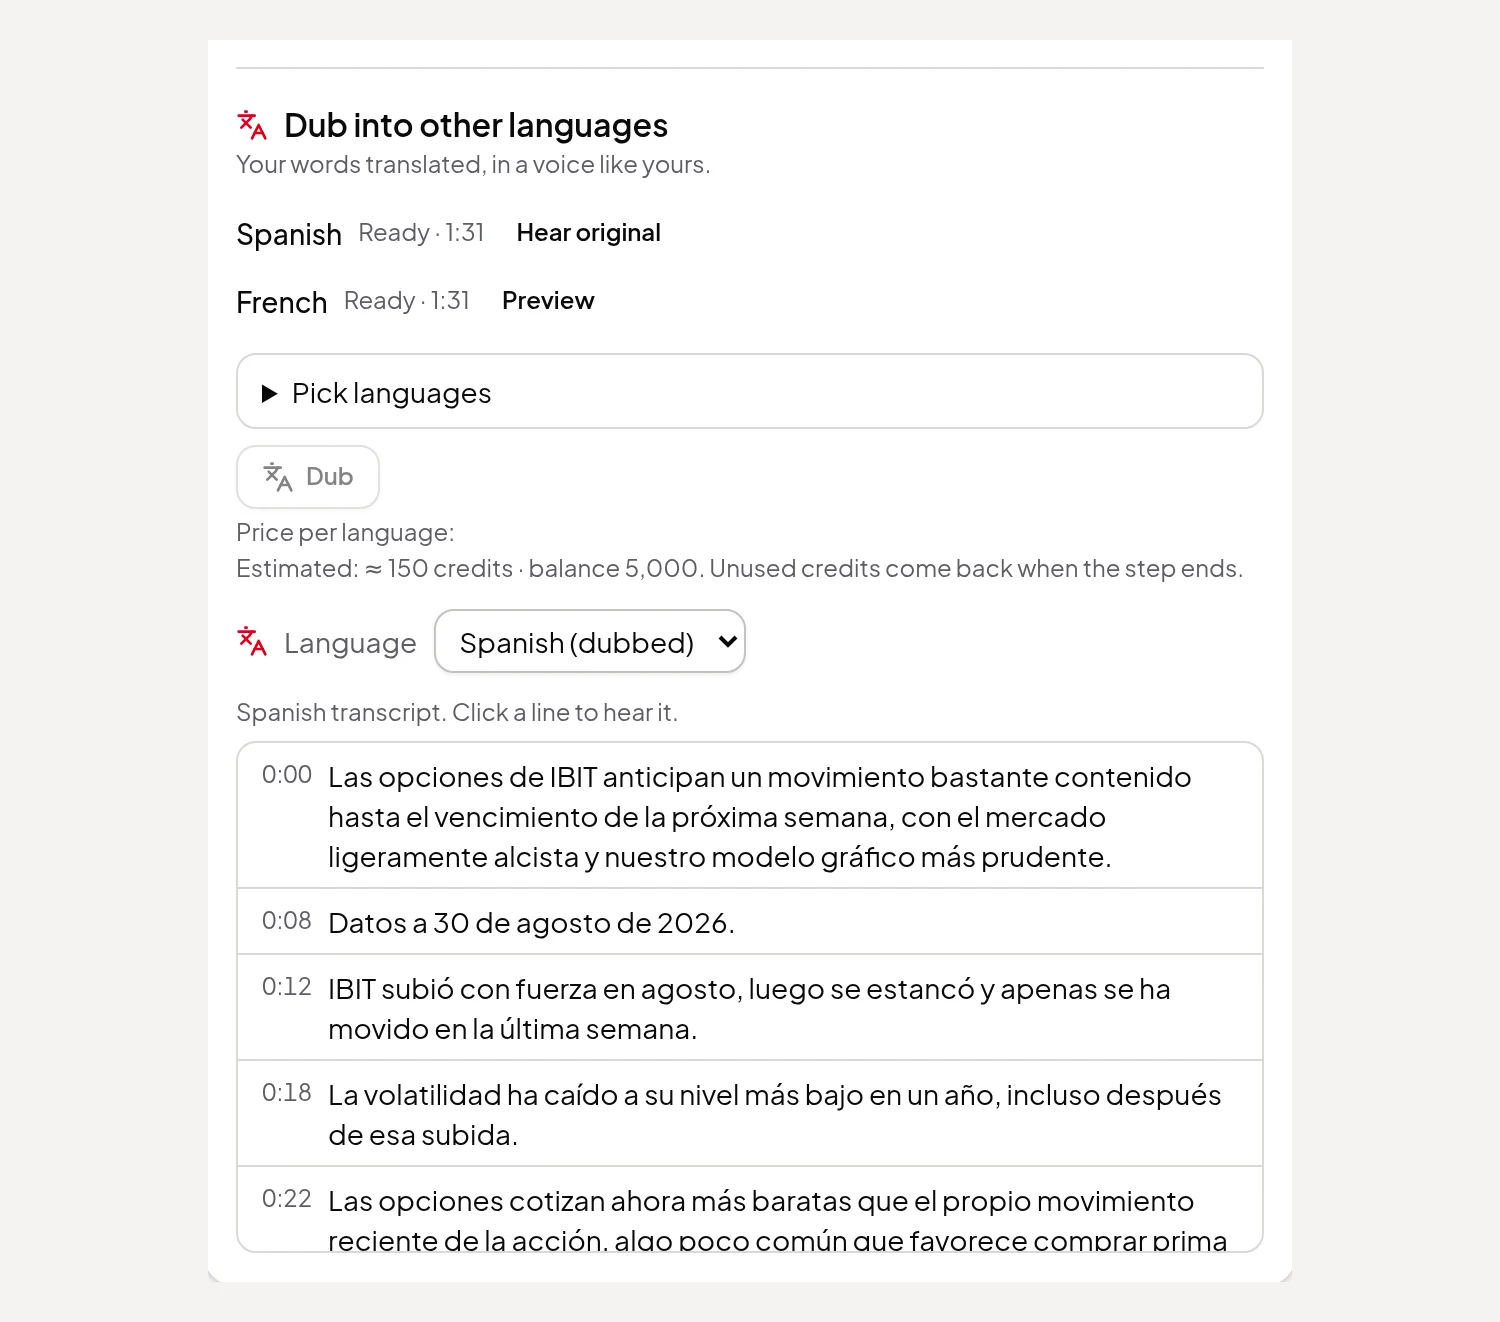
Open the Sound section (its line reads “Clean up the sound or dub it into another language.”). In Dub into other languages, open Pick languages and tick up to 5 languages. There are 29 to choose from; the language your recording is already in isn’t offered.
Under the Dub button, Price per language shows what each language costs and the estimate for your choice, next to your balance.
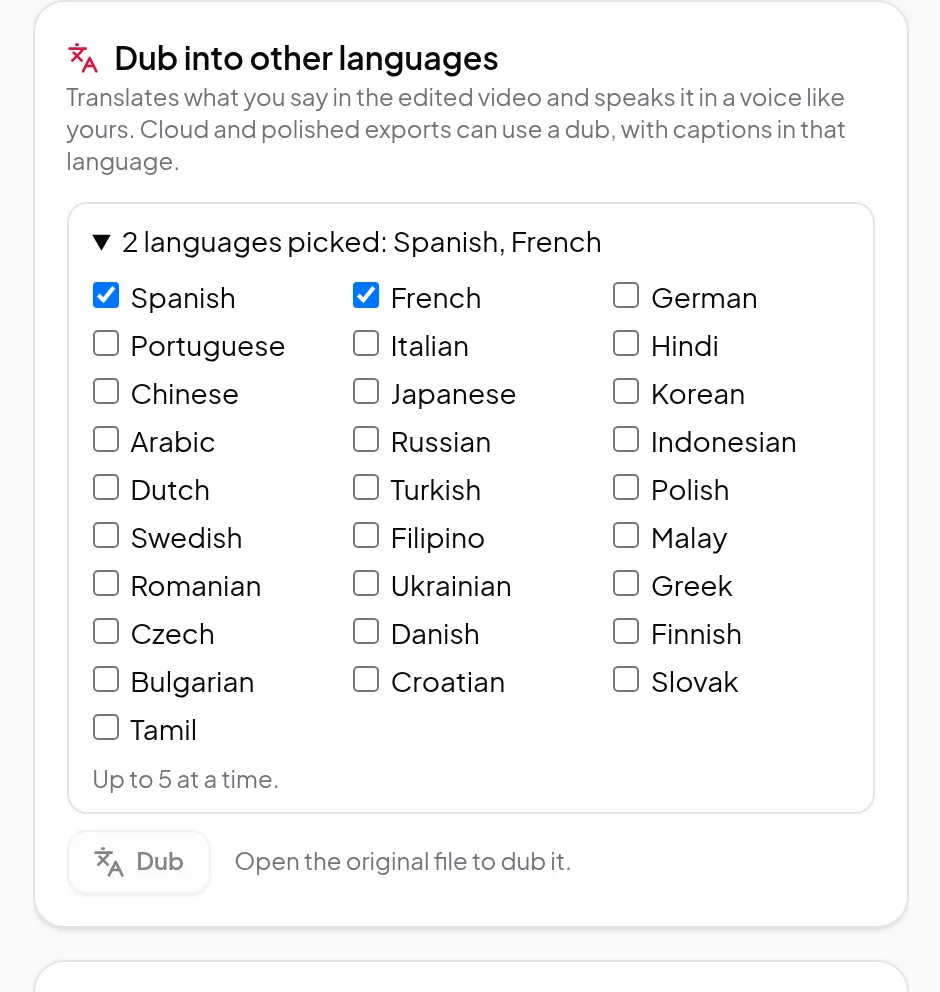
Step 3: Click Dub
Click Dub. Vidonto first prepares the sound on your computer (“Preparing the sound on this computer…”) and uploads it (“Uploading the sound…”). Only the sound is uploaded; your video stays on your computer. Keep the tab open until the upload finishes.
Each language then shows Waiting to start, then Dubbing, and finally Ready with its length, for example “Ready · 1:31”.
Step 4: Listen to each dub
Click Preview next to a finished language. The player switches to that dub, with your edited video, so you hear it exactly as it will be exported. Click Hear original to go back to your own voice.
You can also use the Language menu below the list: Original (for example Original (English)) or any finished dub, such as Spanish (dubbed). Under it, the dub’s transcript is shown line by line. Click a line to hear it.
Listen through at least once. Translation and voice are made by AI, so check names, product terms and numbers in particular.
Step 5: Export with the dub
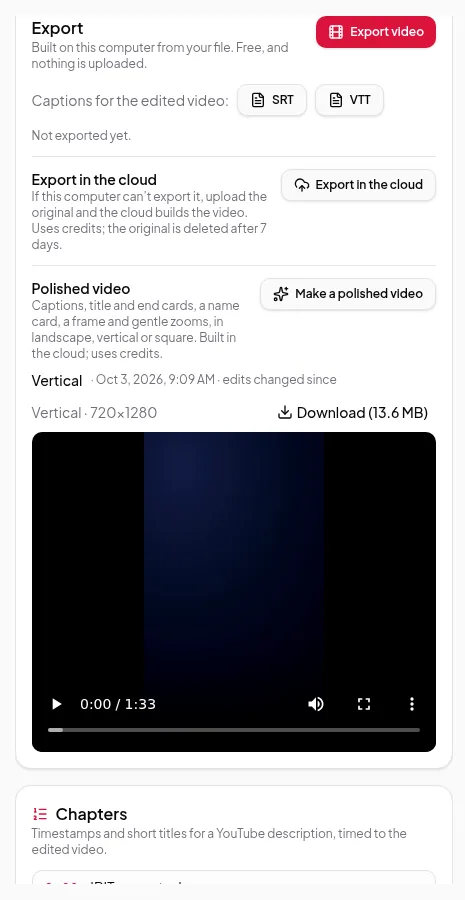
The language you chose is also the one your exports use. Open the Export section and check the Language menu at its top: “For cloud renders and polished videos; polished captions are in this language too. The free export keeps the original sound.”
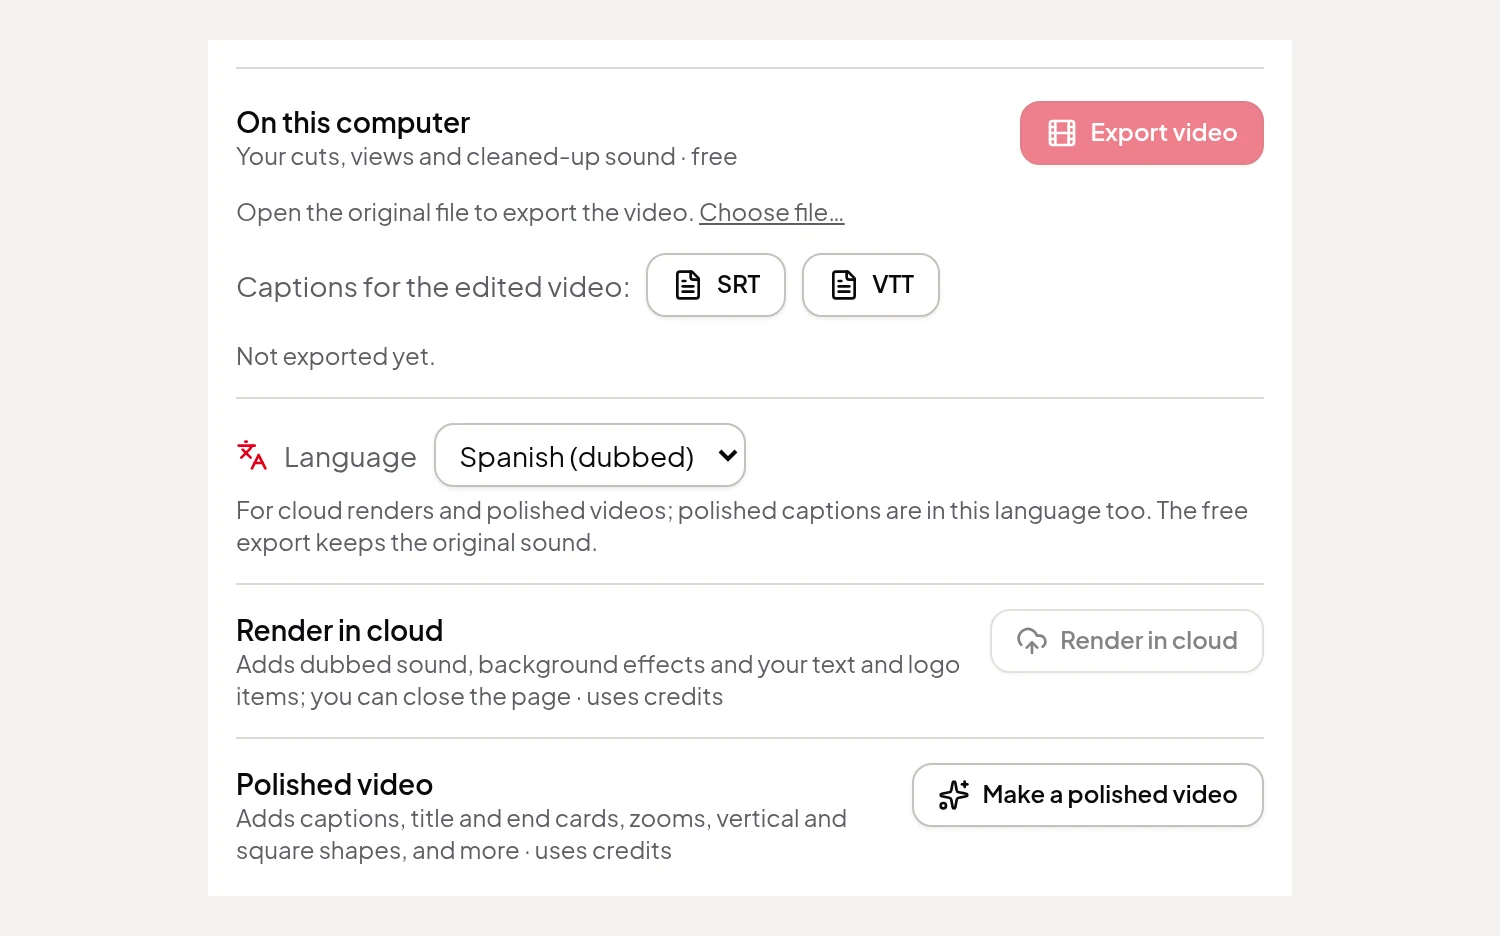
- Render in cloud gives you the edited video with the dubbed sound.
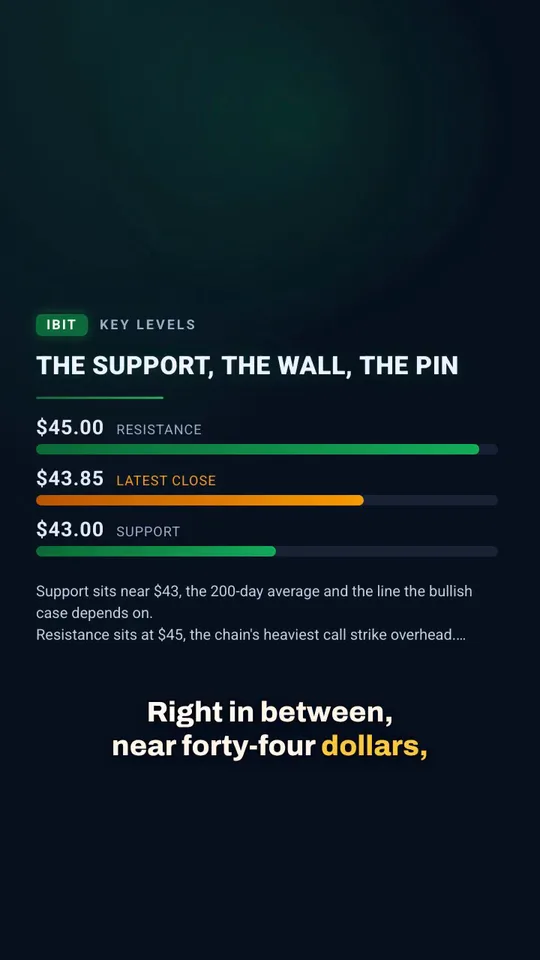
- Polished video adds captions, cards, zooms and shapes, with the captions in the dubbed language.
- On this computer keeps your original sound, and so do the SRT and VTT caption files there.
Each export uses one language. For a Spanish and a French version, export once with each language chosen. The steps for each export are in export your finished video.
Step 6: If you change the cuts
A dub matches the cuts it was made from. If you change them afterwards, the language is marked Out of date: the cuts changed and exports won’t use it. Click Dub again next to it to make a new dub of the current edit. Nothing is mixed up silently.
Tips
- Speak clearly and avoid talking over music. The cleaner your voice, the better the translation and the voice match. Clean up the sound first if the room was noisy.
- Dub the finished cut, not a draft. It saves you from paying to dub again after late changes.
- Use a polished video for viewers who watch muted. Its captions are in the dubbed language.
- The AI avatar speaks your own voice, so it’s off while a dubbed language is chosen.
Credits
Dubbing is priced per minute of edited video, per language: two languages cost twice as much as one. The price is shown before you click Dub, and you’re charged for the dubbed length. Listening to a dub and switching languages is free. Exports that use a dub are priced as usual, shown before you start. See credits explained.