Guide · Summary videos
How to make a video from a PDF, Word file or slides
Step by step, upload a PDF, Word document or PowerPoint deck in the Studio, check the text it reads, and turn it into a short narrated video with captions.
3 min read · Updated
Feature used in this guide: PDF, Word or slides to video — what it does, its limits and how credits work.
You have a report saved as a PDF, a Word document or a slide deck, and you want a short video that walks through it. Vidonto reads the text in the file, writes a shorter script from it, and builds the scenes, voice-over and captions the same way it does for a YouTube video.
You’ll need: a Vidonto account and a PDF, a Word document (.docx) or a PowerPoint deck (.pptx) of up to 50 MB. Reading the file is free. Writing the script, the storyboard, the voice-over and the render use credits, and the estimate is shown before each step.
Step 1: Start a project and choose Upload a file
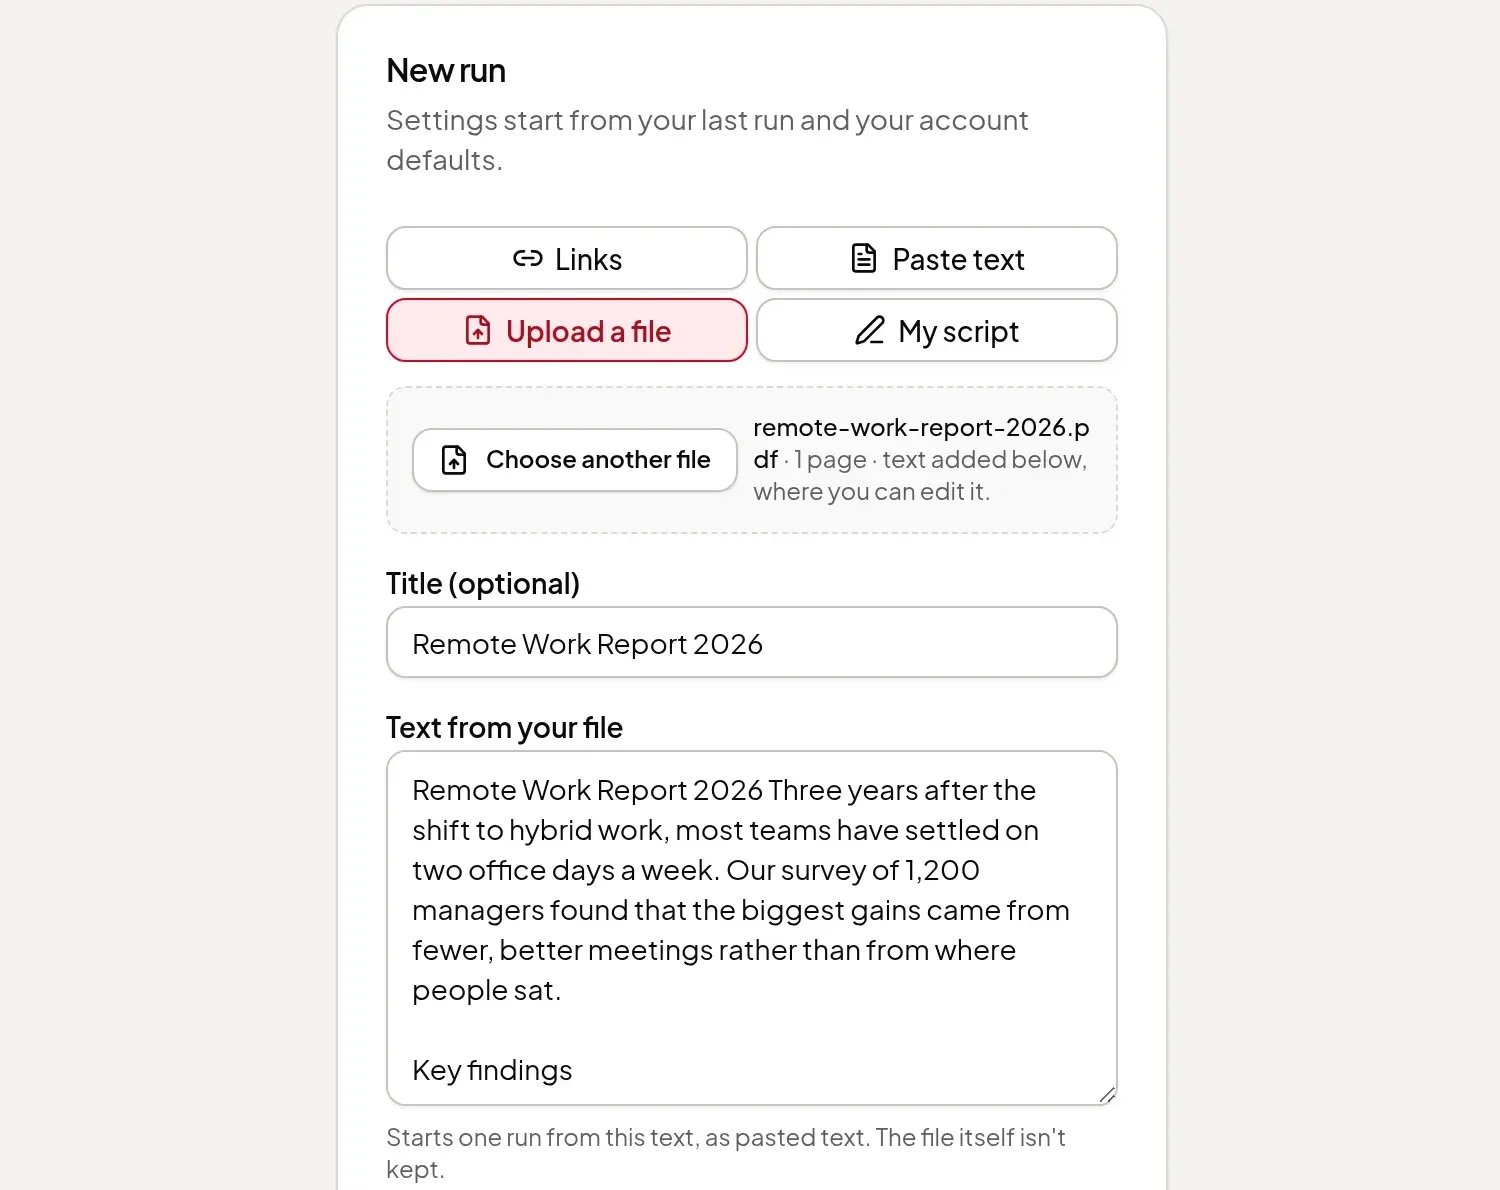
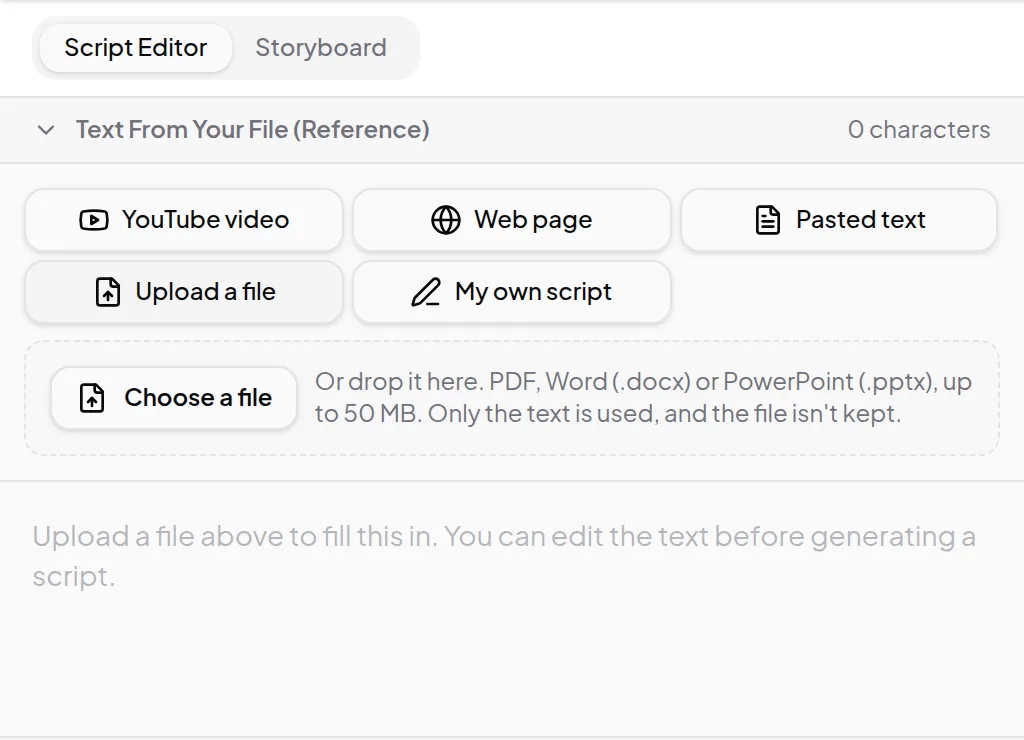
Open Studio and click New Project. In the source buttons, choose Upload a file.
Step 2: Upload the file
Click Choose a file, or drop the file onto the box. The button shows Reading file… for a moment, then the box shows the file name and how many pages or slides it has.
- Only the text is used. Pictures, charts and slide designs aren’t read; the video gets its own visuals.
- Slides stay in order. Each slide’s number and title come first, then its text and any speaker notes. Hidden slides are left out, and the app tells you how many.
- The file isn’t kept. It’s read once to get the text. Only the text is saved with your project.
Older .doc and .ppt files need to be saved as .docx or .pptx first. Scanned pages and photos of pages have no text to read, and password-protected files can’t be opened. In each case the app says what went wrong and offers Paste the text instead.
Step 3: Check the text and add a title
The text appears in the Text From Your File (Reference) box, where you can edit it. Repeated page headers, footers and page numbers are removed from PDFs, but give it a quick read and delete anything you don’t want in the video, such as a contents page or references.
Give the project a title at the top. The document’s own title, or its file name, is used as the source title if you turn on Credit the source.
Step 4: Set the length and generate the script
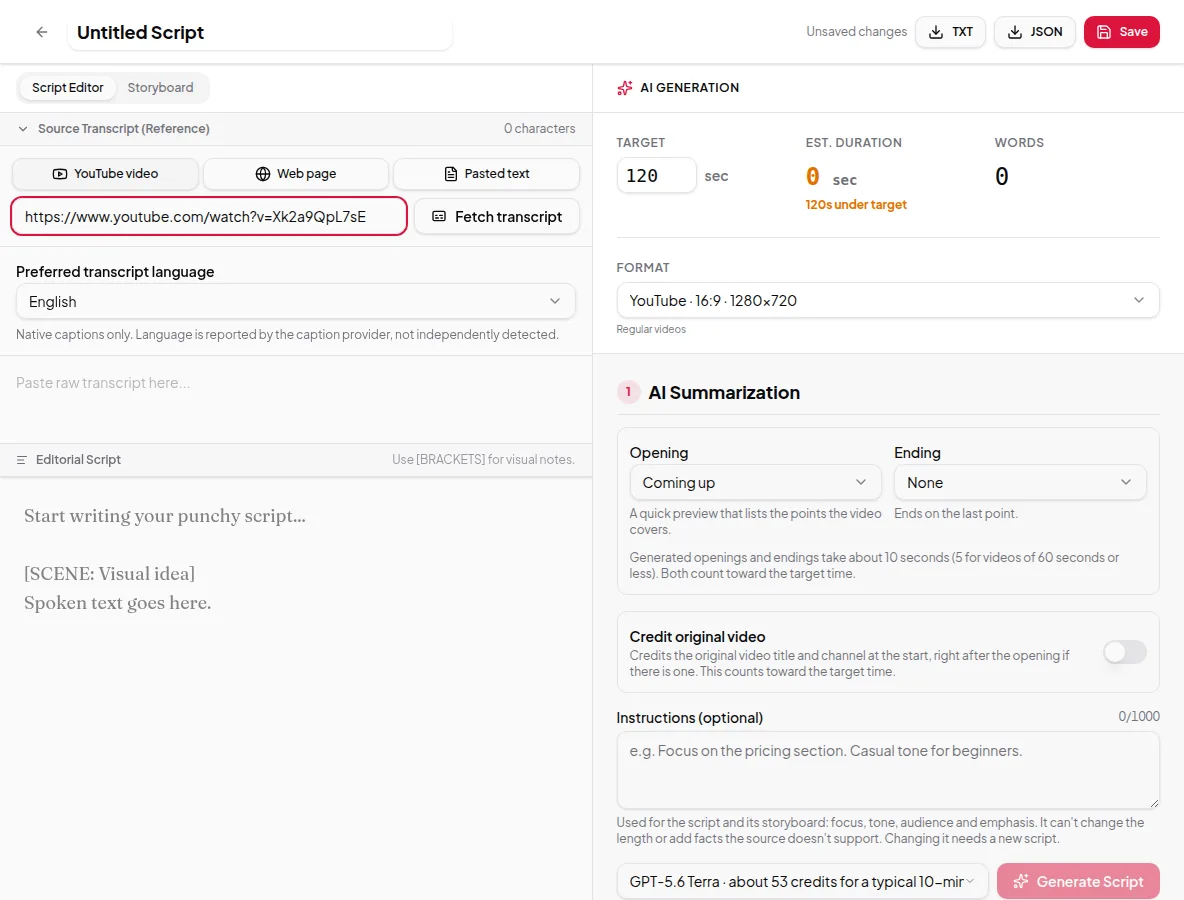
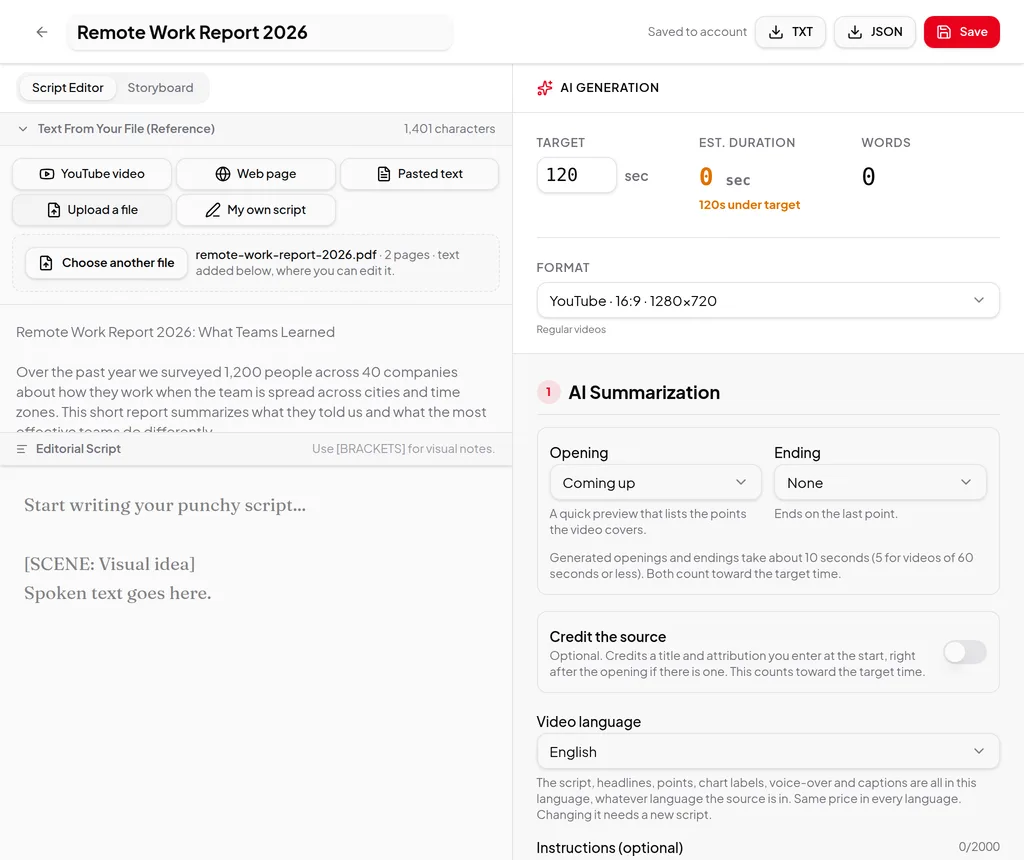
In the AI Generation panel, set the target length in seconds and choose the format — YouTube, Shorts & TikTok, Square or Portrait. Under AI Summarization, choose an opening and an ending if you want them, and set Video language if the video should be in another language than the file.
Optionally, add creator instructions, such as “Focus on the recommendations” or “Explain it for new employees”. Then click Generate Script.
Step 5: Edit and approve the script
The script appears in the Script Editor. Rewrite any sentence you like; the script you approve is exactly what the voice-over says. When it reads well, click Approve script & build storyboard.
Step 6: Review the storyboard and render
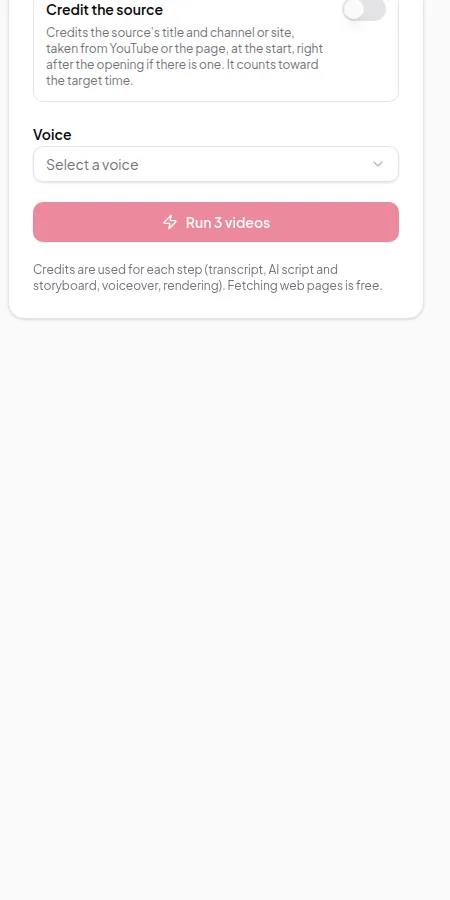
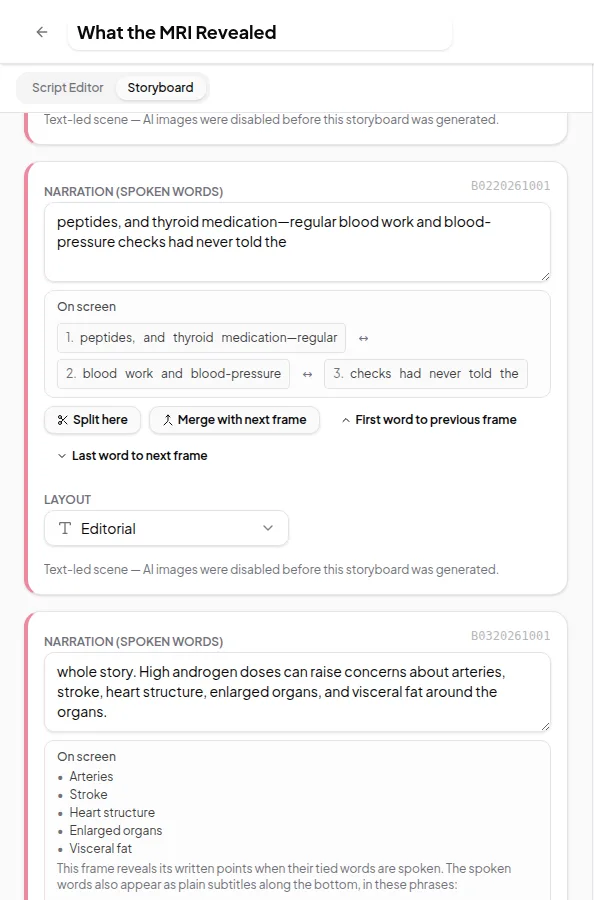
Open the Storyboard tab to check each frame: its words, caption breaks, headline and layout. Storyboard edits are free. Click Approve Storyboard, choose a voice in Select Voiceover, and click Start Final Render. When it’s done, download the MP4, the narration audio and the SRT captions, or share it with a link.
Tips
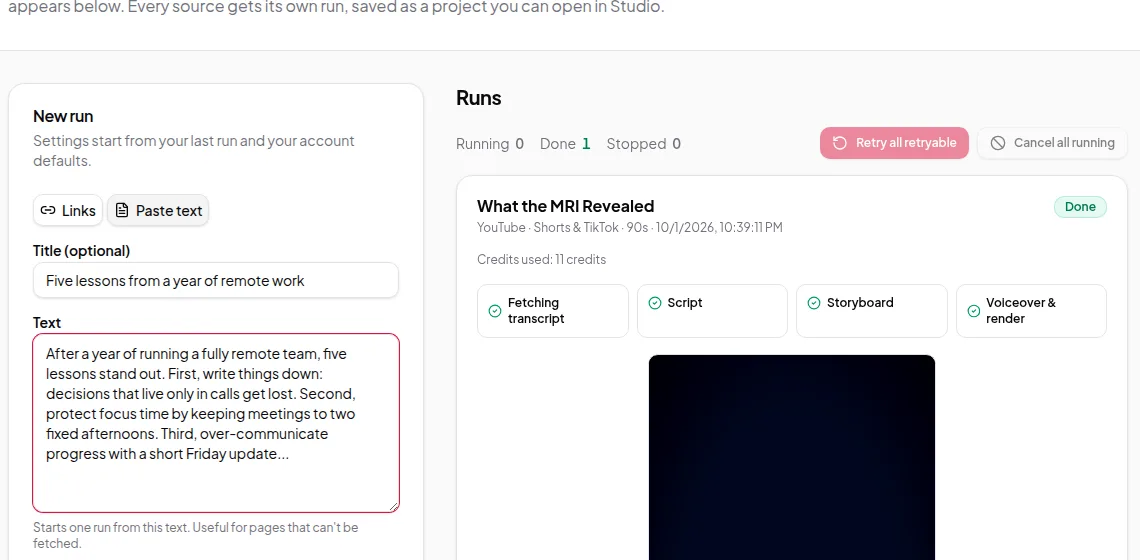
- Upload the part you need. Pasted text, including text from a file, can be up to 200,000 characters. For a long report, delete the sections you don’t want covered, or save just those pages as their own PDF.
- Slides with little text make thin videos. Add speaker notes to your deck before uploading, or add a few sentences to the text box.
- Want your exact words? If the file is already the script you want spoken, copy its text into a My own script project instead. See turn your own script into a video.
- Quick Render and the API take files too. In Quick Render, choose Upload a file. From the API, send a public link to the file as
documentUrl.
More about using text as a source: text to video.