Guide · Summary videos
How to turn your own script into a narrated video
Step by step, paste a script you wrote and get a narrated video with captions and visuals, spoken exactly as written, in the Studio or with Quick Render.
3 min read · Updated
Feature used in this guide: Your own script, narrated word for word — what it does, its limits and how credits work.
You’ve written the words and you don’t want an AI to rewrite them. With My own script, Vidonto narrates your script exactly as written and builds the scenes, captions and visuals around it. There’s no AI script step and no script charge, and the video is as long as your script.
You’ll need: a Vidonto account and your finished script, up to 20,000 characters. The storyboard, voice-over and render use credits; the estimate is shown before each step.
Step 1: Start a My own script project
Open Studio and click New Project. Choose My own script.
Step 2: Paste your script
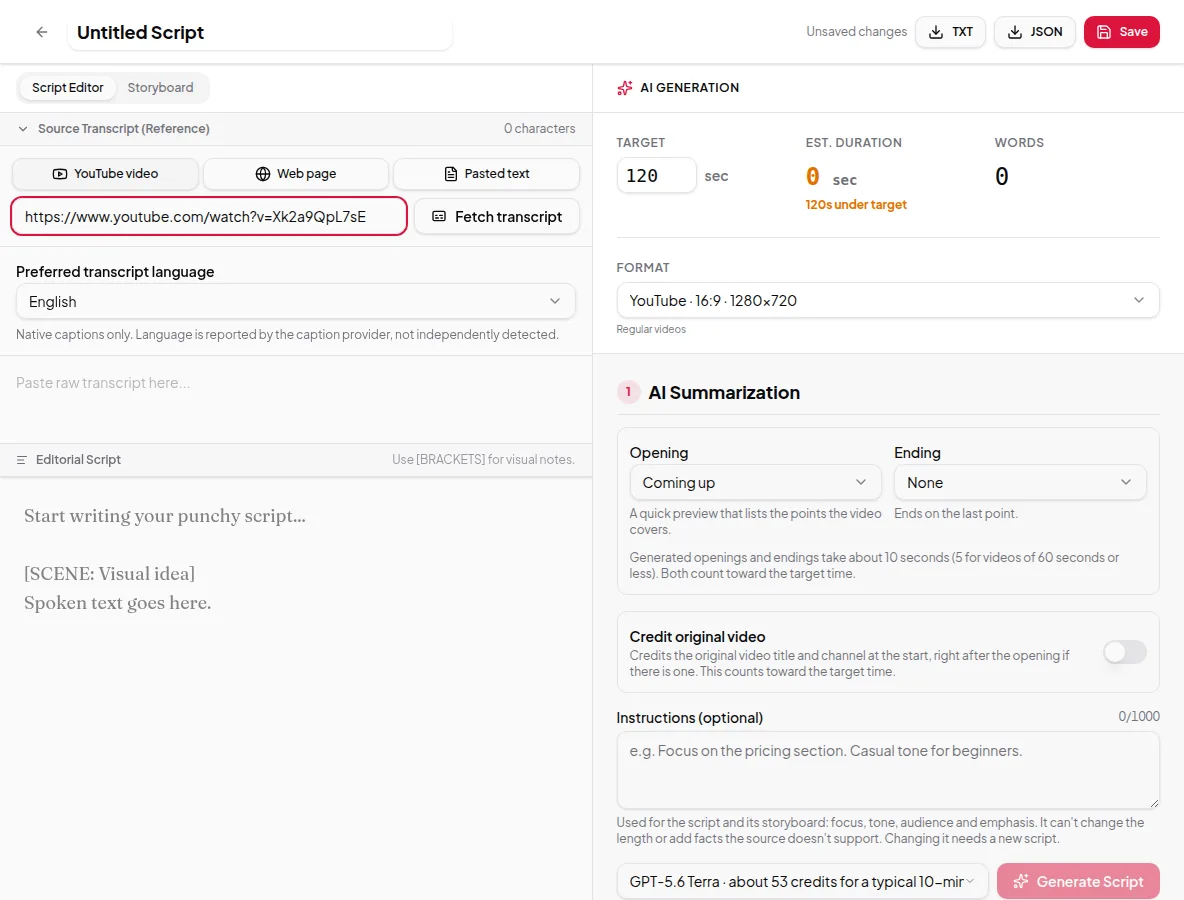
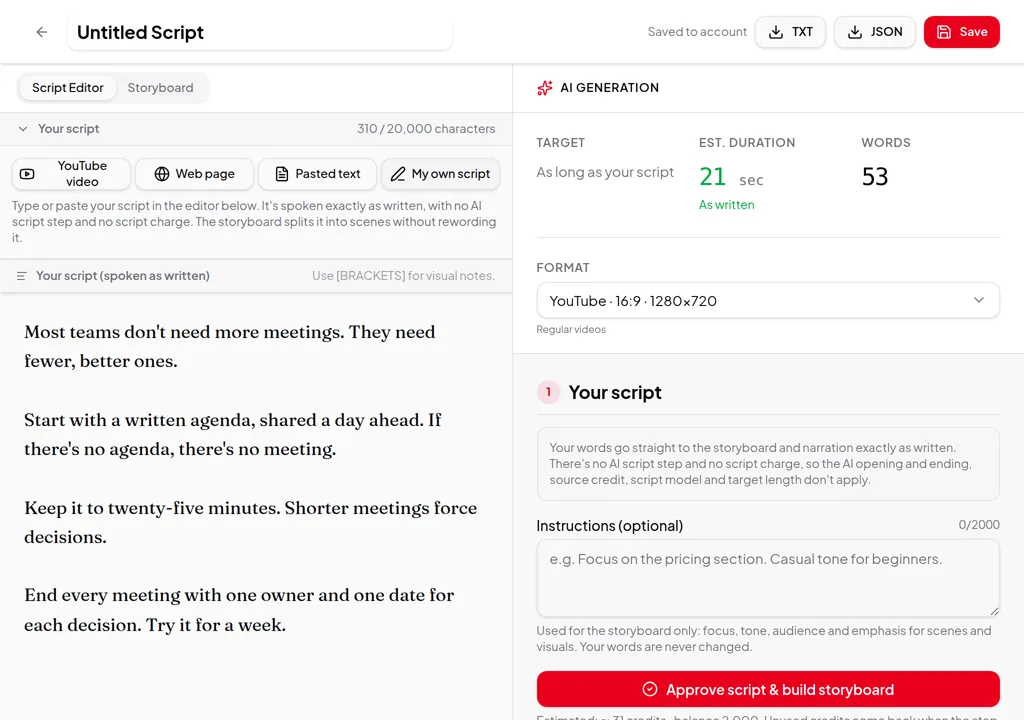
Paste or type the script into the editor and give the project a title. With no title, your first sentence becomes the title. The editor shows the character count and about how long the script will take to say.
A few things help the voice and the storyboard:
- Write it to be spoken. Short sentences read better than long ones.
- Write numbers the way they should be said. A figure appears on screen only when the narration says it.
- Spell out unusual names and abbreviations the way they should sound.
Step 3: Choose the format and approve
In the Your script panel, choose the format — YouTube, Shorts & TikTok, Square or Portrait. The target length shows As long as your script: the AI opening and ending, source credit and script model don’t apply to your own words.
Optionally, add creator instructions about tone, focus or what to show. They shape the scenes and visuals only; your words are never changed.
The storyboard uses the options in Step 2: AI Storyboard — Use AI Images, On-screen Text and Caption length — so set those as you want them. Then click Approve script & build storyboard.
Step 4: Review the storyboard
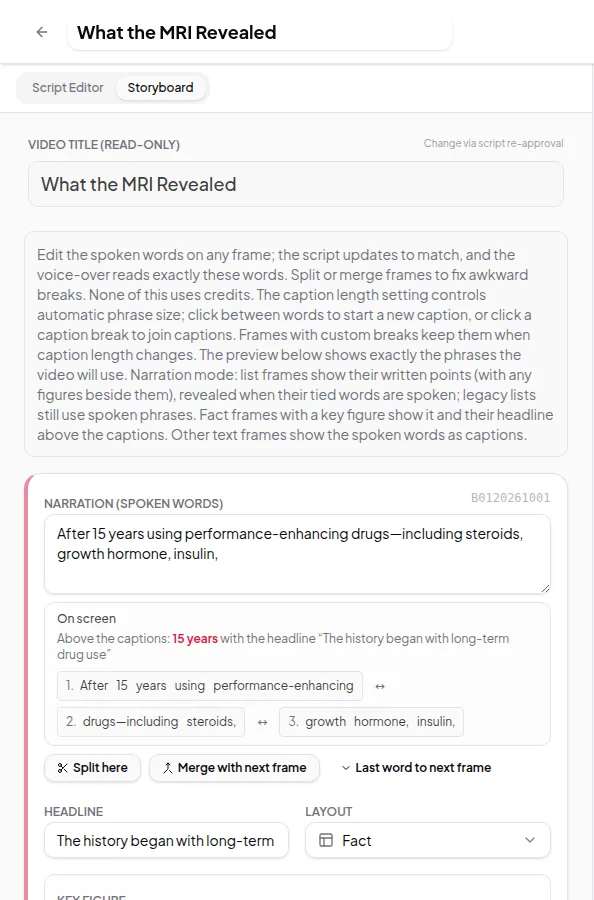
The storyboard splits your script into frames without rewording it. Open the Storyboard tab to check each frame: move caption breaks, split or merge frames, or change a headline or layout. The Director’s plan at the top sums up how the director chose to show each frame, and each frame’s Director box says why. Change any pick you disagree with.
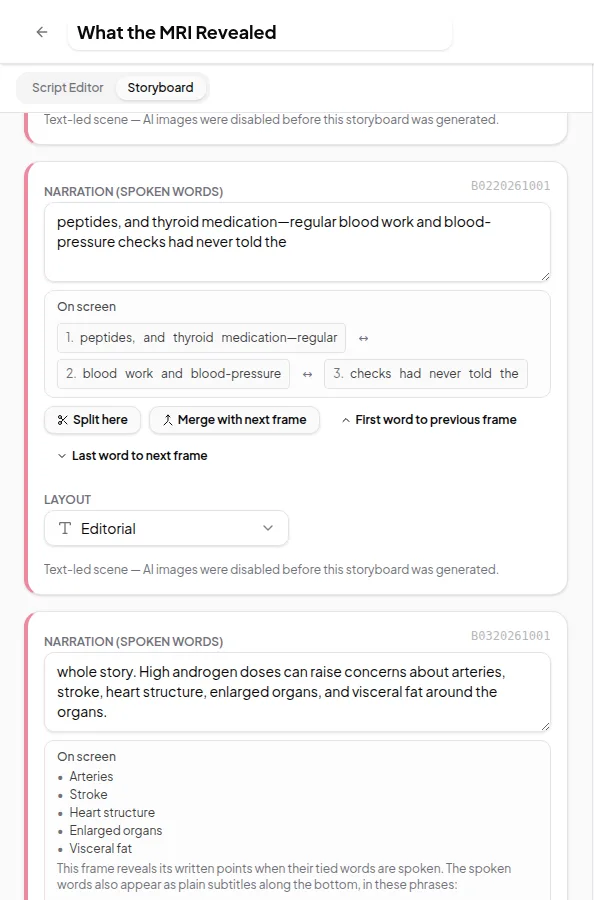
You can also edit the spoken words of a frame here. What you approve is exactly what the voice-over says. Storyboard edits are free. When it looks right, approve the storyboard.
Step 5: Pick a voice and render
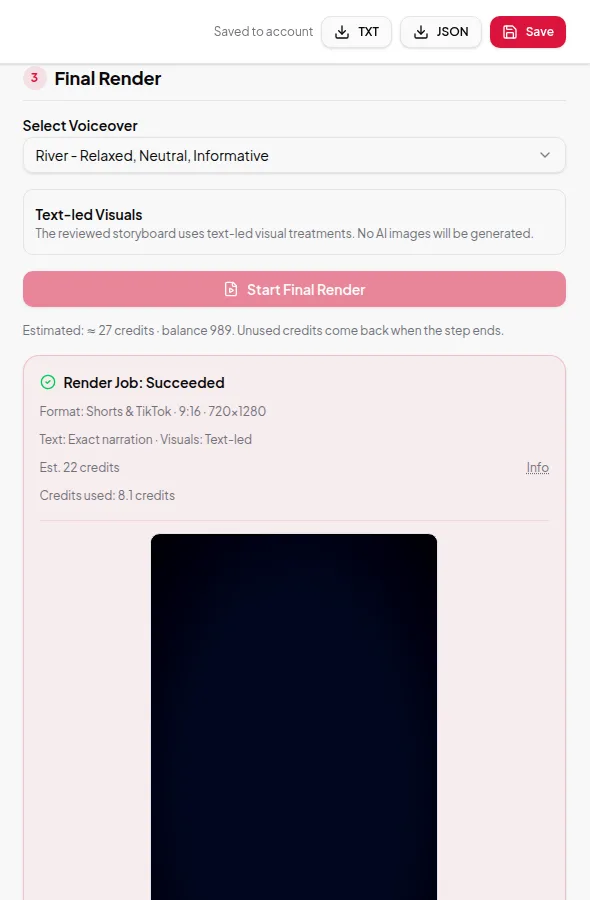
In Step 3: Final Render, choose a voice from Select Voiceover. Optional extras show what they add to the estimate:
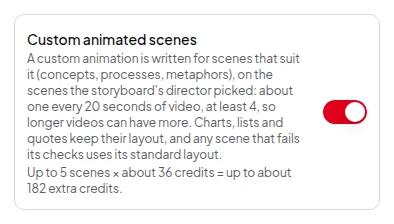
- Custom animated scenes — animations written for the frames the director picked, about one for every 20 seconds of narration (at least 4). See custom animated scenes.
- AI presenter — a lip-synced presenter who speaks your script. See AI presenter.
Click Start Final Render. When it’s done, download the MP4, the narration audio and the SRT captions.
The fast way: Quick Render
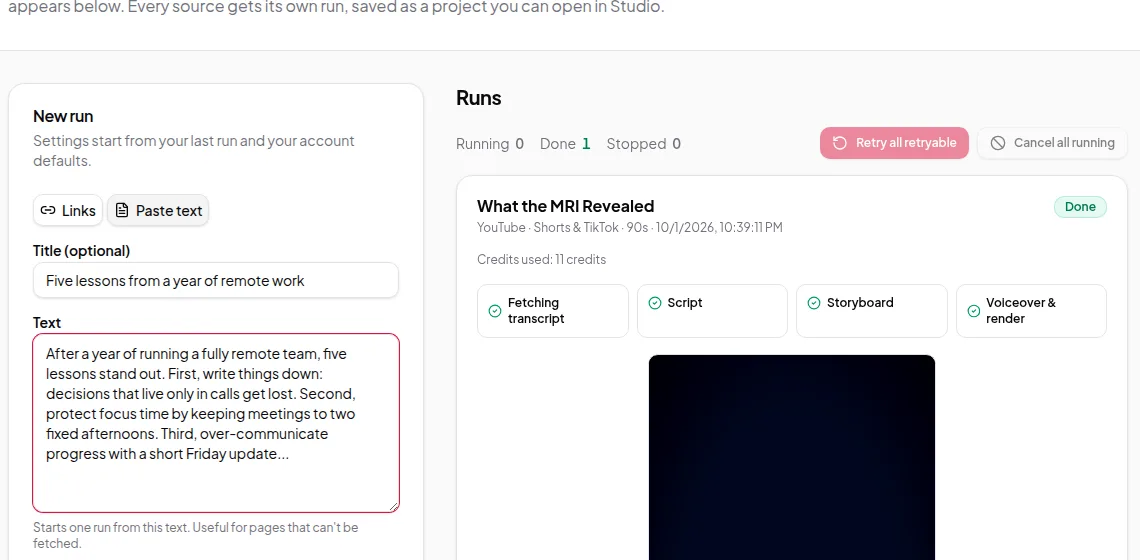
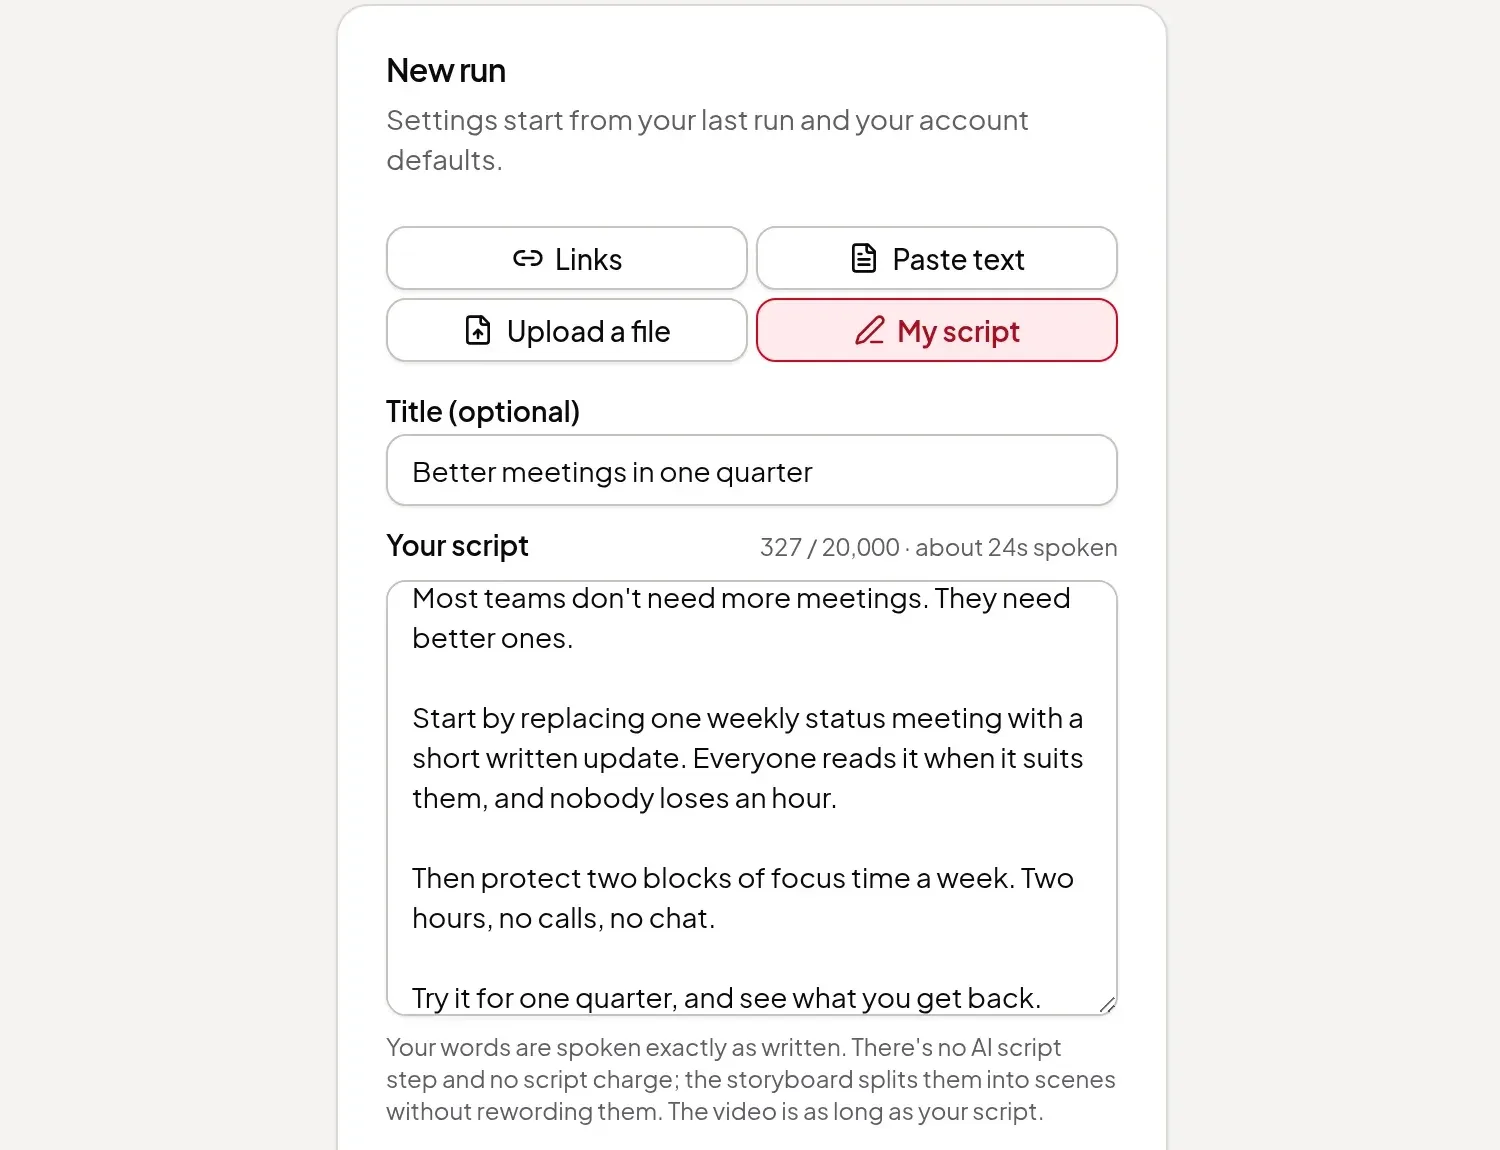
For a script you don’t need to review, open Quick Render and switch to My script. Add an optional title and paste the script. A blank line starts a new scene, so put a blank line between the parts you want shown separately. Check the estimate and start — every step runs automatically.
Tips
- Read it aloud once. If you stumble on a sentence, the voice will sound awkward on it too.
- Want a summary instead? Choose Pasted text and Vidonto writes a shorter script from your text. See text to video.
- Keep it focused. One idea per paragraph gives the storyboard clean scenes to work with.