Guide · Summary videos
How to turn a blog post into a video
Turn any blog post or article into a short narrated video with captions. Paste the link into Vidonto, shape the script, add key figures and post it next to the article.
3 min read · Updated
Feature used in this guide: Article or web page to video — what it does, its limits and how credits work.
You’ve already done the hard work of writing the post. A short video version reaches people who scroll past links — on LinkedIn, YouTube Shorts, Instagram or at the top of the article itself. This guide shows you how to turn a blog post into a narrated, captioned video with Vidonto, from the link to the finished file.
You’ll need: a Vidonto account and the public link to your post. Fetching the page is free; the script, storyboard, voice-over and render use credits.
Step 1: Create a project from the web page
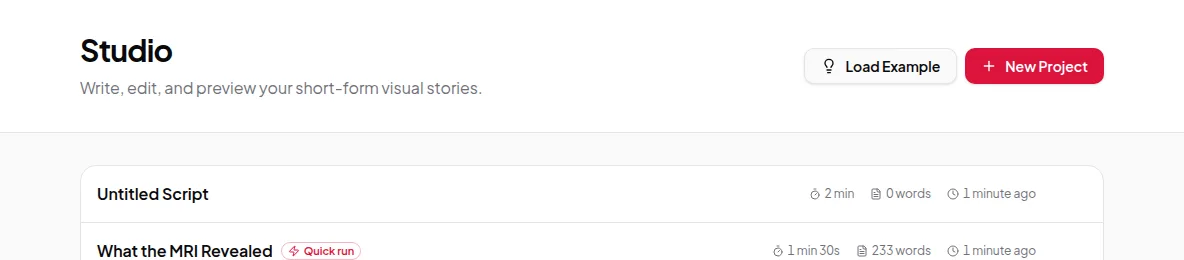
Open Studio and click New Project. Choose the Web page tab and paste the address of your post. Fetch it.
Vidonto loads the page and extracts the readable article text, leaving out navigation, sidebars and footers. The text opens in the Script Editor so you can check it.
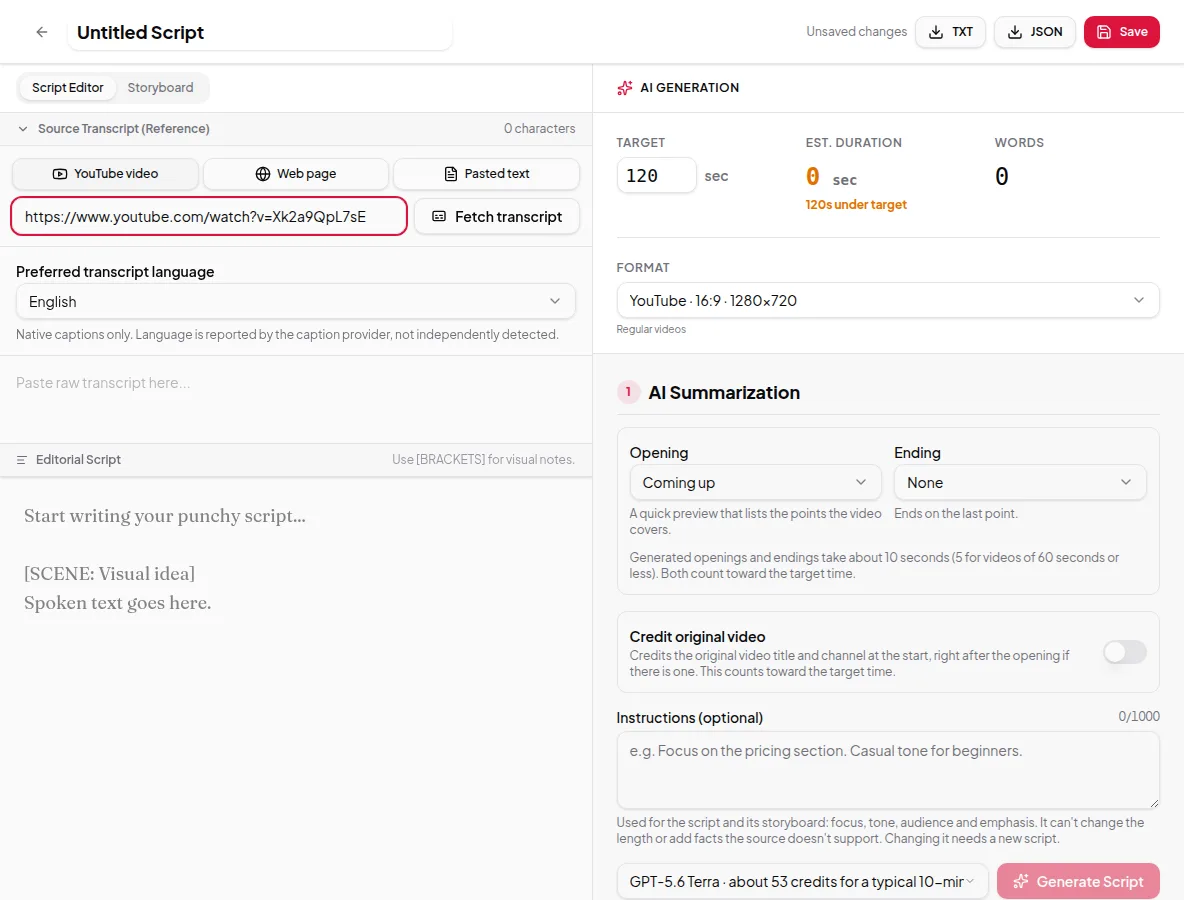
If the fetch fails: the page may need a login, sit behind a paywall or block automated visitors, or have too little readable text. Open your post, copy the text, and start a Pasted text project instead. The rest of this guide works the same.
Step 2: Trim the source text (optional)
Look over the fetched text. If it includes things you don’t want in the video — a long author bio, a sign-up pitch, comments — delete them now. The script is written only from this text, so a cleaner source gives a better script.
Step 3: Choose the length and shape
In the AI Generation panel:
- Target duration. For a blog post, 45–90 seconds covers the main points. Think of it as a trailer for the article, not a replacement.
- Format. Square or Portrait for LinkedIn and Instagram feeds, Shorts & TikTok for vertical platforms, YouTube for embedding in the post or a YouTube channel.
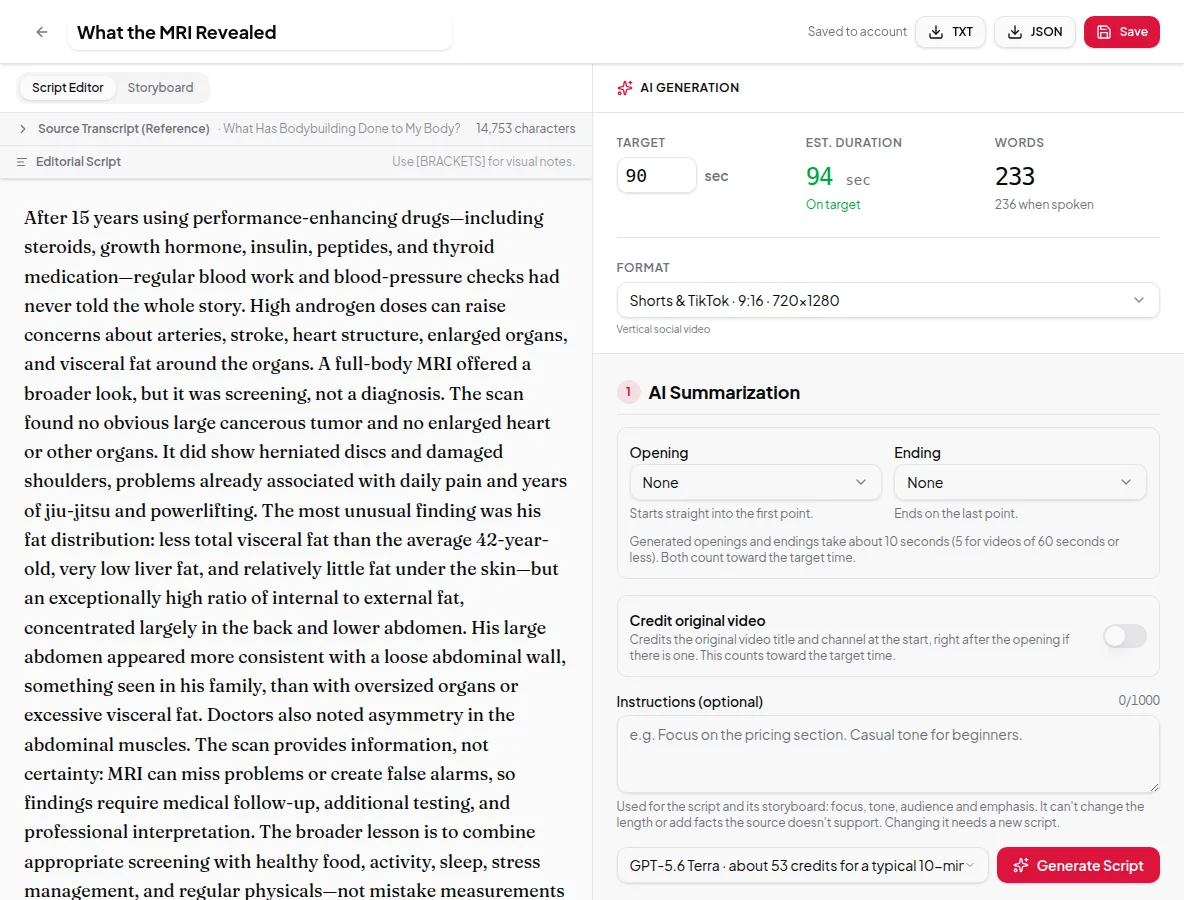
Step 4: Write instructions and generate the script
Blog posts benefit most from Instructions, because you know what the post is for. A few examples:
- “Write it as a teaser for the article. End by inviting viewers to read the full post.”
- “Keep the three numbered tips; skip the personal story at the start.”
- “Audience: small business owners. Friendly, no jargon.”
Turn on Credit original article if the post isn’t yours or you want the site named in the video. Pick an Opening and Ending, or None. Then click Generate Script.
Read the script, edit anything that doesn’t sound like you, and approve it. More on writing good instructions in write creator instructions for better scripts.
Step 5: Build the storyboard with visuals
Articles often contain lists and numbers, and Vidonto’s storyboard uses them:
- Lists become frames whose points appear one by one as the narration reaches them.
- Figures — prices, percentages, growth — can be shown as large key figures or simple charts, but only when the narration says them.
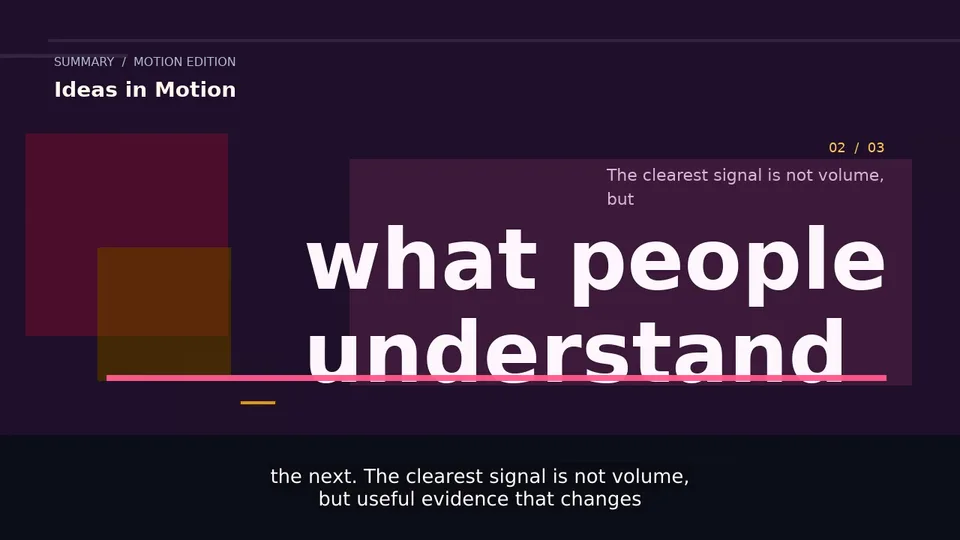
- Headlines animate on text-led frames.
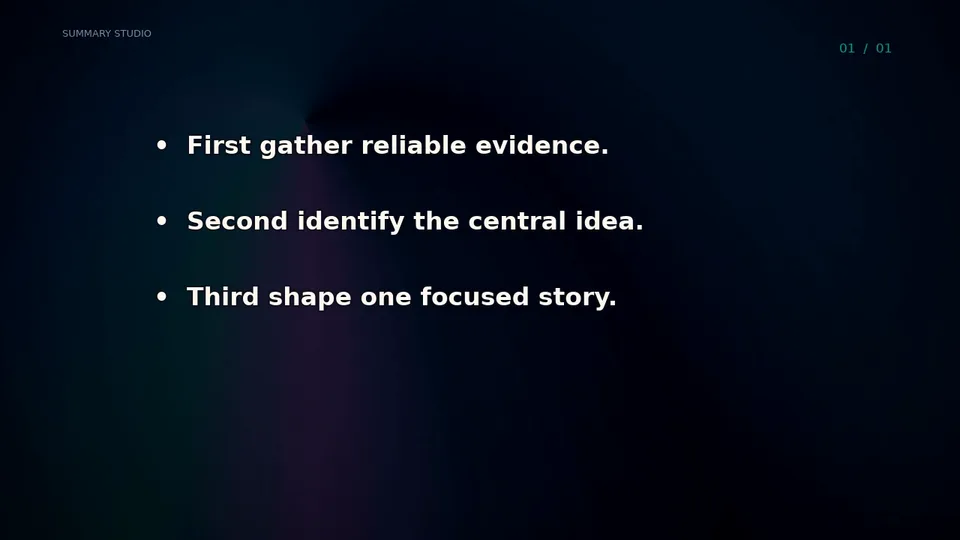
Decide on Use AI Images. For opinion pieces and stories, AI images add atmosphere. For how-to and data posts, text-led frames with lists and figures usually explain better and cost less. Then click Generate Storyboard.
Step 6: Polish the frames
In the Storyboard tab, check each frame:
- Is the headline short enough to read in a second or two?
- Do list points match what’s said?
- Are the caption breaks natural?
Edit words, split or merge frames and adjust layouts. Storyboard edits never use credits. When it looks right, approve the storyboard.
Step 7: Render and download
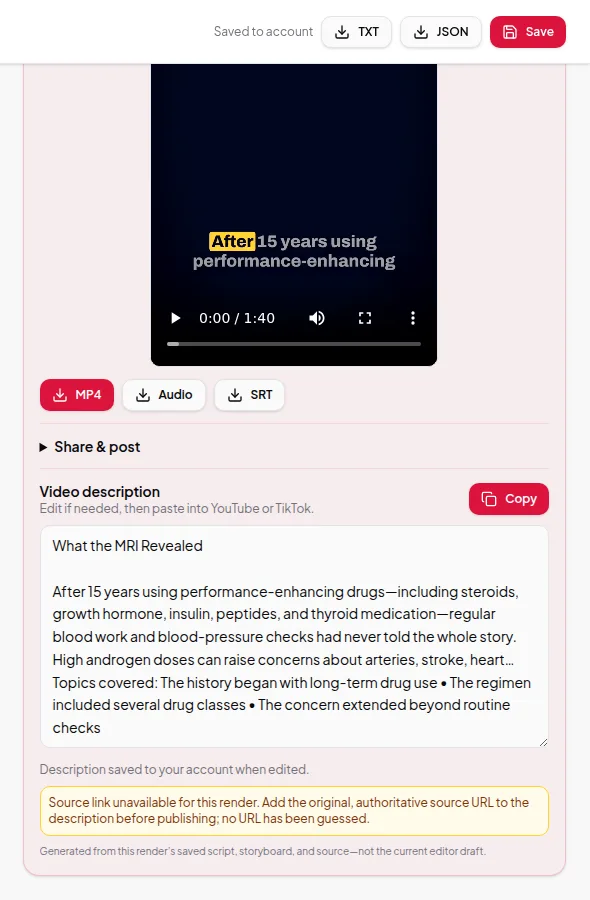
Choose a voice in Final Render and start it. When it’s done, download the MP4 and the SRT captions.
Step 8: Publish it next to your post
- Embed the video at the top of the article. Readers who prefer to watch get the summary, and the post gets richer media for search.
- Post it on social with a link back to the article. Use the generated video description under Share & post as a starting point.
- Upload the SRT when you post to YouTube so captions are searchable.
Turning many posts into videos
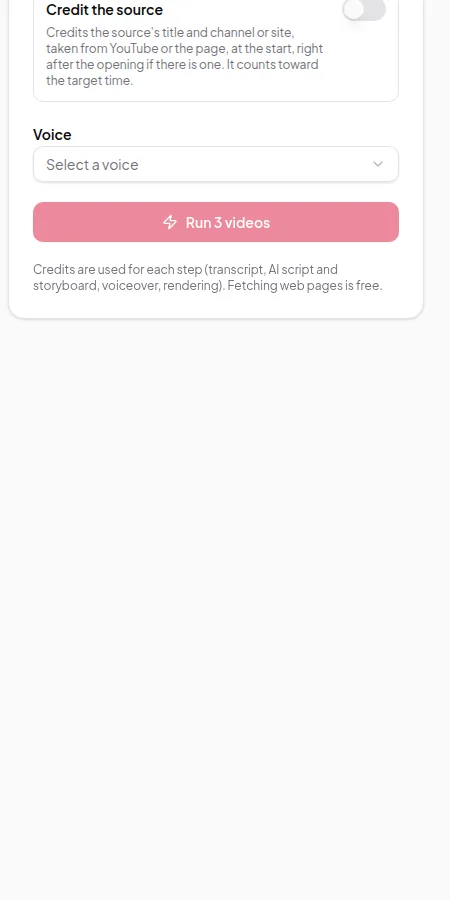
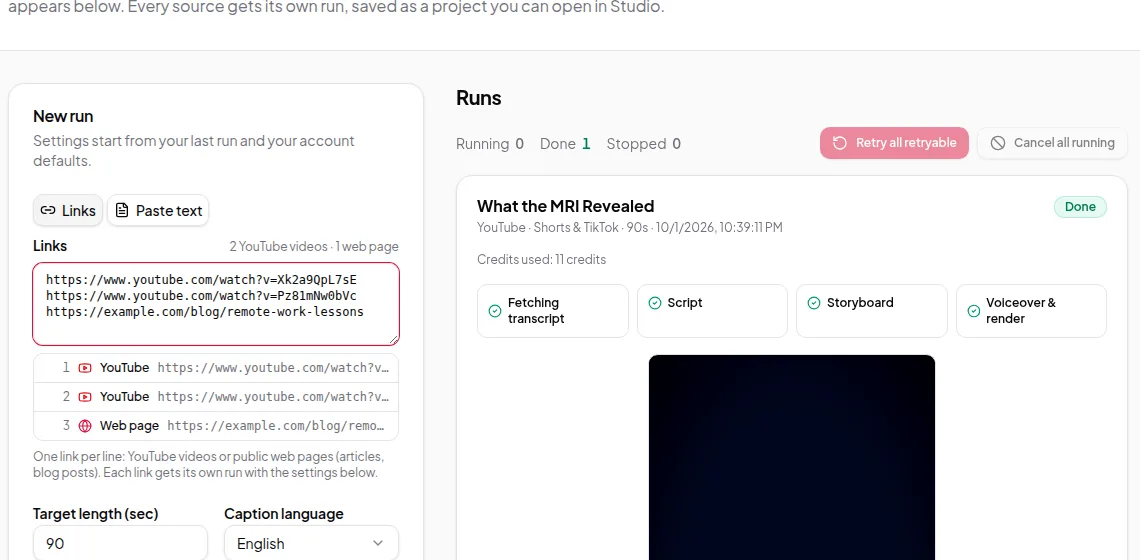
If you have a backlog of posts, paste their links into Quick Render, one per line. Each becomes its own video with the same settings, and you can open any of them in the Studio afterwards to adjust and render again. To make a video every time you publish, see make videos in bulk with the API.
Tips
- Short posts work too. Even a 500-word post makes a good 30-second video.
- One idea per video. For a long guide, make two or three videos, each with instructions to focus on a different section.
- Say the numbers. If a figure matters, make sure the script says it, so it can appear on screen.