Guide · Automation
How to make videos in bulk with the Vidonto API
Create an API key, check the estimate, start a batch of up to 100 links in one request, get a webhook when each video is ready, and download the MP4s automatically.
4 min read · Updated
Feature used in this guide: Developer API and webhooks — what it does, its limits and how credits work.
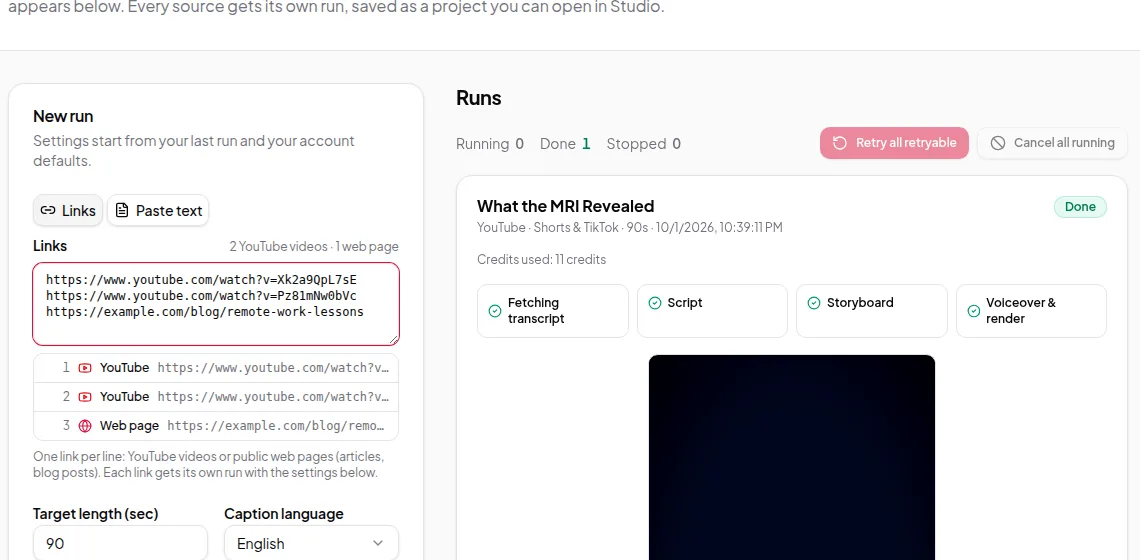
Quick Render handles a list of links in the browser. When you want videos made automatically — for every new blog post, every podcast episode or a whole back catalogue — use the Vidonto API. This guide walks through a complete batch: from creating a key to downloading the finished videos, with webhooks so you don’t have to poll.
You’ll need: a Vidonto account with a verified email and enough credits, and somewhere to run code — a terminal with curl, or Node.js or Python. The full reference is in the developer docs.
Step 1: Create an API key
In the app, open Account and scroll to API keys. Give the key a name you’ll recognise later — “Blog automation”, for example — and click Create a key.
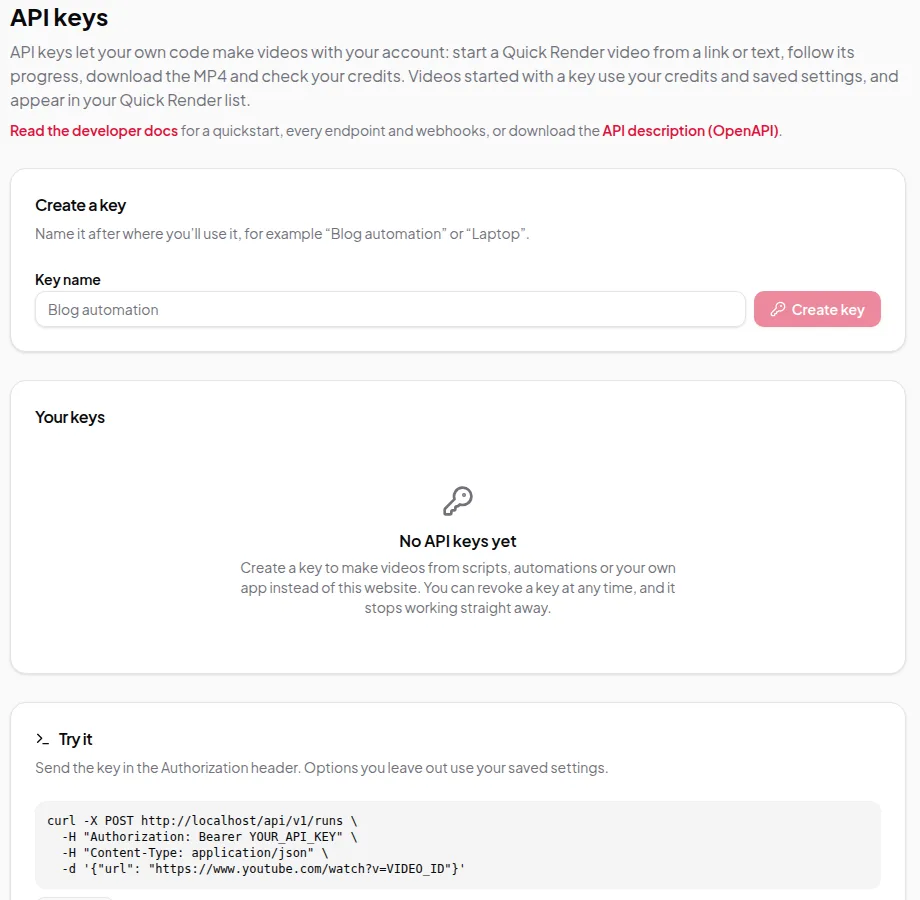
Copy the key straight away: it starts with qsv_, and this is the only time the full key is shown. Store it as an environment variable, never in your source code:
export VIDONTO_API_KEY="qsv_..."
You can have up to 10 active keys. Revoke any key that’s no longer used, or that may have leaked — anyone with a key can spend your credits.
Step 2: Make your first request
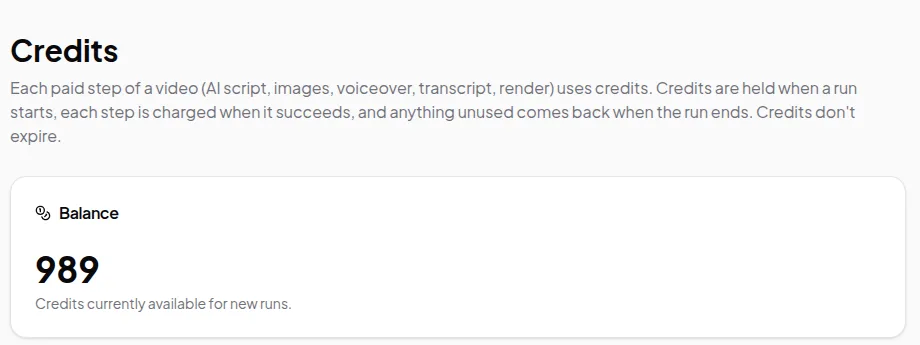
Check your balance. It’s free and confirms the key works:
curl https://www.vidonto.com/api/v1/credits \
  -H "Authorization: Bearer $VIDONTO_API_KEY"
The response includes your balance in credits.
Step 3: See the options
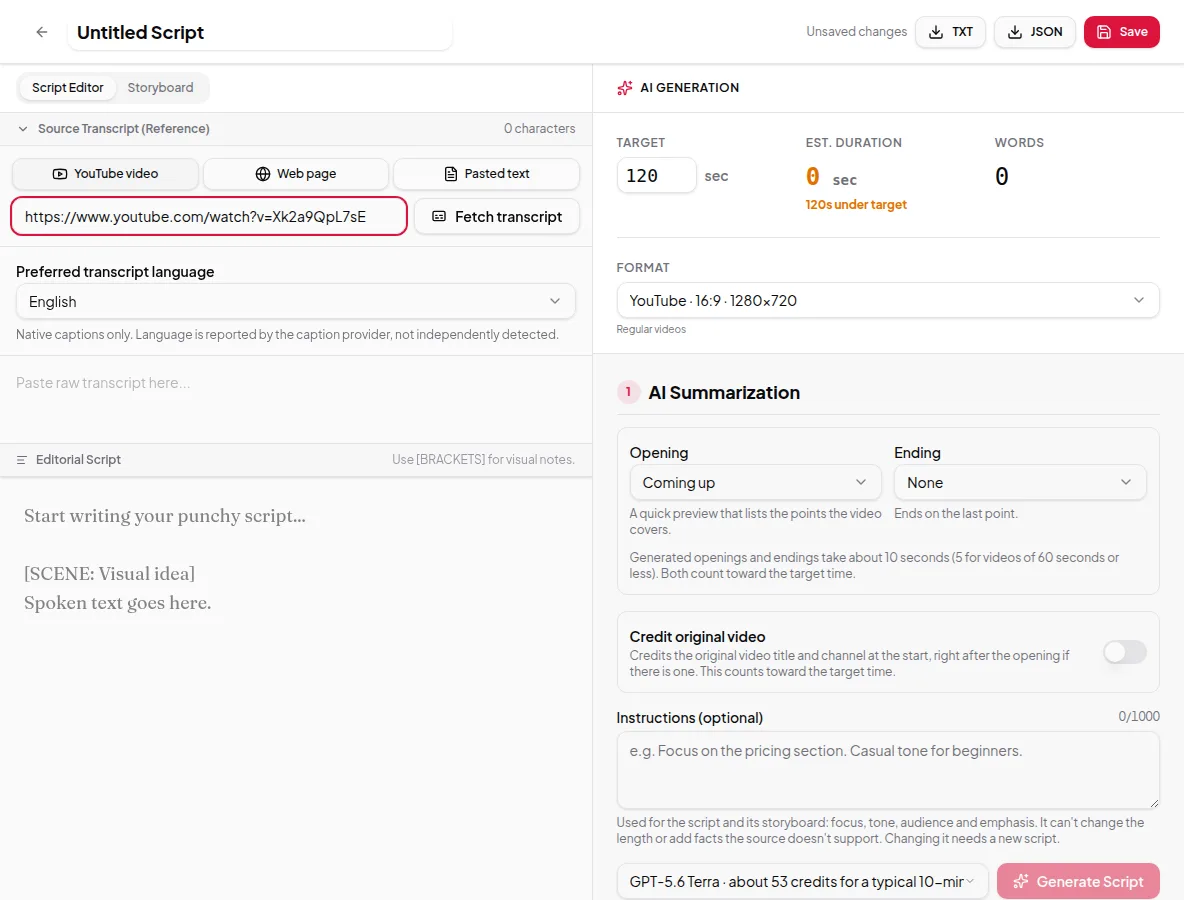
GET /api/v1/options lists what you can set on a run: video sizes, on-screen text modes, caption lengths, voices, openings and endings, and more. Anything you leave out uses the defaults. The most common options are:
targetDuration— the longest the video should be, in seconds- the video size, such as vertical for Shorts
instructions— up to 1,000 characters to steer focus and tone (how to write them)- a voice ID from the options list
Step 4: Get an estimate
Before starting paid work, ask for an estimate with GET /api/v1/estimate and the same options you plan to use. Multiply by the number of links and compare it with your balance. A batch only starts if your balance covers every run in it.
Step 5: Start the batch
Send up to 100 YouTube or web page links in one request to POST /api/v1/runs/batch:
curl -X POST https://www.vidonto.com/api/v1/runs/batch \
  -H "Authorization: Bearer $VIDONTO_API_KEY" \
  -H "Content-Type: application/json" \
  -H "Idempotency-Key: blog-backfill-2026-10-04" \
  -d '{"urls": ["https://example.com/post-1", "https://example.com/post-2"], "targetDuration": 90}'
What happens:
- Every link is checked first. If one is invalid, nothing starts, and the error tells you which one.
- Credits for all runs are held up front. If your balance doesn’t cover them all, nothing starts.
- The response lists one run per link, each with its own ID. Save these IDs.
The Idempotency-Key header makes the request safe to retry. If your network drops and you send the same request again with the same key, you get the same runs back instead of a second batch — and a second charge. Use a new key for each new batch.
To make a single video, use POST /api/v1/runs with url — or text and an optional title for your own text.
Step 6: Get told when videos are ready
Polling GET /api/v1/runs/{id} works, but webhooks are better for batches. Register an HTTPS address once:
curl -X POST https://www.vidonto.com/api/v1/webhooks \
  -H "Authorization: Bearer $VIDONTO_API_KEY" \
  -H "Content-Type: application/json" \
  -d '{"url": "https://example.com/hooks/vidonto", "events": ["run.succeeded", "run.failed"]}'
The response includes a signing secret. Every delivery is signed with it, so your server can check that a request really came from Vidonto before trusting it. The webhook section of the docs has copy-ready verification code.
Events can arrive more than once or out of order, so store the run IDs you’ve processed and ignore repeats.
Step 7: Download the videos
When a run.succeeded event arrives (or a poll shows status: succeeded), download the MP4 from GET /api/v1/runs/{id}/video with the same authorization header. Save it, upload it to your platform, or attach it to the matching blog post.
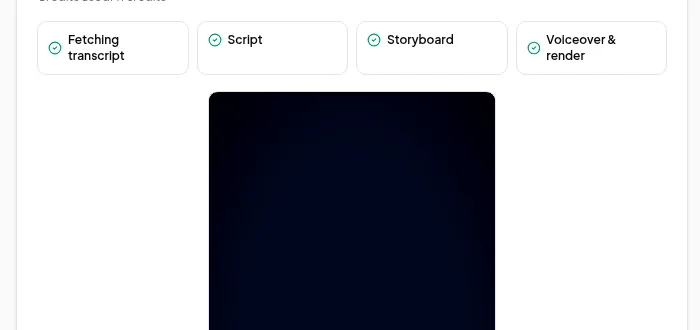
Each run moves through the same steps as in the app — transcript, script, storyboard, voice-over and render — and API runs also show up in your Quick Render runs list, so you can watch them in the browser.
Step 8: Handle failures
- A run failed. The
run.failedevent says why and whether it can be retried. CallPOST /api/v1/runs/{id}/retry; steps that already succeeded aren’t charged again. - You don’t need a run any more. Call
POST /api/v1/runs/{id}/cancel. Credits held for steps that haven’t run come back. - “Not enough credits.” Nothing started. Buy credits in the app and send the request again.
- Rate limited. Wait and retry with backoff. A batch counts as one request.
Step 9: Keep an eye on credits
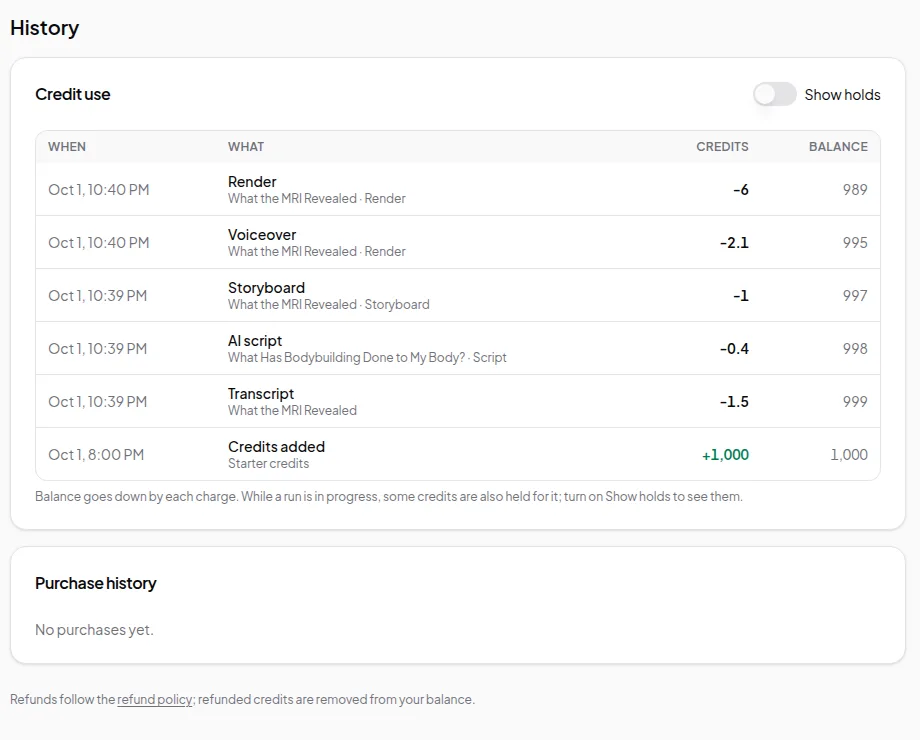
GET /api/v1/credits/history returns the same history you see on the Credits page: every charge, which step it was for, and the balance after.
Ideas for automation
- Blog to video: when your CMS publishes a post, send its link and attach the finished video to the post.
- Podcast clips: after each episode goes up on YouTube, make a vertical summary for Shorts.
- Catalogue refresh: batch your top 100 evergreen articles once, then add new ones as they’re published.
Prefer to try a batch in the browser first? Paste the same links into Quick Render.