Guide · Summary videos
How to make a video from just a topic
Step by step, type a topic (or a list of up to 20) in Quick Render, pick a type of video, check the sources if you like, and get finished narrated videos.
4 min read · Updated
Feature used in this guide: A finished video from just a topic — what it does, its limits and how credits work.
You want a short video on a subject, such as “how heat pumps work in cold climates”, but you haven’t collected any articles or videos about it. With Topic in Quick Render, you type the topic and the run finds 2 to 5 real sources, reads them and makes the whole video from them. This guide makes one topic video, then a list of them.
You’ll need: a Vidonto account with enough credits for the estimate shown under the Run button. The estimate covers the search as well as the video, and if too little turns up, the search isn’t charged.
Step 1: Open Quick Render and choose Topic
Click Quick Render in the sidebar. At the top of the New run form, click Topic.
Step 2: Type your topic
In Topic, type what the video is about in a few words, up to 200 characters per topic. Be specific: “how heat pumps work in cold climates” finds better sources than “heat pumps”.
Step 3: Pick a type of video (optional)
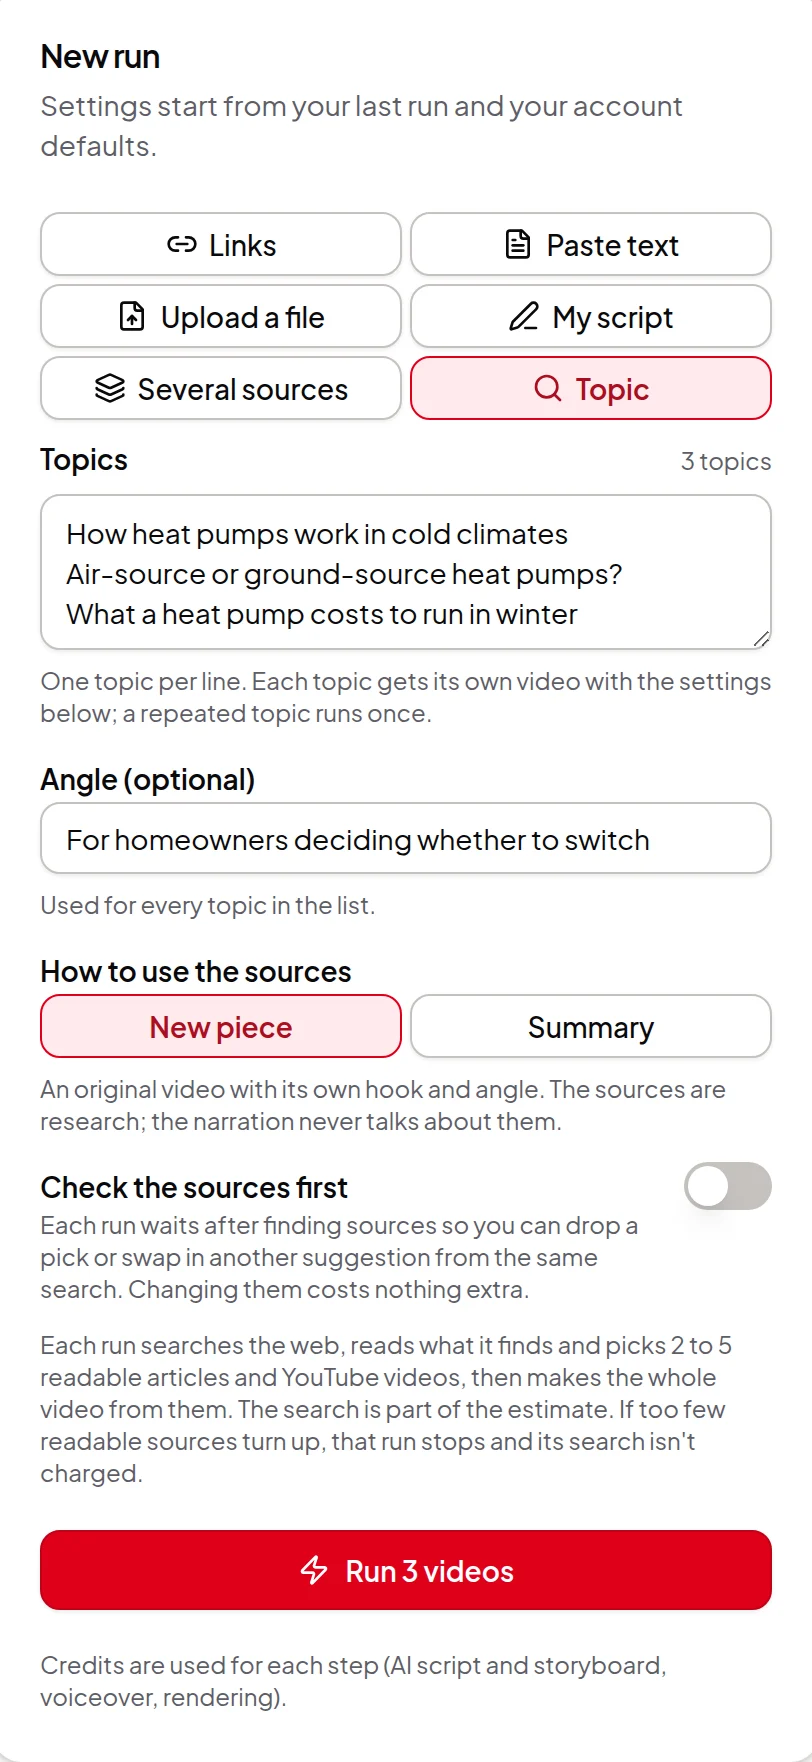
Open Type of video (optional) and pick one, or leave it on Any type:
- How-to guide — clear, ordered steps to get something done, such as “how to bleed a radiator”.
- Feature tour — walks through the main features one at a time, such as “what’s new in Figma’s latest release”.
- Comparison — puts the options side by side and says who should pick which. Name the options in the topic, such as “heat pumps vs gas furnaces”.
- Explainer — what it is, why it matters and how it works, such as “how heat pumps work in cold climates”.
The type steers what the search looks for, how the script is ordered and which scenes the storyboard favours. It costs nothing extra.
Step 4: Add an angle and choose how to use the sources
Add an Angle (optional) if you want the video aimed at someone or something, such as “for homeowners deciding whether to switch”. It becomes one “Angle: …” line in the run’s instructions.
Under How to use the sources, pick New piece for an original video that uses the sources as research, or Summary to retell what they say and point out where they disagree.
Step 5: Decide whether to check the sources first
Leave Check the sources first off and the run goes all the way to a finished video on its own. Switch it on if you want to see the picks before any script is written; changing them later costs nothing extra.
Step 6: Check the settings and press Run
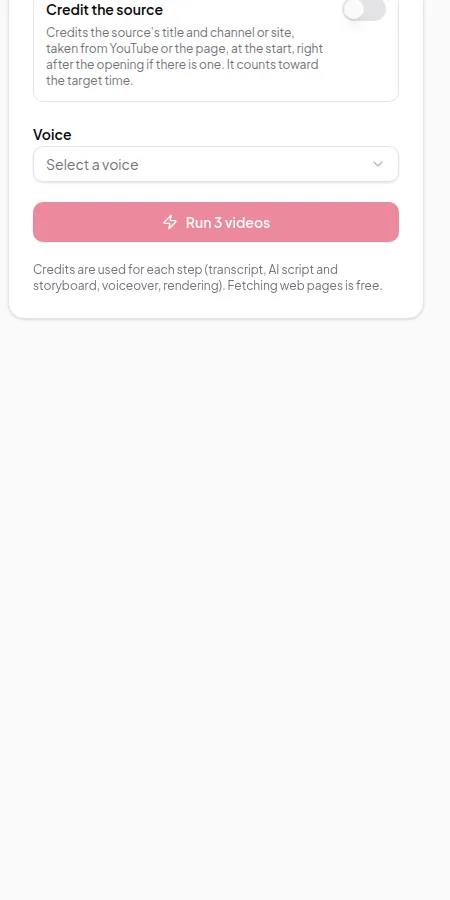
The settings below the topic fields — length, format, video language, voice, look, AI images and the rest — work as for any Quick Render run, and start from your last run. Check the estimate, then click Run.
Step 7: Follow the run (and check its sources)
The run appears in the Runs list. Its first step is Finding sources, which can take up to a minute while it searches the web and reads what turns up.
If you switched on Check the sources first, the run card then shows Check the sources before it writes: the picks, ticked and numbered, and the other readable suggestions from the same search. Each one has a link to the original.
- Untick a pick you don’t want, or tick another suggestion to use it instead. Keep between 2 and 5.
- Click Continue with the number of sources you kept.
The run then writes the script, builds the storyboard, records the voice-over and renders, with no more stops. When it’s finished, the run lists the sources it used and the type of video you picked. Play the video, download the MP4 and captions, or open it in the Studio to change anything and render again. The video description has a numbered Sources list.
If fewer than 2 readable sources turn up, the run stops and says so, and the search isn’t charged. Retry it, or start again with broader words.
Make many topic videos at once
Type one topic per line in Topic, up to 20. The label changes to Topics with a count, and the button to Run with the number of videos.
- Every topic gets its own video with the same type of video, angle, writing method and settings. Pick a type that suits all of them, or run different kinds of topic as separate lists.
- A repeated topic, even with different capital letters or spacing, runs once.
- The estimate covers every video, and the credits for all of them are held together when you press Run. If there aren’t enough credits for all of them, nothing starts.
- With Check the sources first on, each run waits on its own card, so you can check them one at a time while the others carry on.
Tips
- Want to add a source you trust? A topic run only uses what its own search found. To mix found sources with your own links, texts or files, or to review the script before it’s narrated, use Find sources for me in the Studio. See make one video from several sources.
- From your own code or an AI assistant. The developer API takes
topicortopics, with an optionalangleandvideoType. In Claude or ChatGPT with the AI assistant connector, just ask, for example “make a 2-minute comparison video on heat pumps vs gas furnaces”. - Steer the tone too. Anything you write in Instructions applies alongside the angle. See creator instructions.
More about this feature: topic to video.