Feature
Use clips from your own recordings in summary videos
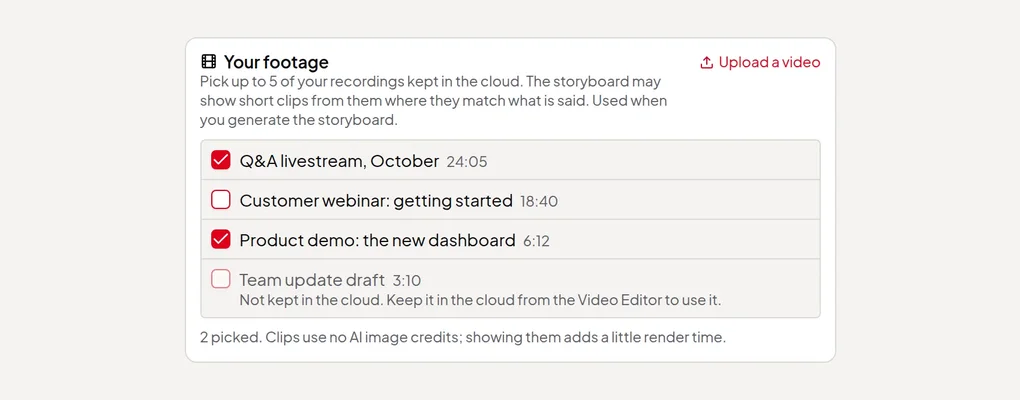
Pick up to 5 of your recordings kept in the cloud, and the storyboard shows short clips from them where they match what the narration says. You check every clip.
Updated
A summary video about your product, your course or your talk looks more convincing when it shows the real thing. Adding clips from your recordings lets a summary video use short clips from your own recordings: pick a few recordings you keep in the cloud, and the AI director places a clip on frames where the recording shows what the narration is saying. You see every clip in the storyboard, with the exact words it covers, before anything is rendered.
How it works
- Pick your footage. In the Studio’s storyboard step, or in Quick Render’s settings, tick up to 5 recordings in Add clips from your recordings. Only recordings that are kept in the cloud and transcribed can be picked; others are shown greyed out with the reason.
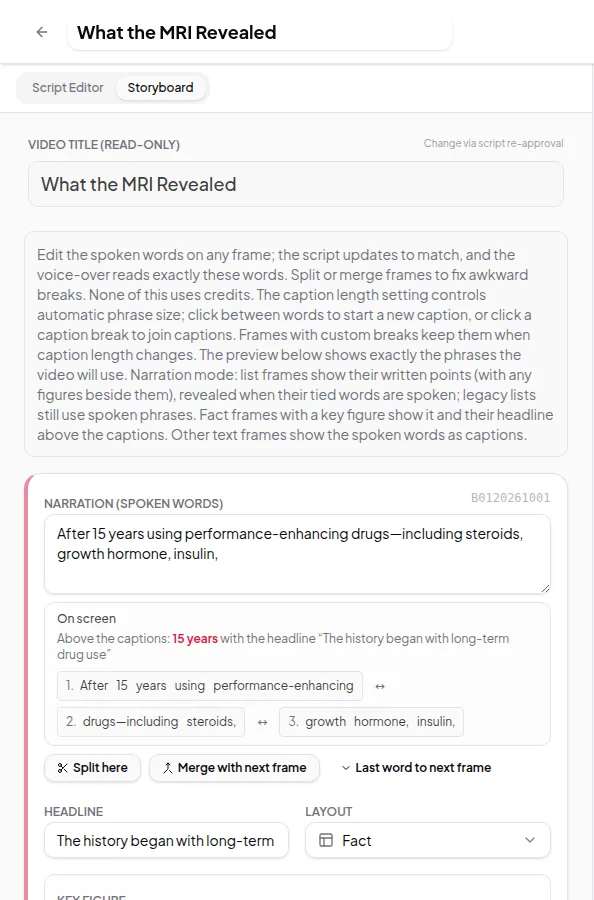
- Generate the storyboard. The AI director reads the transcripts of the recordings you picked and chooses Clip from your footage for frames where a moment matches the narration. Each pick comes with a short reason.
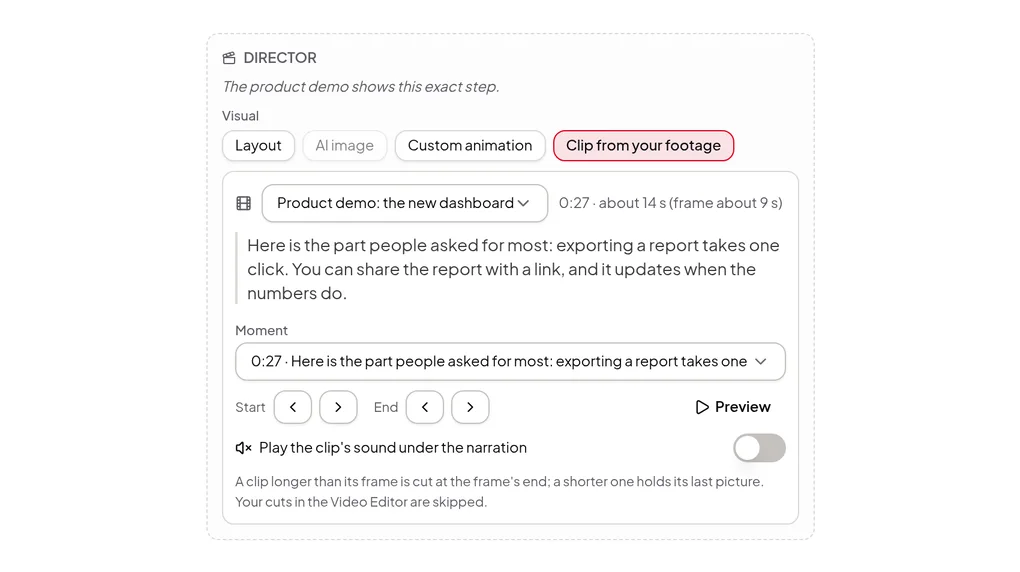
- Check each clip. A frame with a clip shows the recording, the clip’s start time and length, and the words spoken in it. Change the moment, move the start or end by a whole sentence, or click Preview to watch it.
- Change any pick. Switch a frame to Clip from your footage yourself, or switch a clip back to a layout, an AI image or a custom animation. The choices you approve are what renders.
- Render. The voice-over plays over the clip. The clip’s own sound is off unless you switch on Play the clip’s sound under the narration for that frame.
What a clip can and can’t do
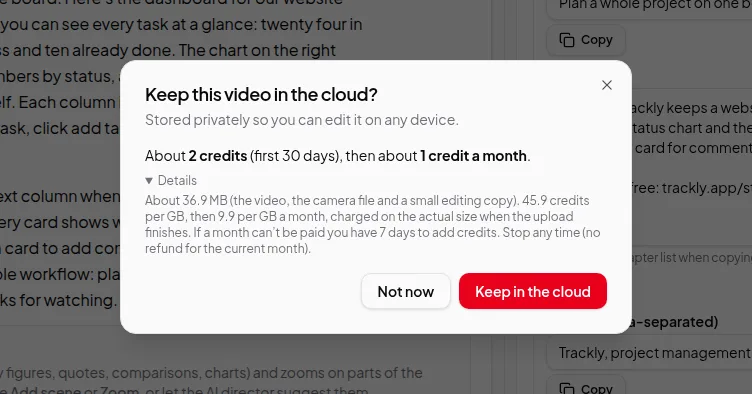
- Clips come only from your own recordings kept in the cloud. There’s no stock footage and no AI-generated footage. To use a video you made elsewhere, add it in the Video Editor first — upload it, or add it from a link — and keep it in the cloud.
- Clips are cut on whole sentences. A clip longer than its frame is cut where the frame ends; a shorter one holds its last picture.
- Cuts you made in the Video Editor are skipped when the video is rendered, so removed ums and retakes stay out.
- Some frames never get a clip. Opening and closing frames, charts, list frames and animated scenes such as icons, flows and stat grids keep their own designs.
- There’s a limit per video: about one clip for every 12 seconds of narration, and at least 3, so the video stays a summary rather than a cut of your recording.
If a clip can’t be used
The render never fails because of a clip. If a recording was deleted, is no longer kept in the cloud, or can’t be read, that frame falls back to its standard layout. When the render finishes, it tells you which footage clips were left out and why, so you know which frames to check.
Credits
Picking footage is free and clips don’t use AI image credits. Showing them adds a little render time, which is included in the render price. As with every step, the price is shown before you pay. Keeping the recordings in the cloud has its own monthly storage price. See credits explained.
Next: use your own footage in a summary video, step by step.