Guide · Your recordings
How to make a highlight compilation from several recordings
Turn 2 to 10 of your recordings into one highlight video: say what it's for, get suggested moments, put them in order, add cards and captions, and render.
3 min read · Updated
Feature used in this guide: Compilations and highlight videos — what it does, its limits and how credits work.
This guide makes a one-minute “best of the month” video from three recordings: a Q&A livestream, a customer webinar and a product demo. The same steps work for a course trailer, a highlights reel of customer calls or a recap of a conference series.
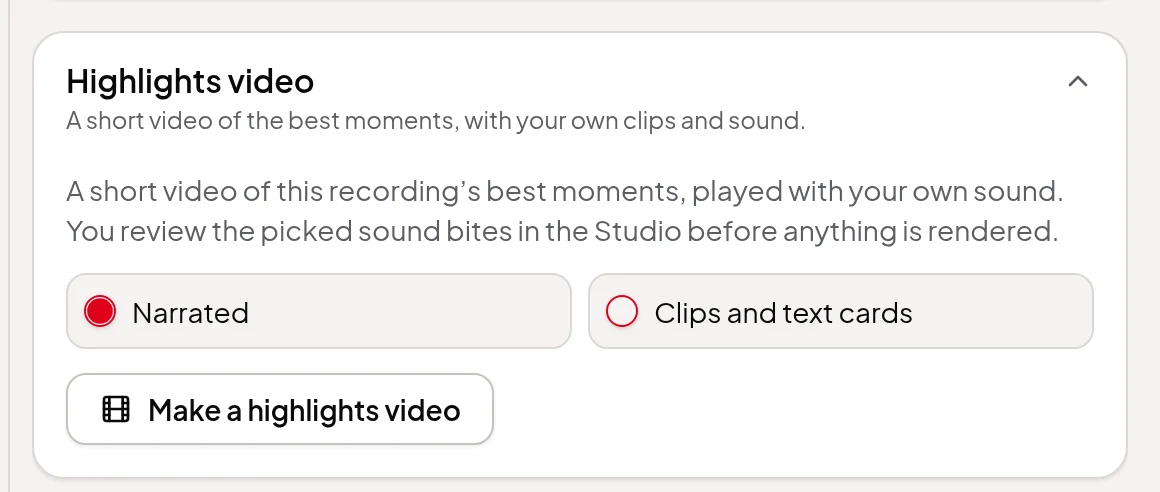
Working from just one long recording? A highlights video picks its best moments and links them with short narrated bridges or text cards.
Step 1: Get the recordings ready
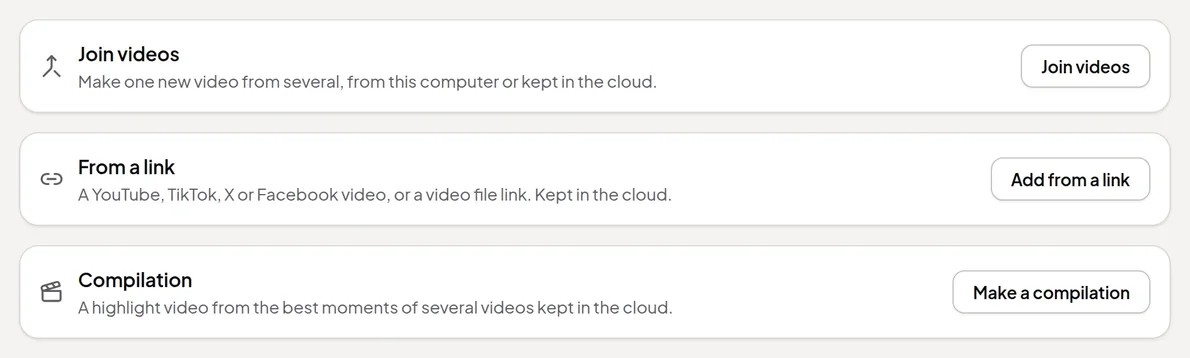
Every recording in a compilation must be transcribed and kept in the cloud. Edit them first if you can: moments are cut on whole sentences of each recording as you’ve edited it, so removed ums and retakes stay out. Videos already online can be added from a link.
Step 2: Set up the compilation
Open Video Editor, click New video, and on the Compilation card click Make a compilation. Then:
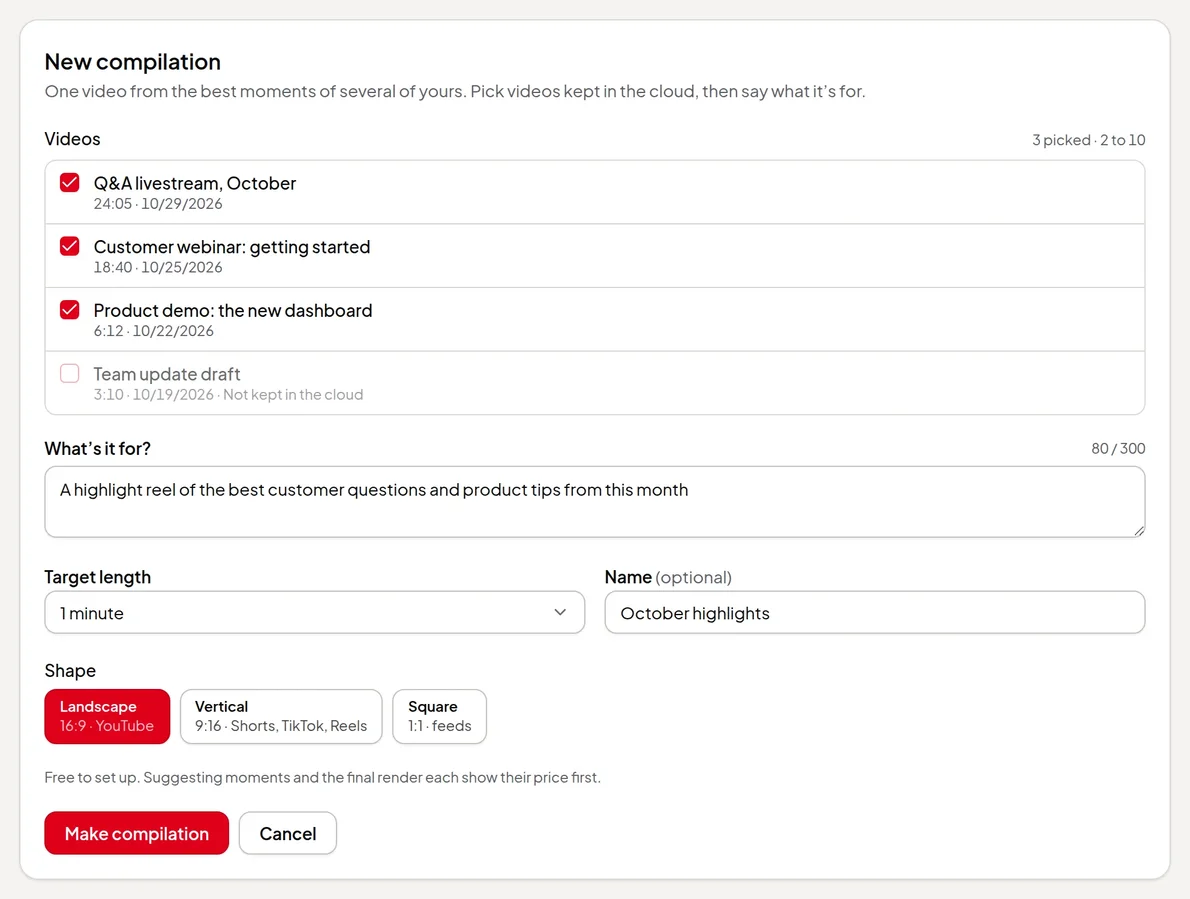
- tick 2 to 10 recordings under Videos (videos that aren’t kept in the cloud are greyed out);
- describe the video in What’s it for? — for example, “A highlight reel of the best customer questions and product tips from this month”;
- choose a Target length from 30 seconds to 20 minutes, give it a Name if you like, and pick a Shape: Landscape for YouTube, Vertical for Shorts, TikTok and Reels, or Square for feeds.
Click Make compilation. Setting up is free.
Step 3: Get suggested moments
In the editor, click Suggest moments. The price is shown first, and it’s charged once per run; a failed run isn’t charged. The AI reads every picked recording and suggests whole-sentence moments that fit your goal, adding up to about your target length. Each moment shows its recording, length, words and a short reason.
Prefer to choose yourself? Skip this step and use Add a moment from a transcript instead.
Step 4: Put the moments in order
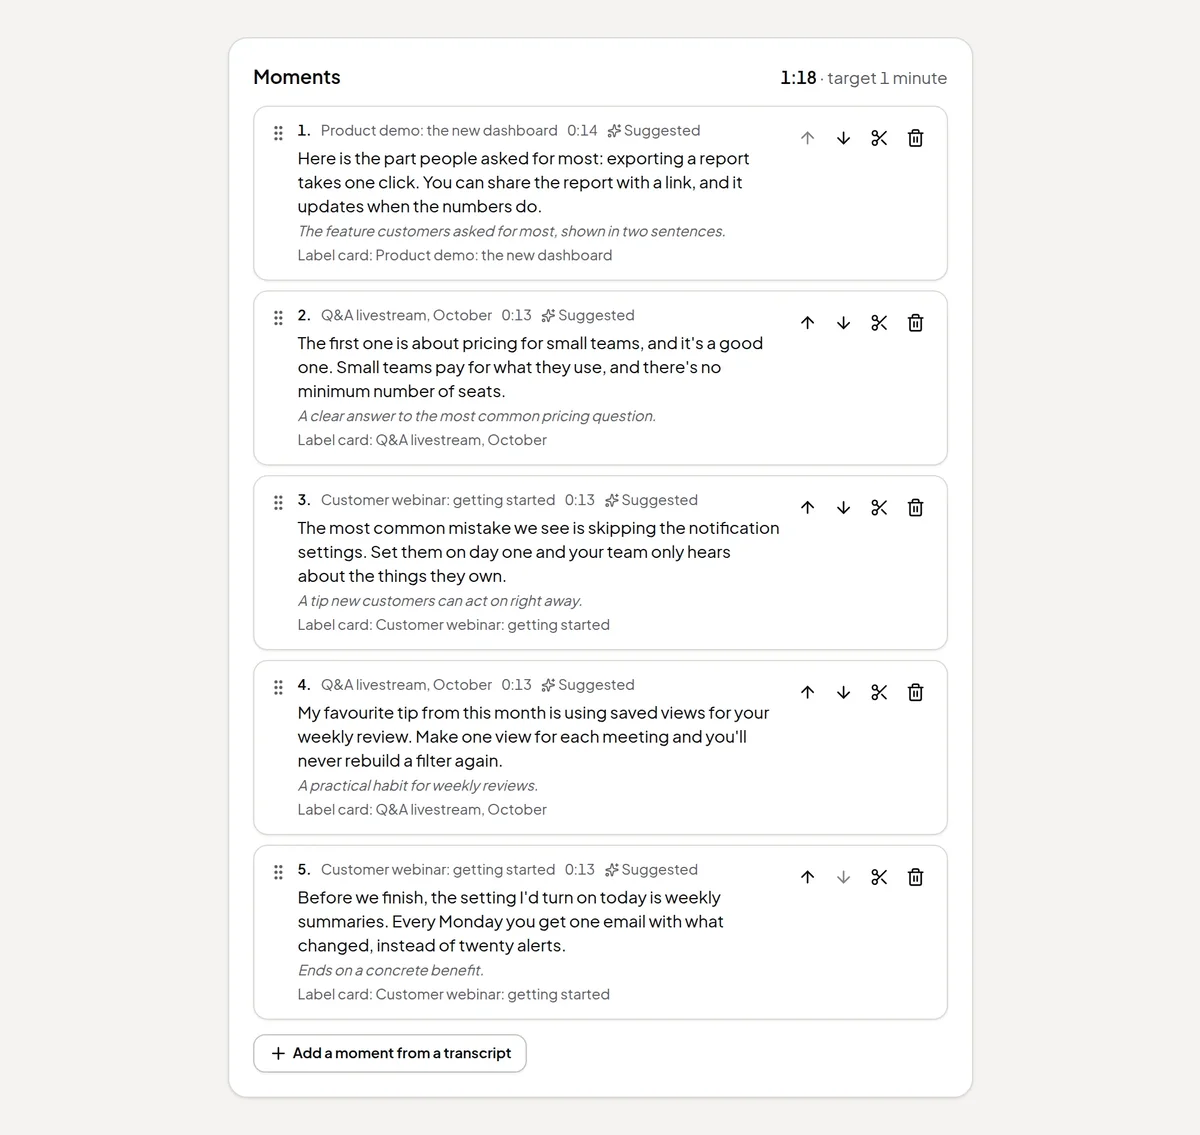
- Use the up and down arrows, or drag a moment by its handle, to change the order. Start with the strongest moment.
- Click the scissors to trim a moment: pick a different first or last sentence.
- Click the bin to remove one.
- Click Add a moment from a transcript, pick a video and select the sentences you want. A compilation can hold up to 60 moments.
The total length is shown above the list, next to the target. If you change the goal and click Suggest again, moments you’ve moved, trimmed, relabelled or added stay; only untouched suggestions are replaced.
Step 5: Add the extras
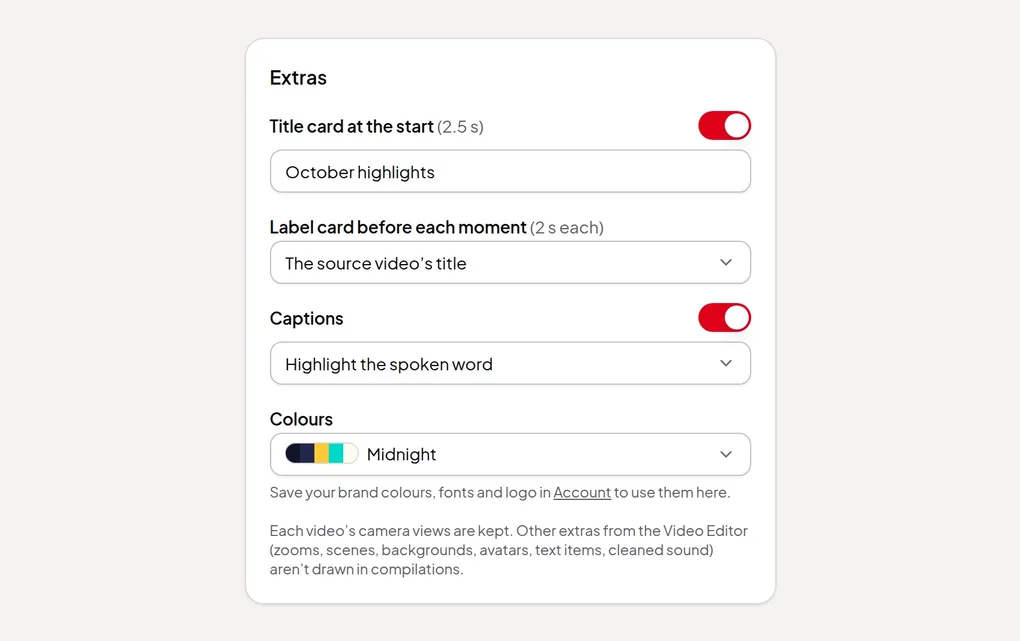
- Title card at the start shows the compilation’s name, or your own text.
- Label card before each moment shows the source video’s title, or a line you type for each moment.
- Captions come in four styles, such as Highlight the spoken word.
- Colours offers the built-in looks or your brand’s colours. Once you’ve saved a brand, pick it under Brand and switch on Show my logo to add your logo. See brand kit and saved styles.
Each recording’s camera views are kept. Zooms, scenes, backgrounds, AI avatars, text items and cleaned-up sound from the Video Editor aren’t drawn in compilations.
Step 6: Preview, render and share
Play the Preview to check the order and flow. It’s a quick browser preview; the cards, captions and brand are drawn properly in the render.
Choose a Quality and click Render in the cloud. The price is shown before you start, and it’s charged only once the finished video has been checked; a failed render costs nothing. When it’s done:
- Download the video;
- make a share link to send to viewers;
- use Share & post, which copies your post text, downloads the video and opens the site’s upload page so you can post it there.