Guide · Your recordings
How to turn a long video into a narrated highlights video
Turn one long recording into a short highlights video: pick narrated bridges or text cards, review each sound bite in the storyboard, check the length, render.
3 min read · Updated
Feature used in this guide: Highlights videos — what it does, its limits and how credits work.
This guide turns a four-minute talk by a café owner into a short highlights video: her best moments, in her own words, linked by a few narrated lines. The same steps work for a webinar, a podcast episode, a customer interview or a conference session.
Step 1: Get the recording ready
The recording must be transcribed and kept in the cloud, because the clips are rendered in the cloud from the original video. A video you’ve already posted online can be added from a link, which keeps it in the cloud and transcribes it.
Edit it first if you like. The bites are cut from the recording as you’ve edited it, so removed ums and retakes stay out, and its camera views, zooms, cleaned-up sound and text or logo items carry over.
Step 2: Choose how the bites are linked
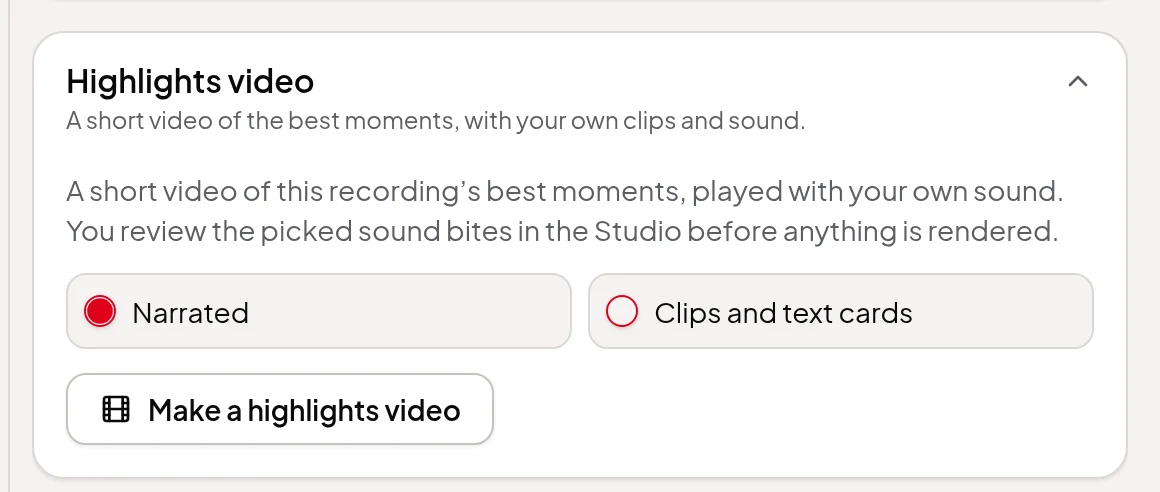
Open the recording in Video Editor and open the Highlights video section. Under it, pick:
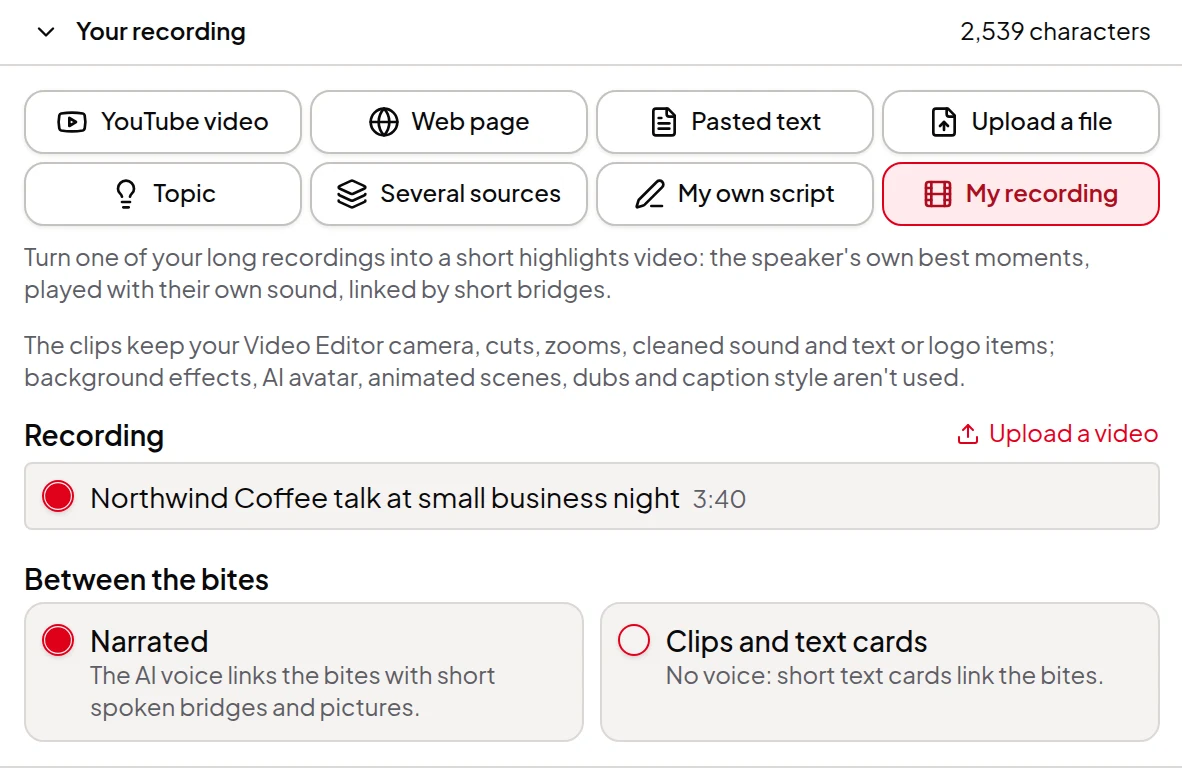
- Narrated, where the AI voice links the bites with short spoken bridges; or
- Clips and text cards, where short text cards link them and there’s no voice.
Then click Make a highlights video. Any edits still saving are saved first, and a new Studio project opens with this recording as its source, a 90-second target and the landscape size.
You can also start in the Studio: in a new project choose My recording as the source, pick the recording and the style. The list shows only recordings you can use; one that’s still uploading or has no transcript yet says so.
Step 3: Let the AI pick the bites
Set the target length and size you want, then click Generate Script. The price is shown first. The AI reads the recording’s kept words and picks sound bites of about 5 to 60 seconds, whole sentences that fill about two thirds of the target, and writes the bridges around them. The first bridge introduces the video and the last one closes it.
The script shows each bite as a note with its time and title, followed by the speaker’s words. Read it through, then click Approve script & build storyboard.
Step 4: Review the bites in the storyboard
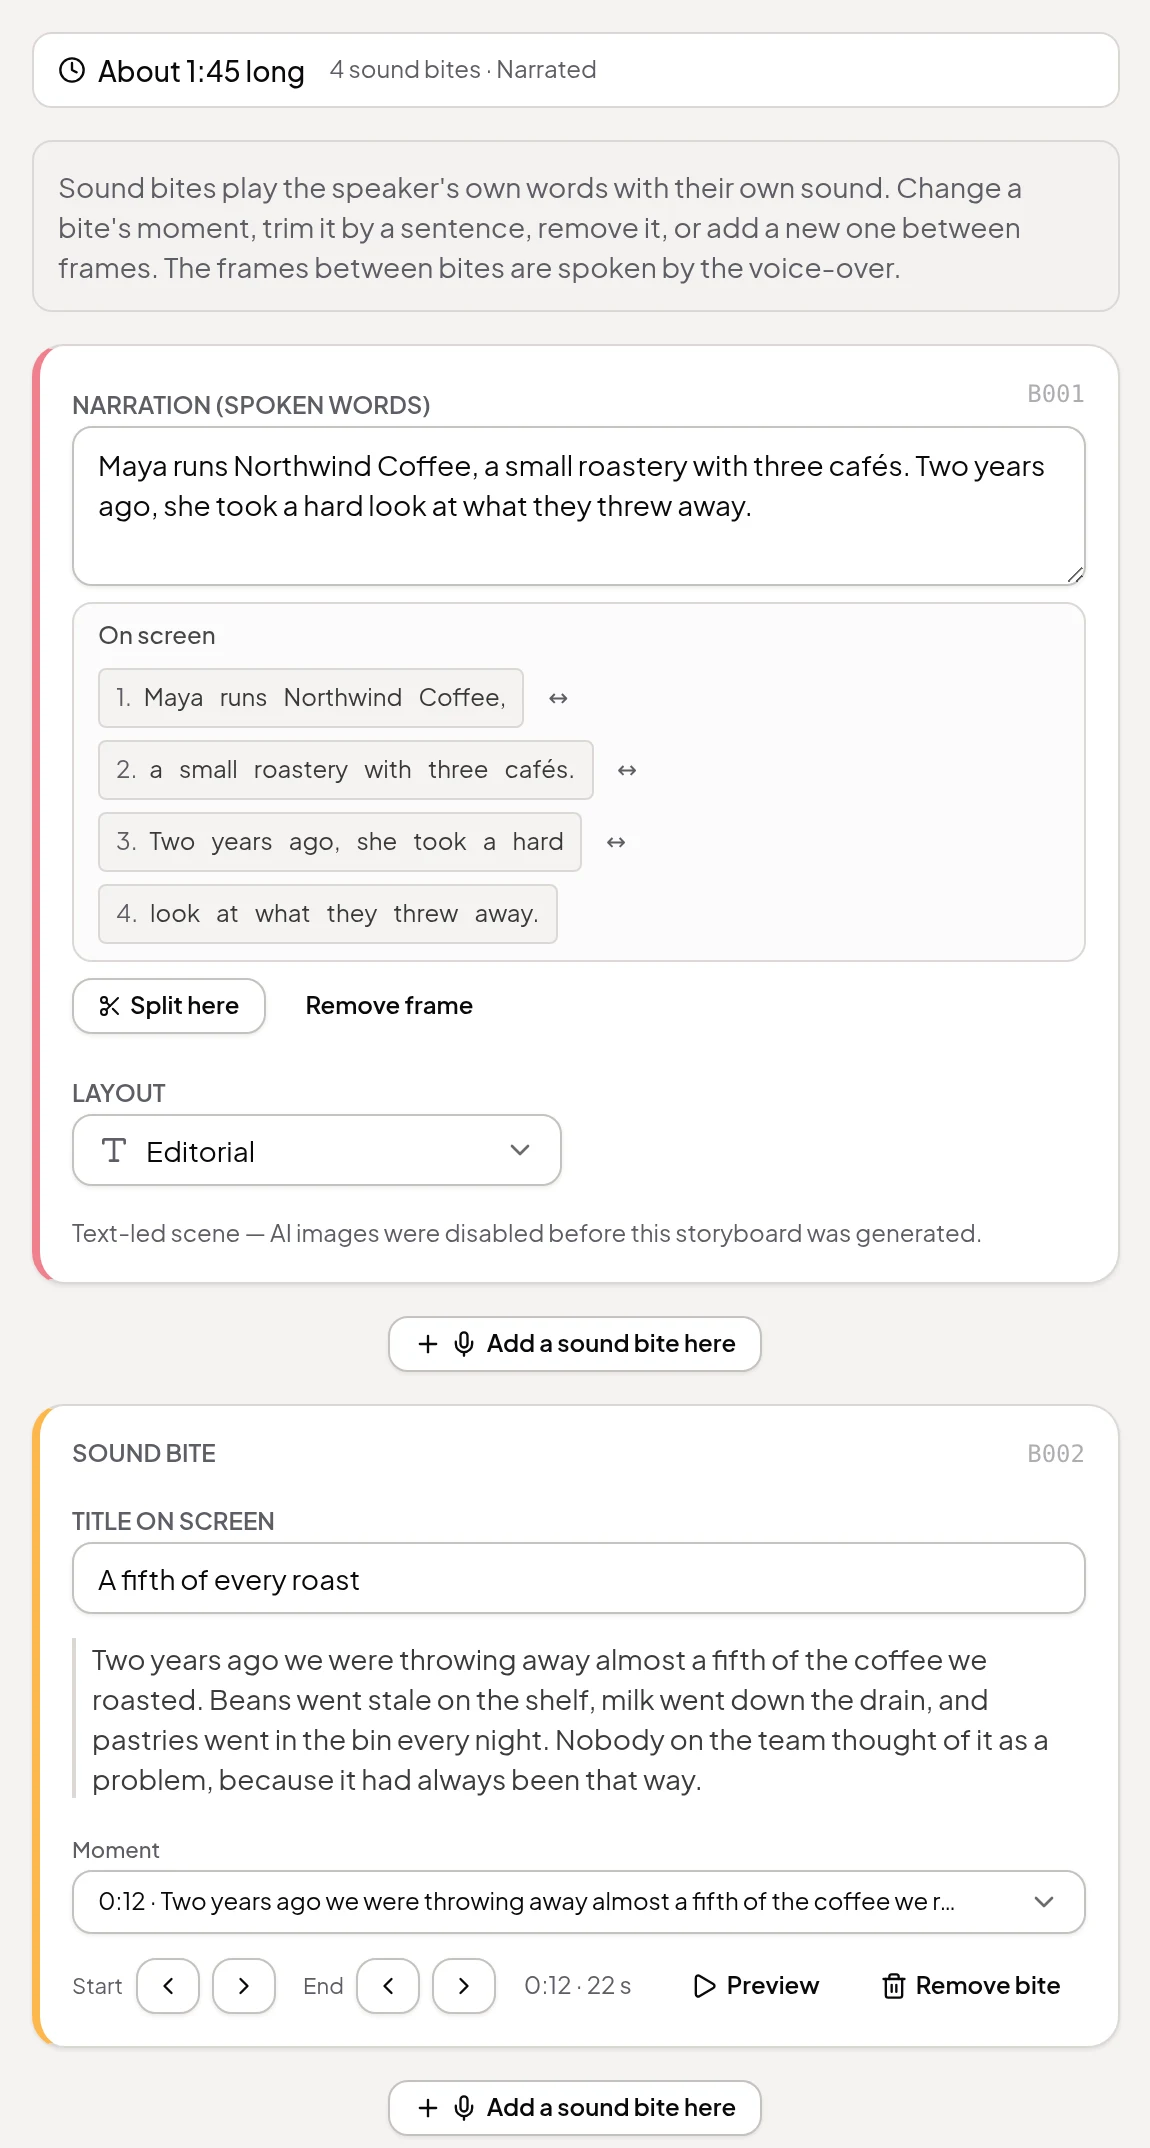
Each bite is a Sound bite frame. For each one you can:
- change its Title on screen (it reads “In their words” if left blank);
- pick a different Moment from the recording;
- move its Start or End by one sentence;
- click Preview to play the clip as you’ve edited it;
- click Remove bite.
Use Add a sound bite here between frames to add a bite of your own. The bridges are ordinary frames: edit their words, on-screen text and layout like any storyboard frame. A bite’s own words can’t be rewritten, because they’re what the speaker says in the clip.
Keep an eye on the line at the top, for example “About 1:45 long · 4 sound bites · Narrated”. It updates as you change bites, so you can trim towards your target before rendering.
Step 5: Render
Click Approve Storyboard, then pick the look and quality in Final Render and click Start Final Render. The bites play with the speaker’s own sound, and the bites and narration get captions. If a bite can no longer be cut from the recording, for example because you’ve cut its words in the editor since, the render stops before anything is charged and asks you to change or remove that bite.
The voice in a narrated video is charged only for the bridges, and a text-card video has no voice charge. When it’s done, download it or make a share link.
Faster: Quick Render
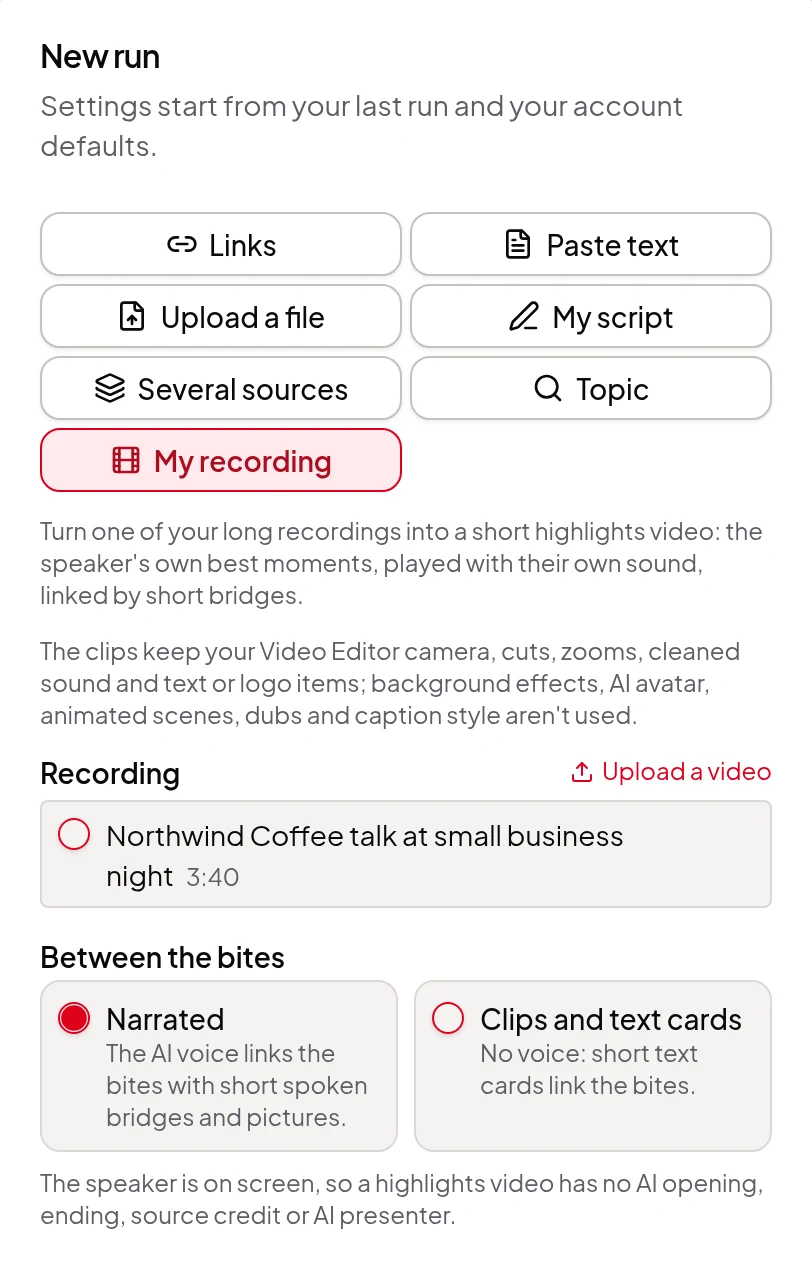
In Quick Render, choose My recording, pick the recording and the style, set the length and size, and click Run. The script and storyboard are approved for you, and the run is saved as a project you can open in the Studio.
Several recordings instead?
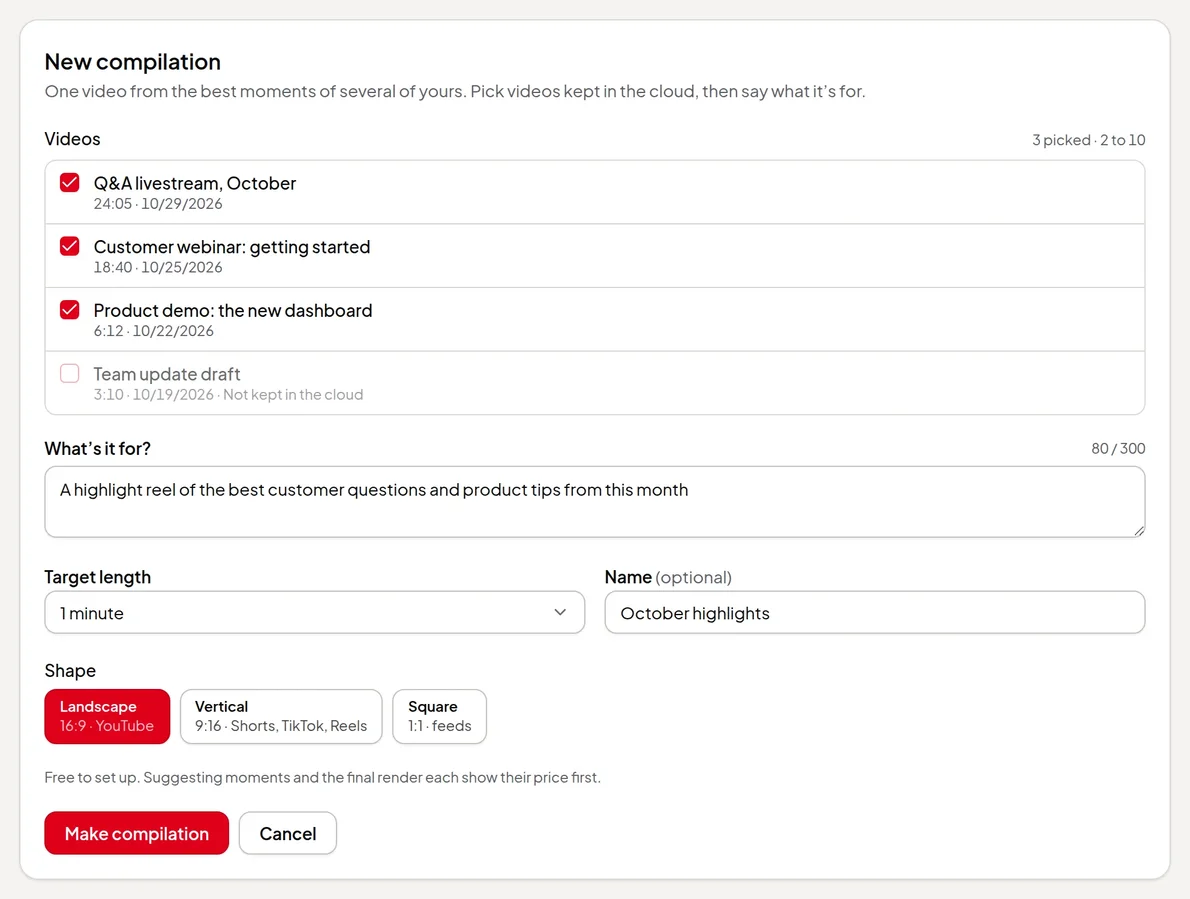
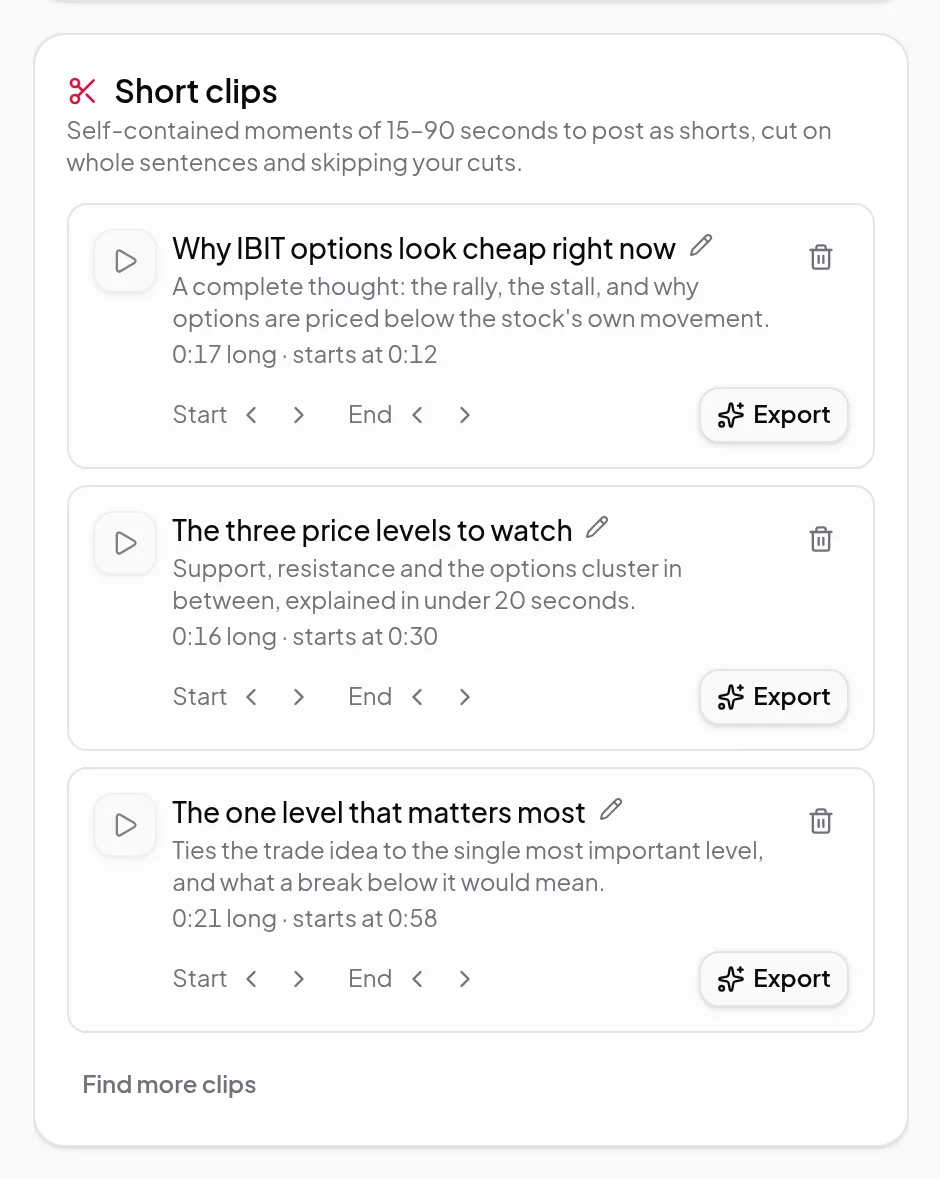
To put moments from 2 to 10 recordings in one video, without narration, make a compilation instead. For separate 15 to 90 second clips to post as Shorts, use short clips.