Guide · Automation
How to make videos from Claude or ChatGPT
Step by step, connect Vidonto to Claude or ChatGPT, approve it once, then ask for videos in plain words while the assistant checks the credits with you first.
4 min read · Updated
Feature used in this guide: AI assistant connector — what it does, its limits and how credits work.
If you already work with an AI assistant, you can make Vidonto videos without leaving the chat. You connect Vidonto once, then ask in plain words: “turn this article into a one-minute vertical video”. No API key or code is needed. This guide walks through connecting, making a first video and staying in control of credits.
You’ll need: a Vidonto account with a verified email and credits, and an assistant that supports custom connectors (also called MCP servers), such as Claude or ChatGPT. Which plans allow custom connectors is up to each assistant.
Step 1: Copy the connector address
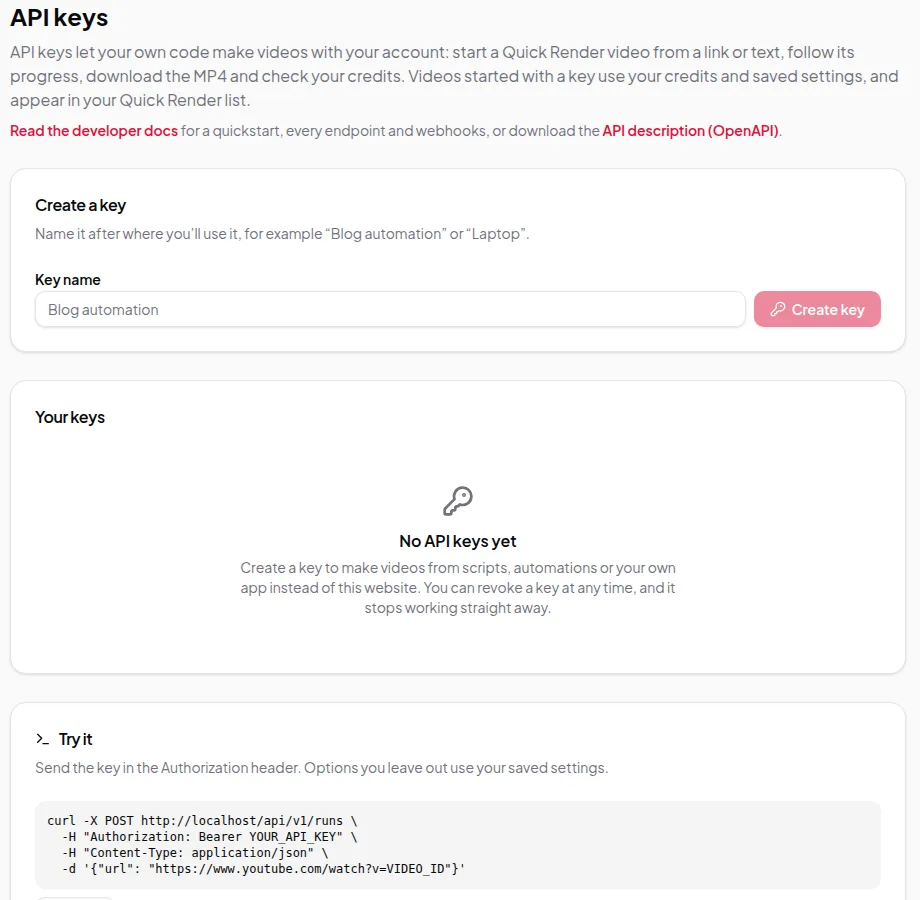
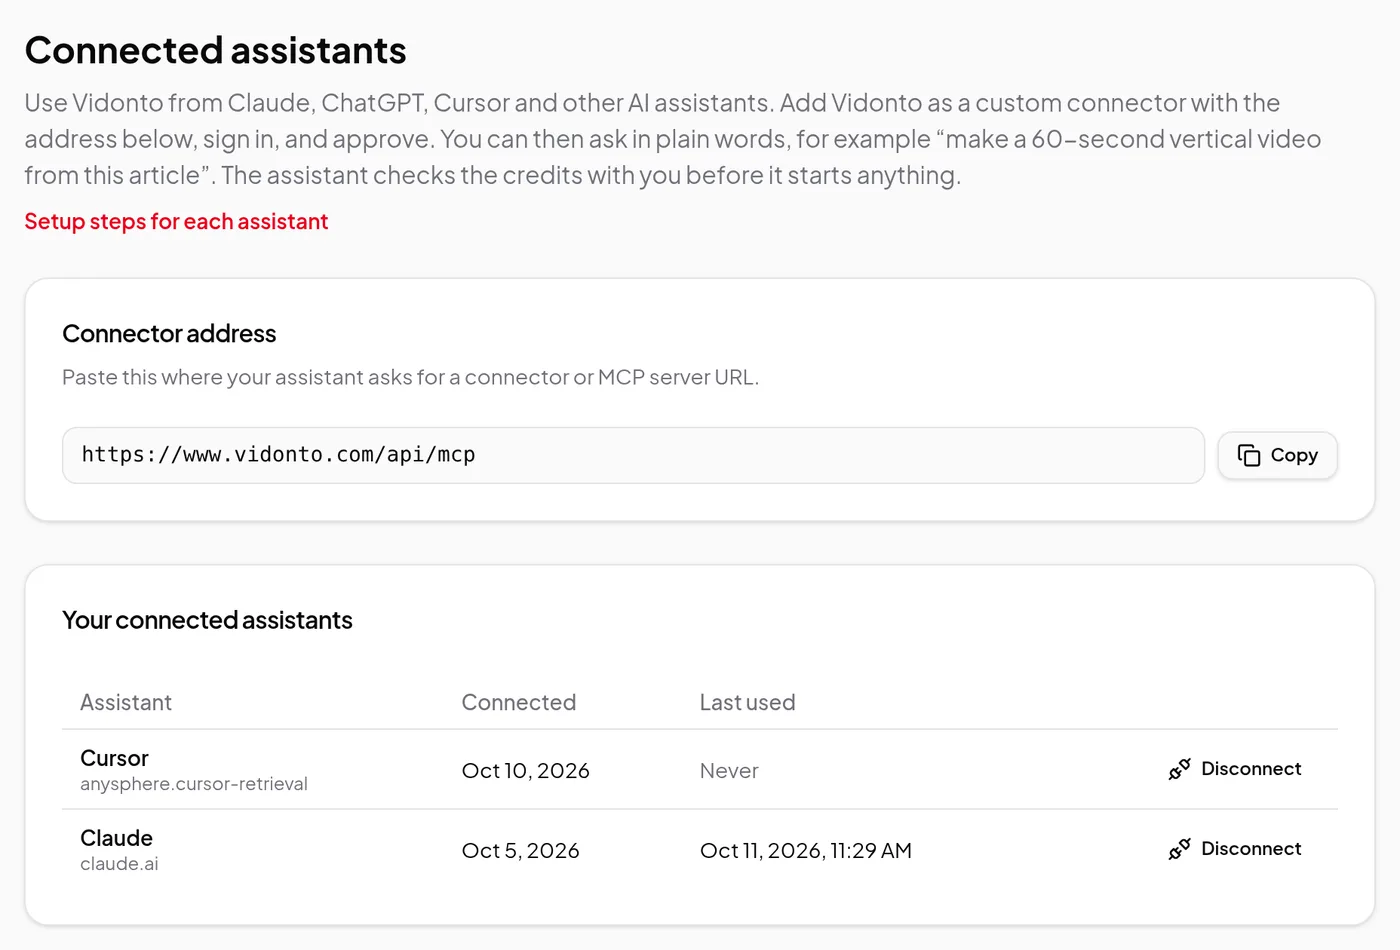
Sign in to Vidonto and open your Account page. Under Connected assistants, find the Connector address and click the copy button next to it: “Paste this where your assistant asks for a connector or MCP server URL.” The address is the same for everyone: https://www.vidonto.com/api/mcp.
Step 2: Add Vidonto in your assistant
In your assistant’s settings, add a custom connector and paste the address. Assistants name this differently: a connector, an app or an MCP server. Give it a name you’ll recognise, such as “Vidonto”.
Using a coding tool such as Claude Code, Cursor or VS Code? It’s set up with a short command or settings entry instead, shown in the developer docs.
Step 3: Sign in and approve
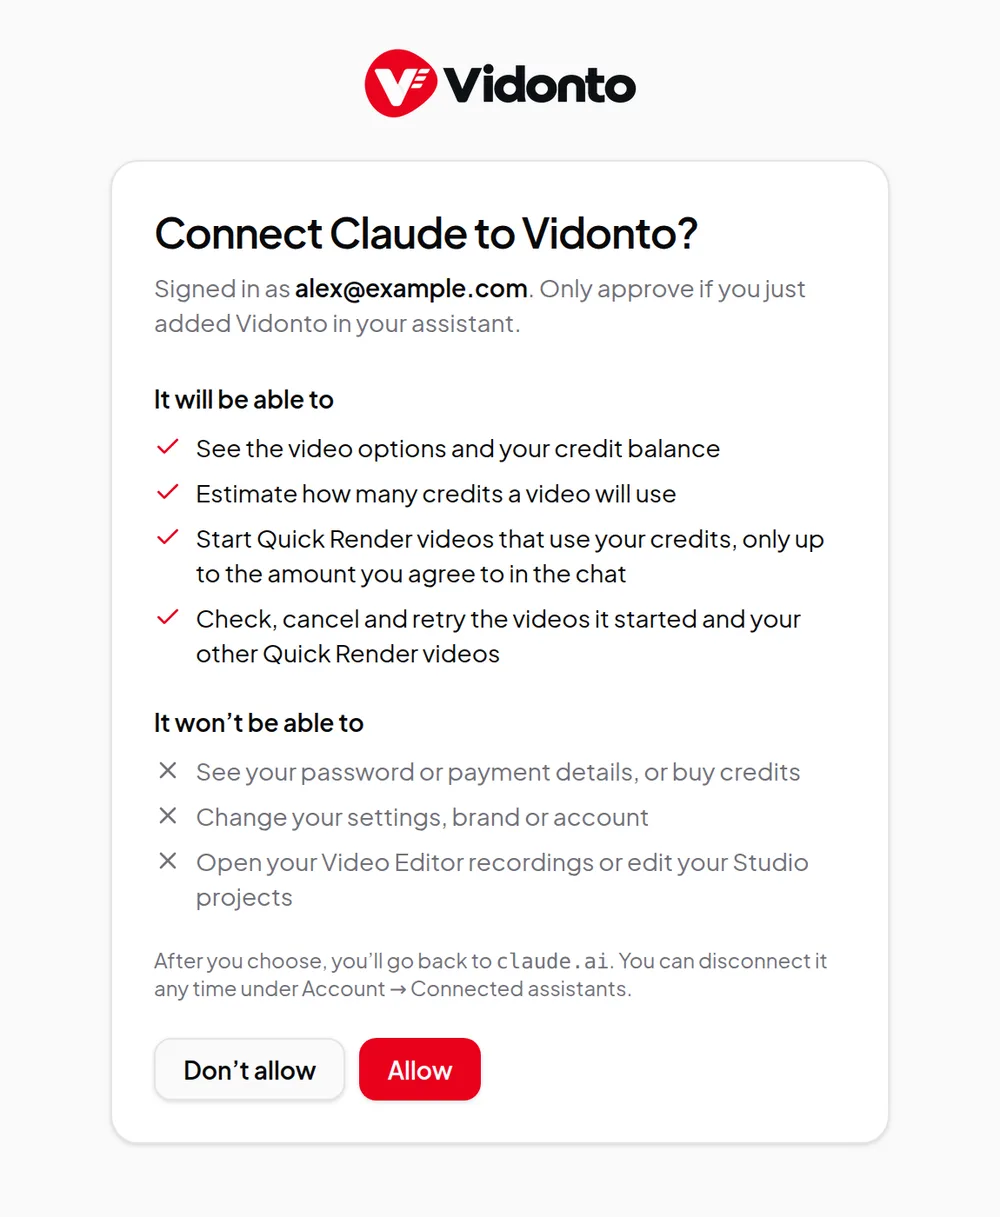
The assistant opens a Vidonto page. Sign in if you’re asked to, then read what the assistant will and won’t be able to do. It can make videos and work with your recordings; it can’t buy credits, see your password or payment details, or create API keys. Click Allow, and you’re sent back to the assistant.
Step 4: Ask for a video
Ask in plain words, for example:
- “Make a one-minute vertical video from this article: (link)”
- “Turn this YouTube video into a two-minute summary in Spanish.”
- “Make a video from each of these five links.”
- “How many credits do I have left?”
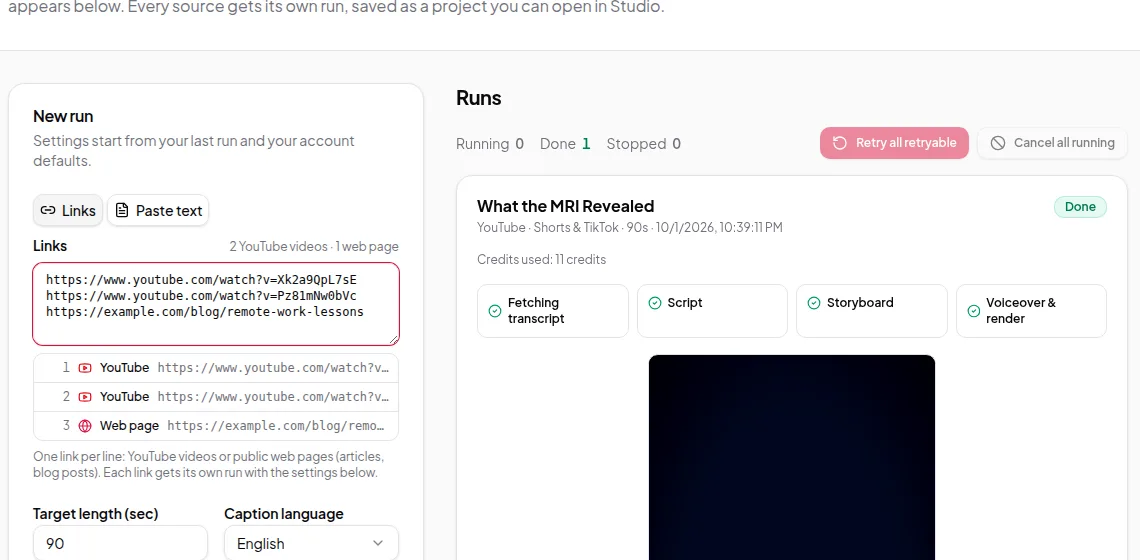
The assistant uses the same options and saved settings as Quick Render: formats, voices, the 26 video languages, your brands and an AI presenter if you ask for one. Name a brand (“in the Northwind brand”) to use its colours, fonts and logo.
Step 5: Say yes to the credits
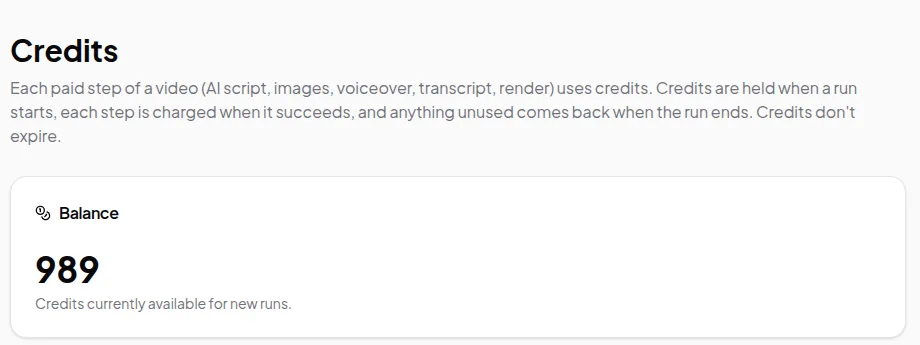
Before starting anything that costs credits, the assistant is told to estimate first, tell you the figure and wait for your yes. Every paid request carries the limit you agreed to: if the work would need more, nothing is started or charged, and the assistant can come back to you. If a request is repeated, for example after a dropped connection, the same video is returned instead of a second one being charged.
Step 6: Review the script and storyboard (optional)
Videos made by an assistant are approved automatically, like Quick Render. To check them first, ask it to show you the script and storyboard before making the video. It pauses after each one, shows you what was written, makes the changes you ask for and carries on once you approve. Reviewing costs nothing extra.
Step 7: Watch and download in Vidonto
When the video is ready, the assistant gives you a link to it in Vidonto. Watch, download and share it there as usual. The video also appears in your Quick Render list.
See or disconnect your assistants
The Connected assistants section of your Account page lists each assistant with when it was connected and last used. Click Disconnect to stop one straight away: “It stops working with your account immediately.” Videos it already started keep running. Resetting your password disconnects every assistant, and an assistant left unused for 30 days has to be approved again.
It works with your recordings too
The assistant can also work with recordings in the Video Editor: read a transcript, find mistakes, add chapters or zooms, dub a recording or make a polished video. Edits show up in the editor straight away. Exports need the recording kept in the cloud; the assistant gives you a link to open them in the editor, where you download them. The full list is on the AI assistants page.
It can add a recording too. Give it a link to your own YouTube, TikTok, X or Facebook video, or a direct link to a video file, and it asks you to confirm you own the video or have permission to use it, tells you the credits and waits for your yes. Vidonto then fetches the video, keeps it in the cloud and transcribes it. Instagram and Vimeo links can’t be used, and a refused link charges nothing. See add a video from a link.
Credits
Prices are the same as in the app, and the assistant checks the credits with you before it starts. Connecting an assistant, asking questions and checking your balance are free. See credits explained.