Use case
Product demos and tutorial videos for SaaS teams
Record a product walkthrough, cut it by text, let the AI director zoom in where you click, add your logo and colours, and keep it in the cloud to edit on any device.
Updated
Product demos and how-to videos go out of date with every release, so they have to be quick to make and quick to redo. They also need to look like your brand and show viewers exactly where to click. Vidonto keeps the whole job in the browser: record the walkthrough, edit it by its transcript, frame the screen, brand it and export it in the shapes you need.
The workflow in Vidonto
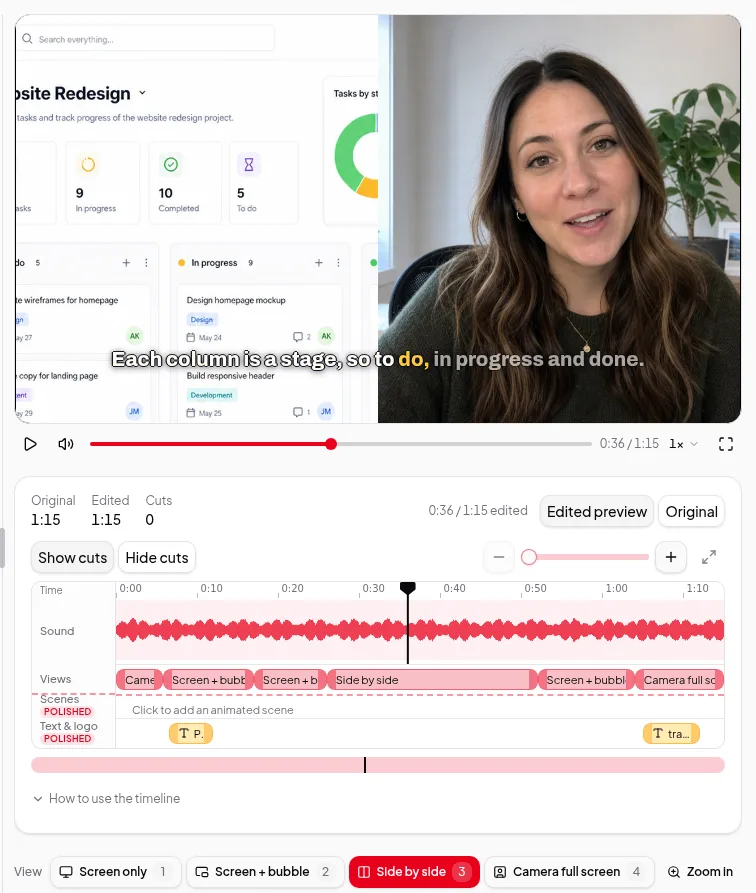
- Record the walkthrough. In Video Editor → New video, record your entire screen, one window or one browser tab — with your camera in a bubble, or the screen on its own. A browser tab’s sound can be recorded too. See record your screen and camera.
- Tighten it. Delete words in the transcript to cut them from the video, accept the suggested cuts for ums and retakes, and drag across the waveform to cut a click or a breath. See edit video by text.
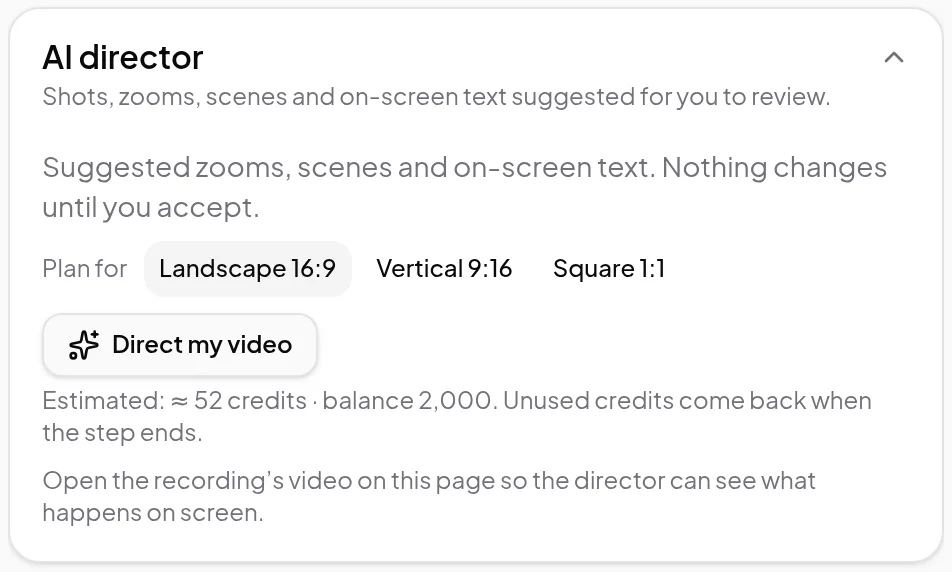
- Show where to click. Zoom in puts a box on the player: drag it over the button or field you’re talking about. Or open AI director and click Direct my video — it reads what you say and what happens on screen, and suggests zooms, camera views, animated scenes and short on-screen labels for you to accept or reject. See camera views and auto zoom.
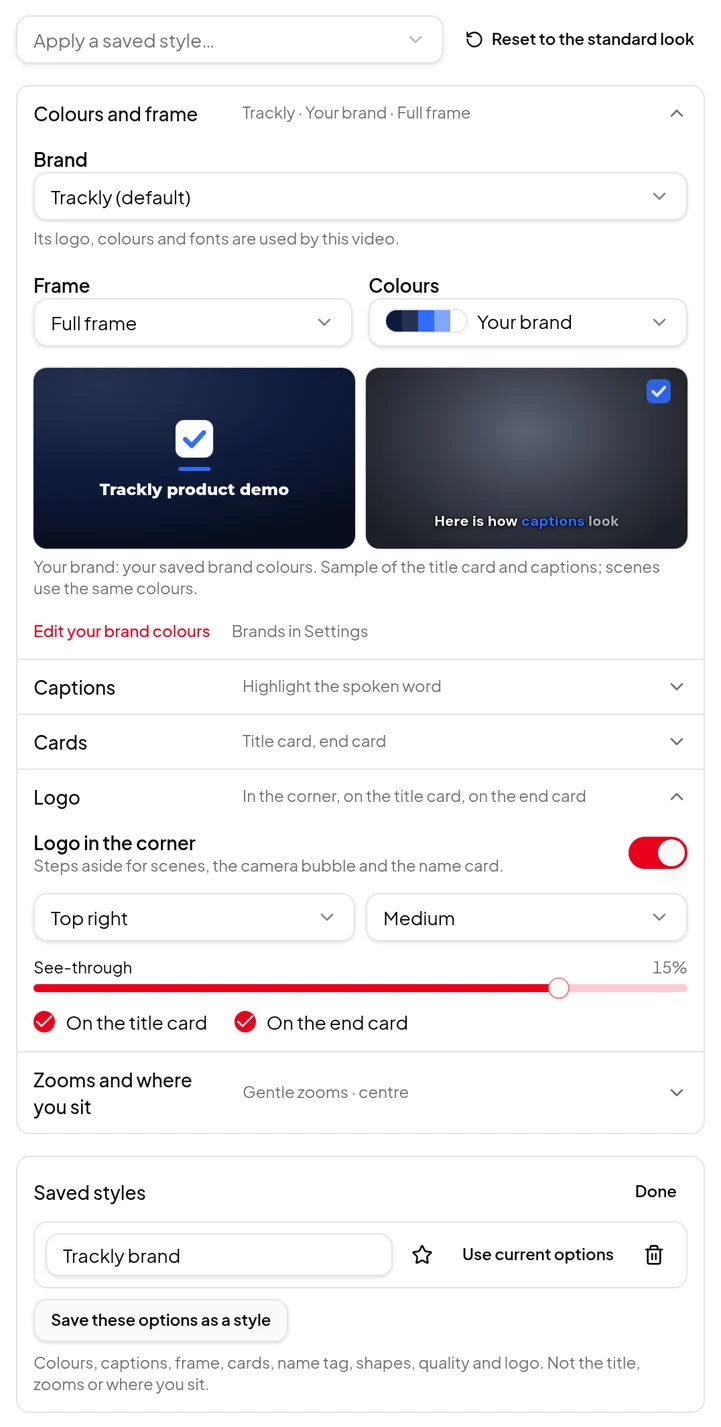
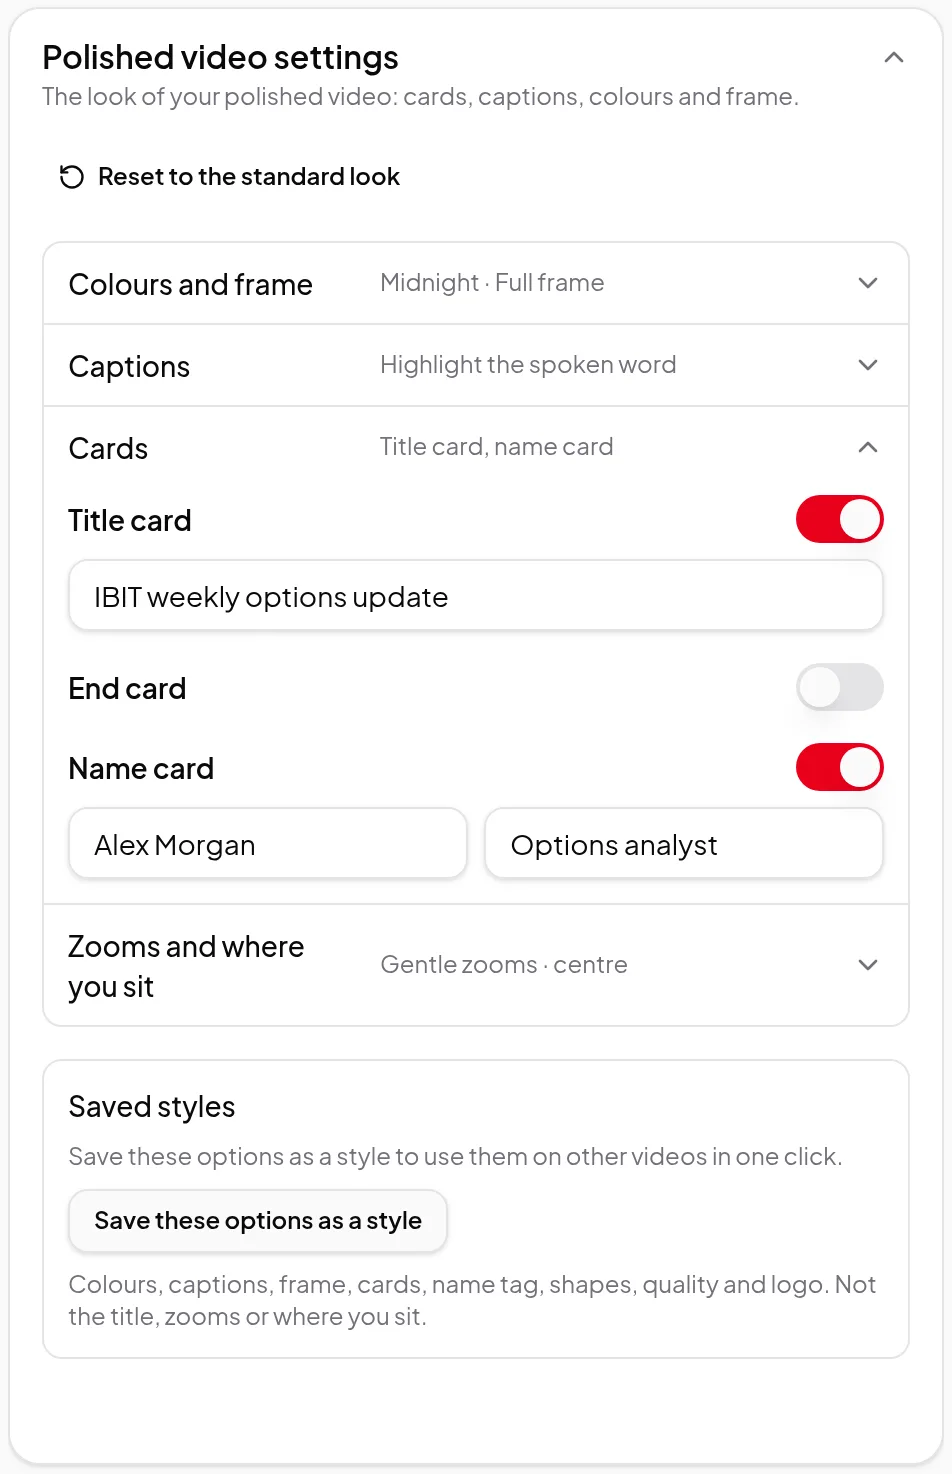
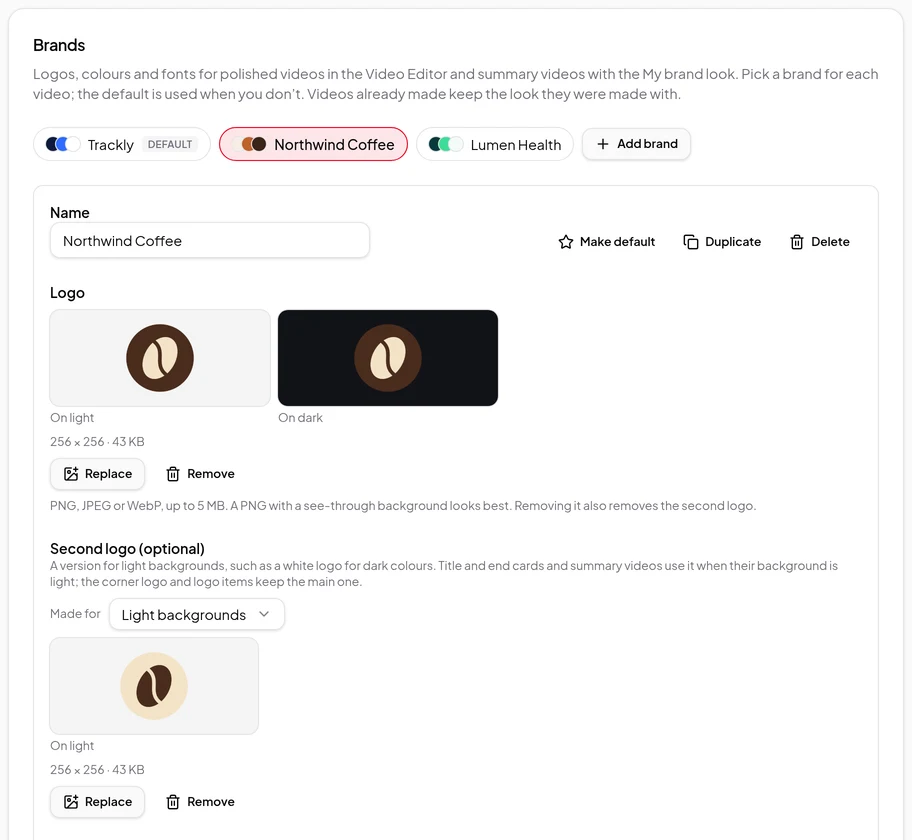
- Put your brand on it. Save your logo, background, text and accent colours and fonts once in Settings → Brands (one brand per product if you have several). A polished video then uses them on the title and end cards, in the captions and as a logo in the corner. Save the whole look as a style and the next demo takes one click. See brand kit and saved styles.
- Export each shape. Make a polished video in landscape for your help centre, and vertical or square for social posts — one or several from the same edit, from 720p up to 4K, limited by your original.
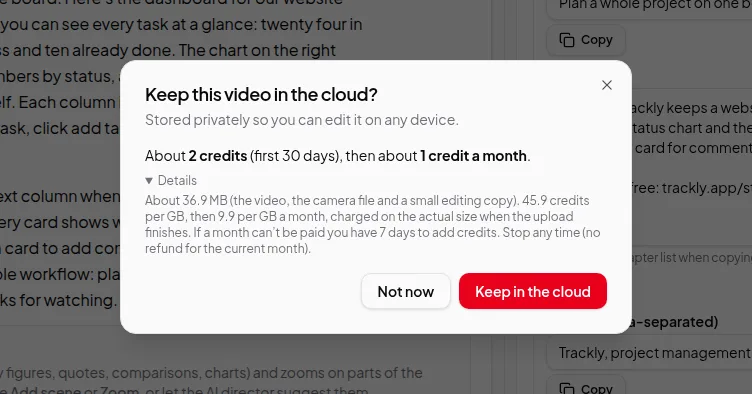
- Keep it to edit later. If you choose Keep in the cloud, the recording is stored privately so you can reopen it on any computer you sign in on, re-export without uploading again and download the original. You see the price first. See keep recordings in the cloud.
Release notes and help articles as videos
Not every product video needs a recording. Paste the link to a changelog, release note or help article and Vidonto turns its text into a short narrated video with captions — see article to video. If you’ve written the words yourself, use My own script to have them narrated exactly as written — see text to video.
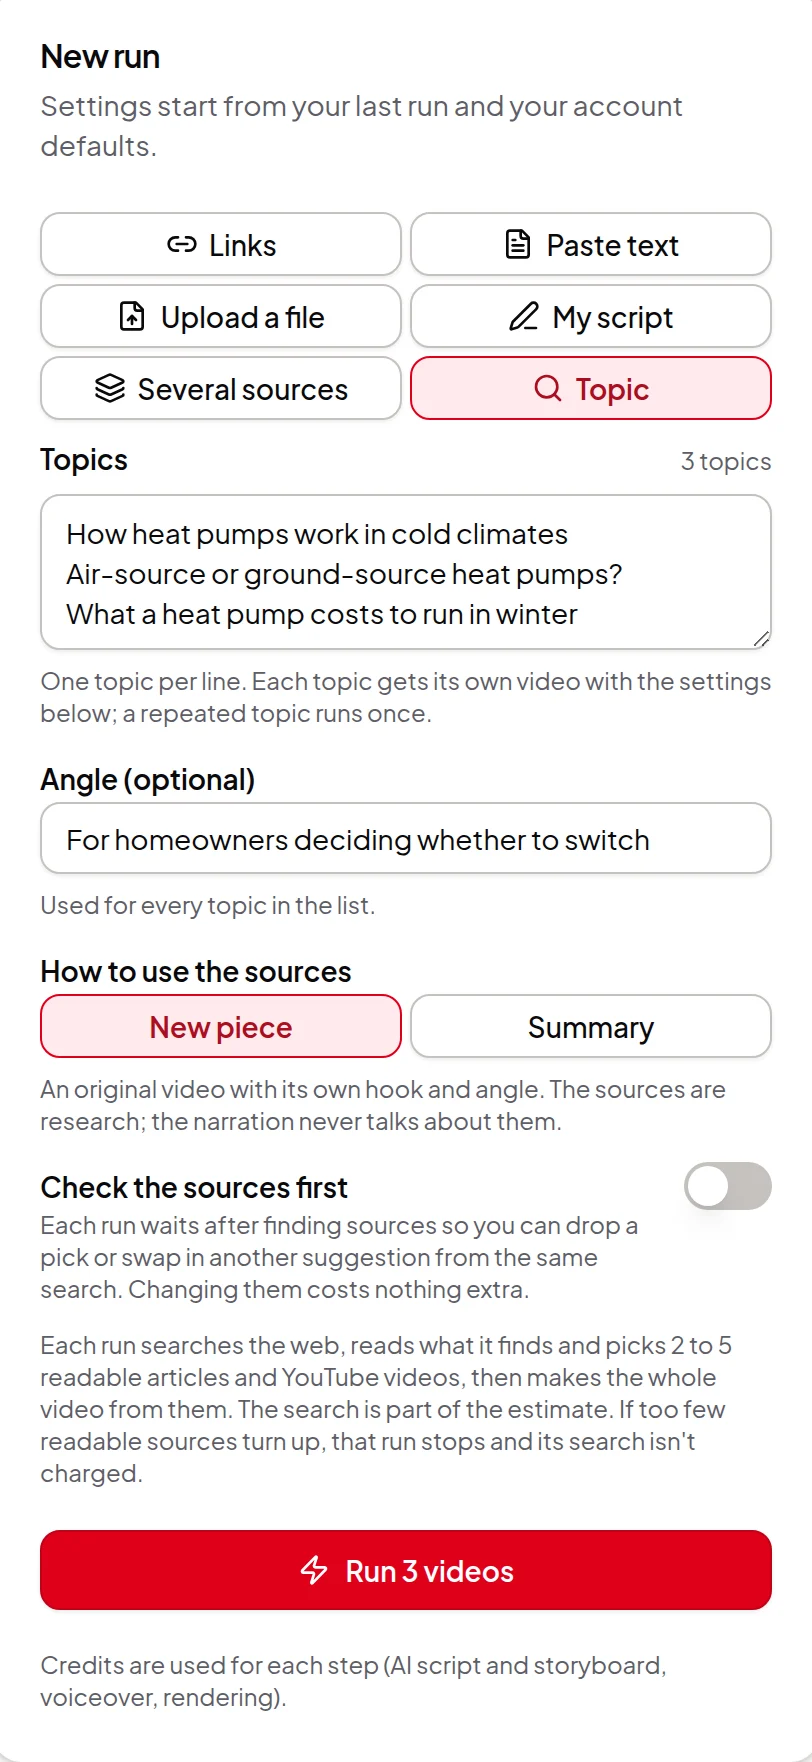
For a feature tour or a comparison with another product, choose Topic in Quick Render, type the product (or “your product vs the other one”) and pick Feature tour or Comparison. The run finds and reads public pages and videos about it, such as your help centre, release notes and reviews, and makes the video from what they say, so it works best for features that are already described on the web. For something not yet public, paste your own notes instead. See topic to video.
A short cut of a long demo
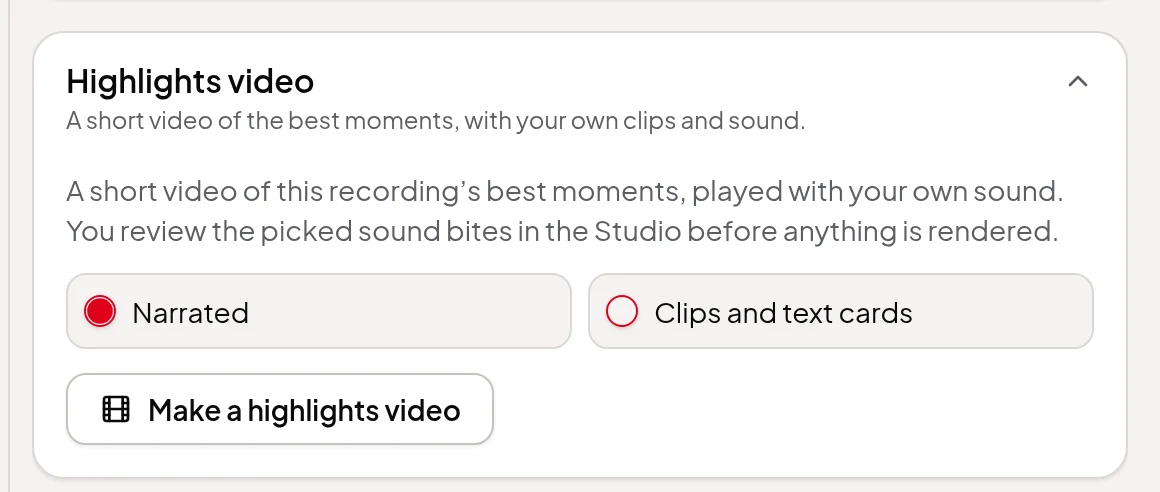
A recorded launch webinar or a long customer demo can become a short highlights video. A highlights video picks the strongest moments of one recording kept in the cloud, plays them with their own picture and sound, and links them with short narrated bridges or text cards. Your zooms and camera views carry over into the clips. See turn a long video into a highlights video.
Features for product teams
| You want… | Use |
|---|---|
| A walkthrough recorded without extra software | Record screen and camera |
| Zooms on the part of the screen that matters | Camera views and auto zoom |
| Your logo and colours on every video | Brand kit and saved styles |
| Captions, cards and the right shape | Polished videos |
| A cleaner voice track | Clean up sound |
| A feature tour or comparison video without recording | Topic to video |
| A short highlights video of a long demo | Highlights videos |
| To edit on another device | Keep recordings in the cloud |
Worth knowing first
- A share link lets people watch a finished demo on a Vidonto page, with each view charged from your credits. There’s no embeddable player, so for your help centre, website or YouTube, download the MP4.
- A recording kept in the cloud opens for your account on any device. There are no shared team workspaces.
- The brand colours, cards and corner logo are for polished videos. Text and logo items from the timeline also show in cloud renders. The free export on your computer includes none of them.
- Brand fonts are picked from Vidonto’s set; your own font files can’t be uploaded.
- Camera views need a screen + camera take recorded in Vidonto. Zoom in works on any recording.
- Recording, editing, zooming by hand and exporting on your computer are free. The transcript, the AI director, polished videos and cloud storage use credits, and each shows its price first. See credits explained.
Get started
Record a two-minute walkthrough of one feature and follow along: